
Example :
How to set up an email or change my account settings.
- Help Center
- AI Powered Website Builder
- AI Powered Website Builder
- How to create a website with the AI Powered Website builder?
How to create a website with the AI Powered Website builder?
The guide video is available for your reference:
The AI Powered Website builder by Z.com allows you to create a website in just a few steps using AI technology, even without any technical experience. By answering a series of simple questions (at least 9), the platform helps define your website’s purpose and automatically generates a design tailored to your needs.
Whether you are creating a personal blog, business website, or niche platform, the AI Powered Website builder guides you through the setup process and provides a ready-made website that you can further customise.
This guide explains how to create a website using the AI Powered Website builder.
Note:
• If you do not yet have an AI-Powered Website builder plan, you can compare the available plans that we currently offer on our AI Powered Website builder page and choose the one that best suits your needs.
• A Free plan is available when you register a domain with us (only eligible TLDs apply, please refer here. You can check them after clicking “Buy Free Plan” and moving to the next step). The plan requires renewal, and advertisements will be displayed on the website.
• Basic and Premium plans include a free domain for the first year only.
• A website can be published using a temporary Z.com shared domain if a custom domain is not yet available.
• If you prefer to use your own domain, you may purchase and link a custom domain during or after the setup process. You can browse available domain name options on our website here.
1. Go to our Sign-in page.
2. Enter your Email Address and Password, and proceed to log in.
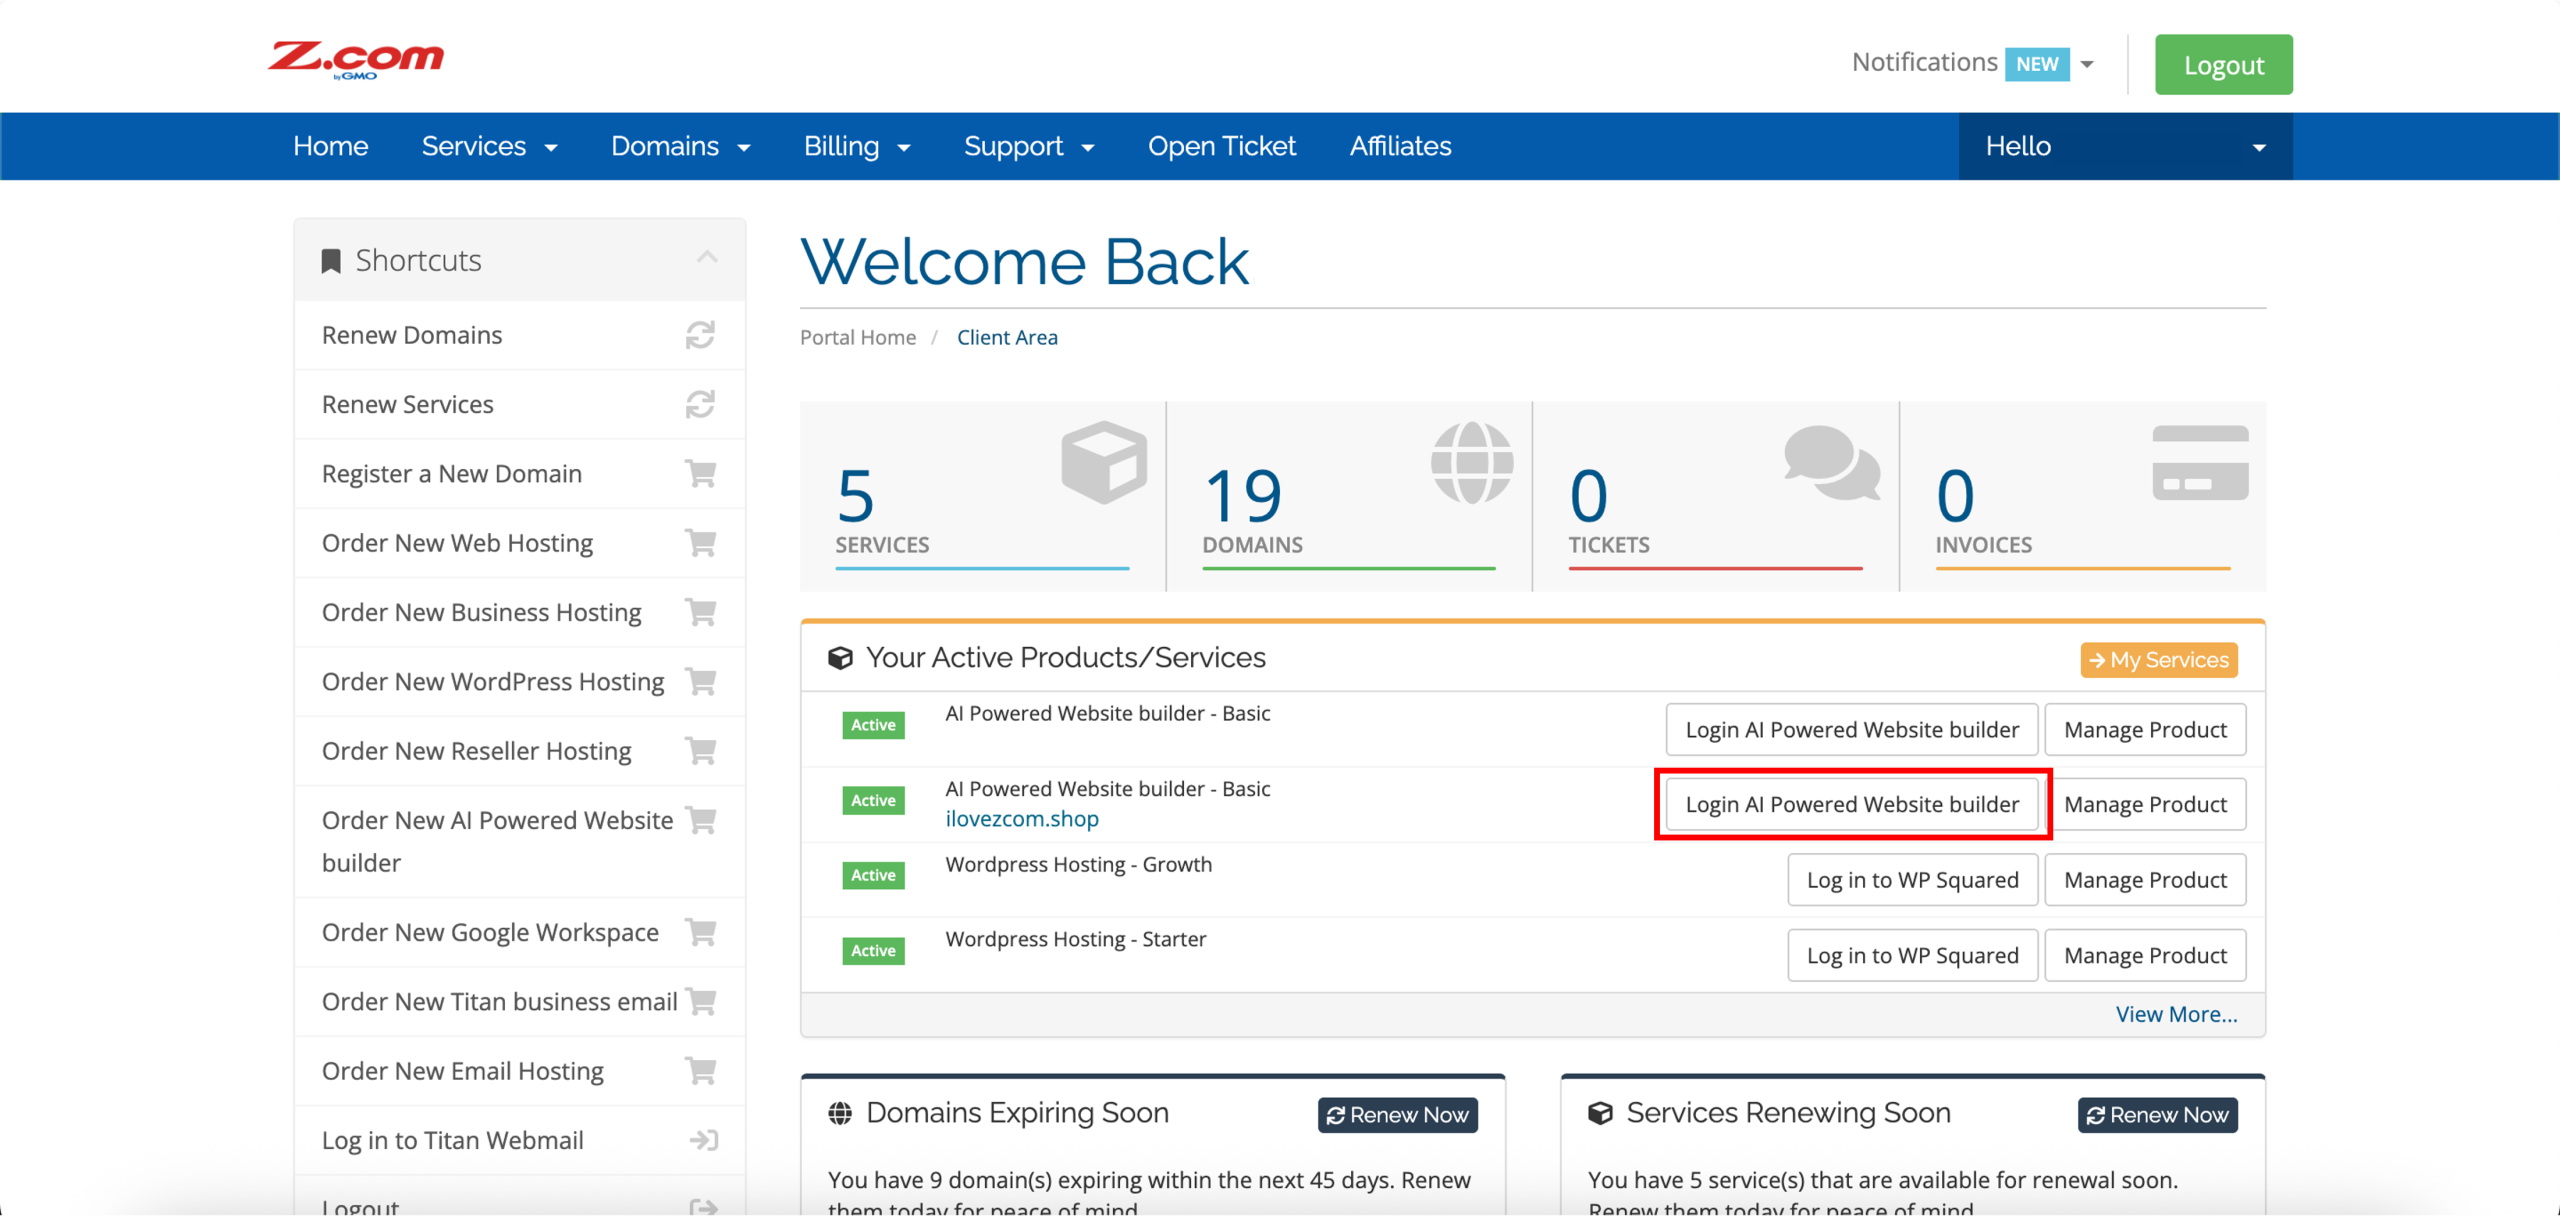
3. Aligned with your new AI-Powered website builder service, click Login AI Powered Website builder.
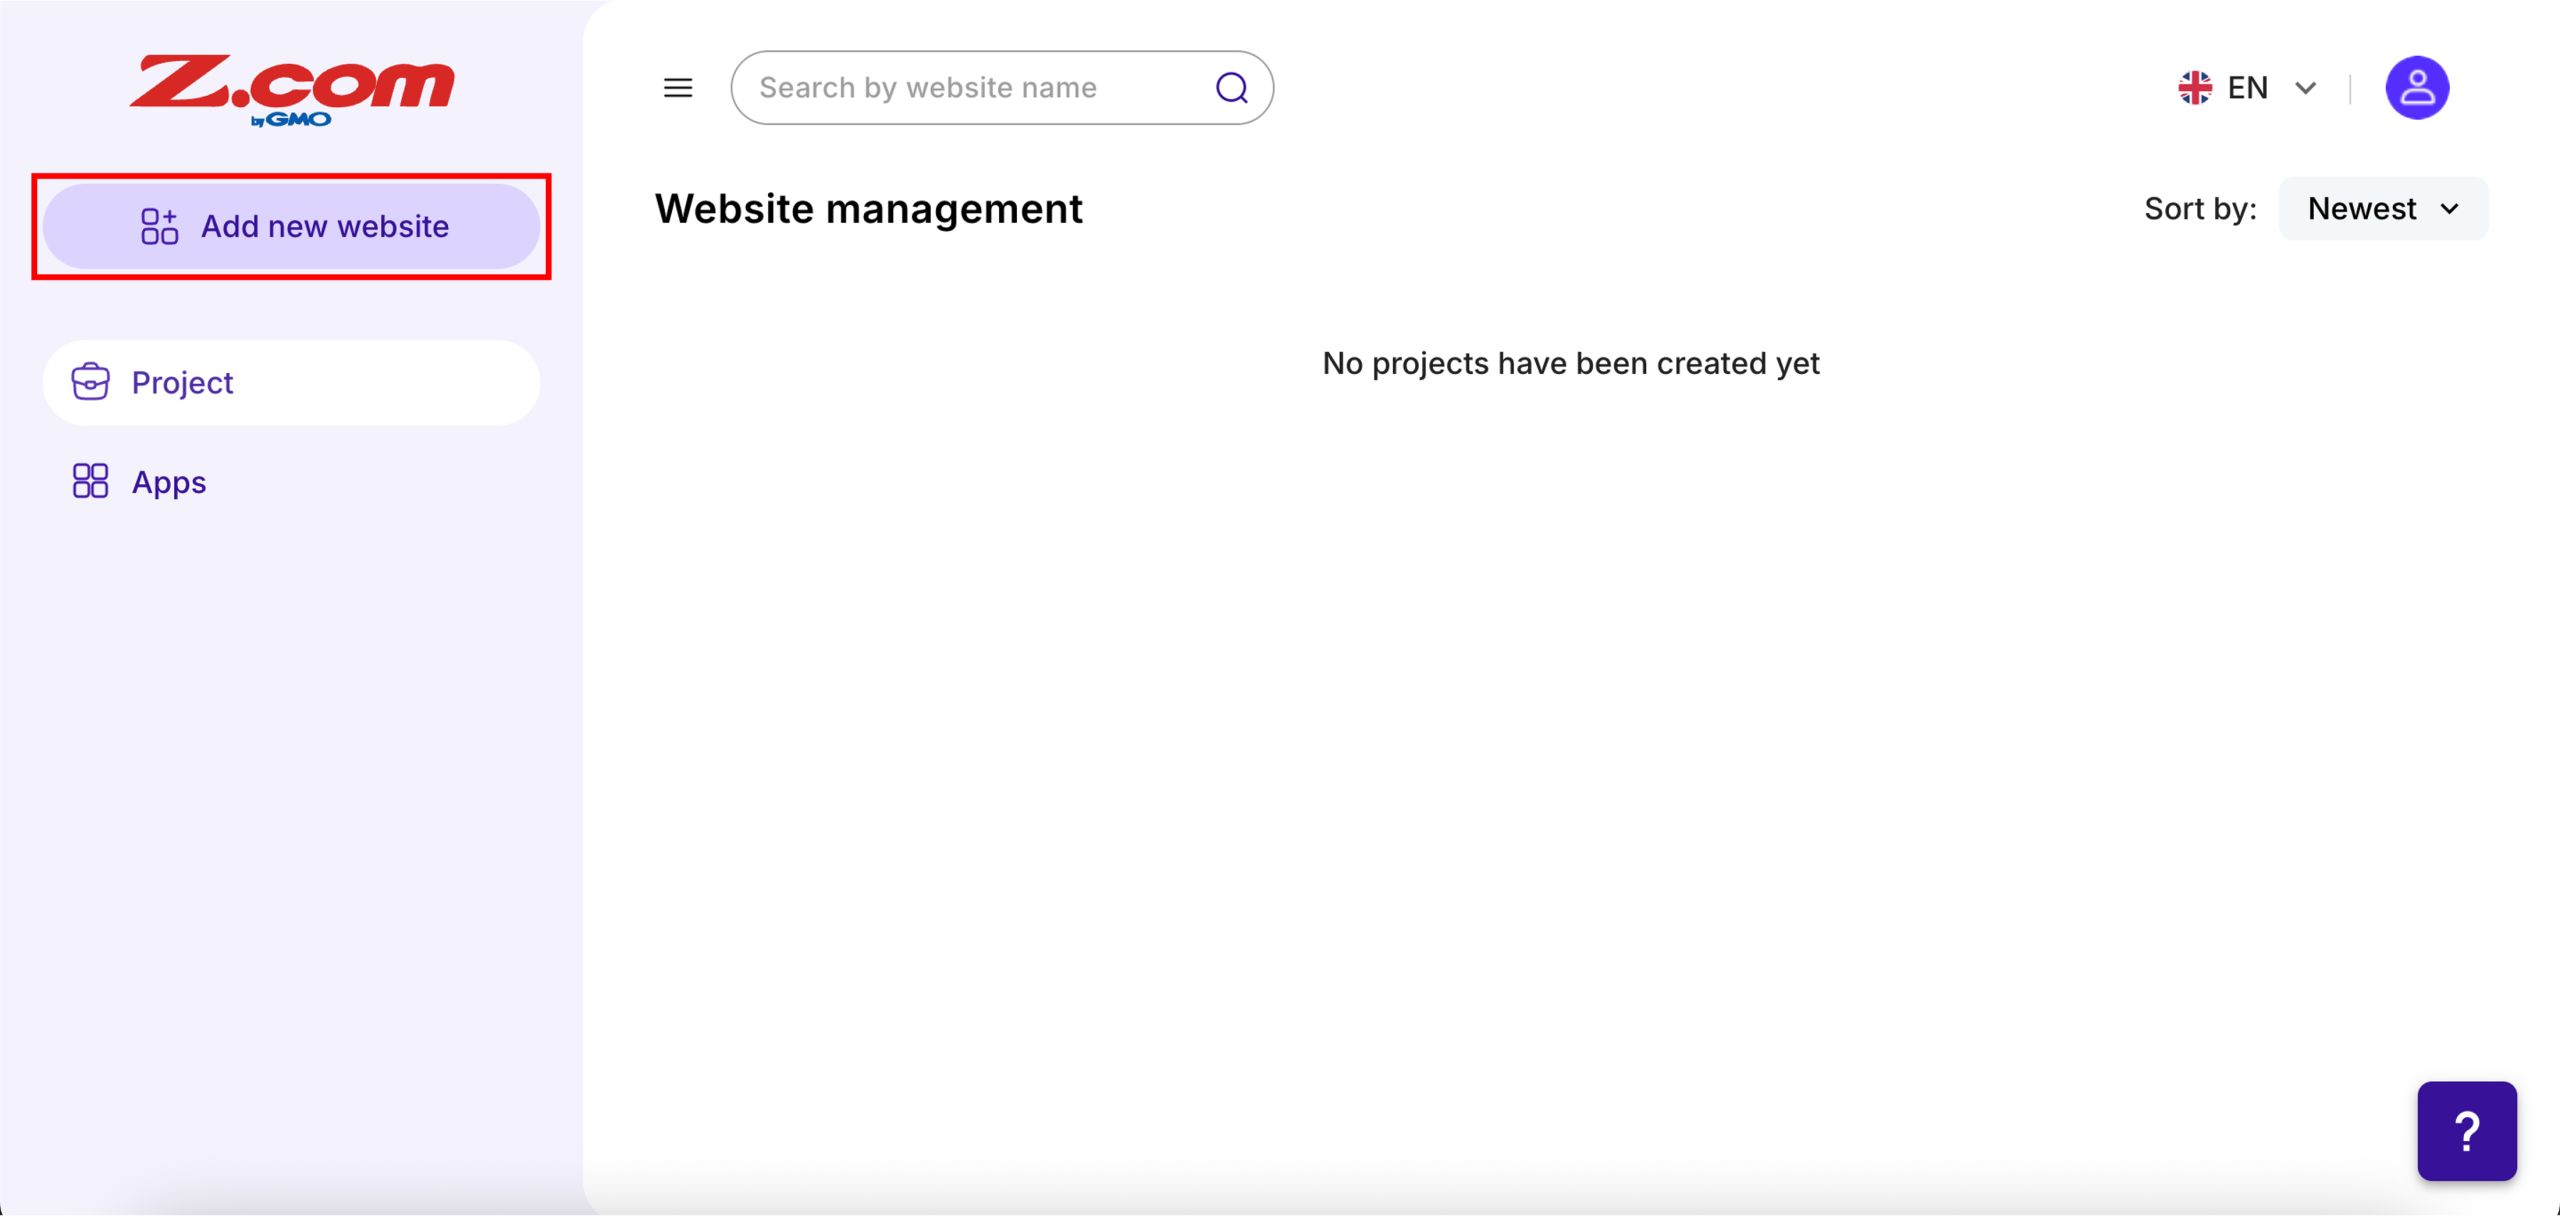
4. A new tab will open, directing you to the AI Powered Website builder Website List (Website management) page, which is also the first step in building your AI Powered website. Click Add new website to start.
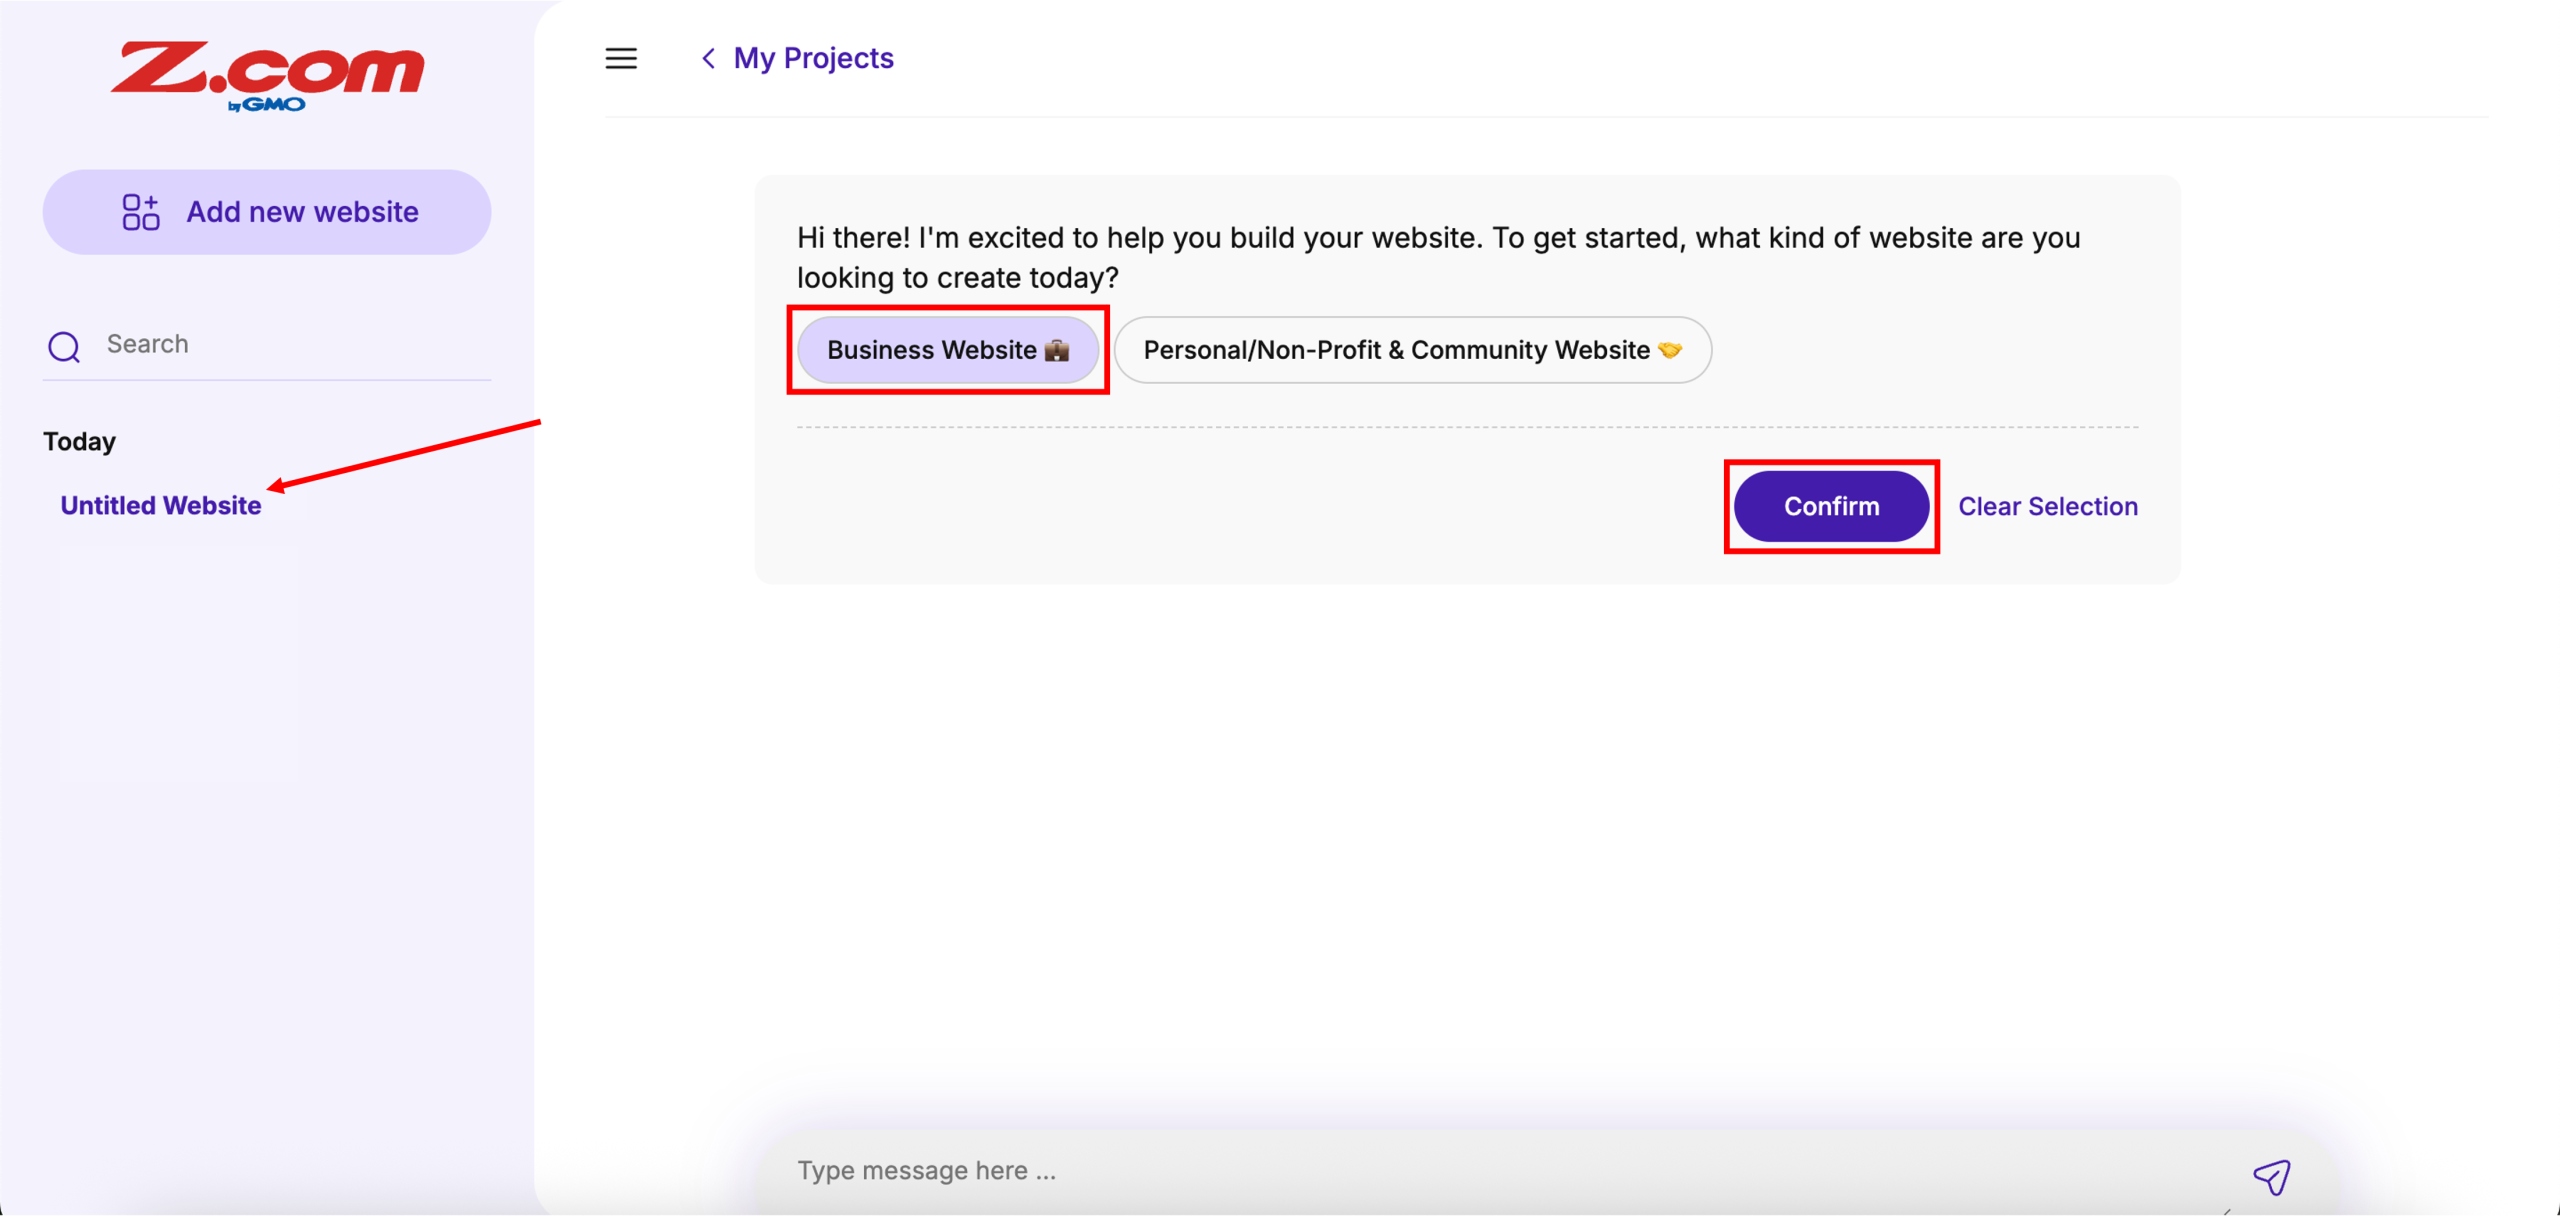
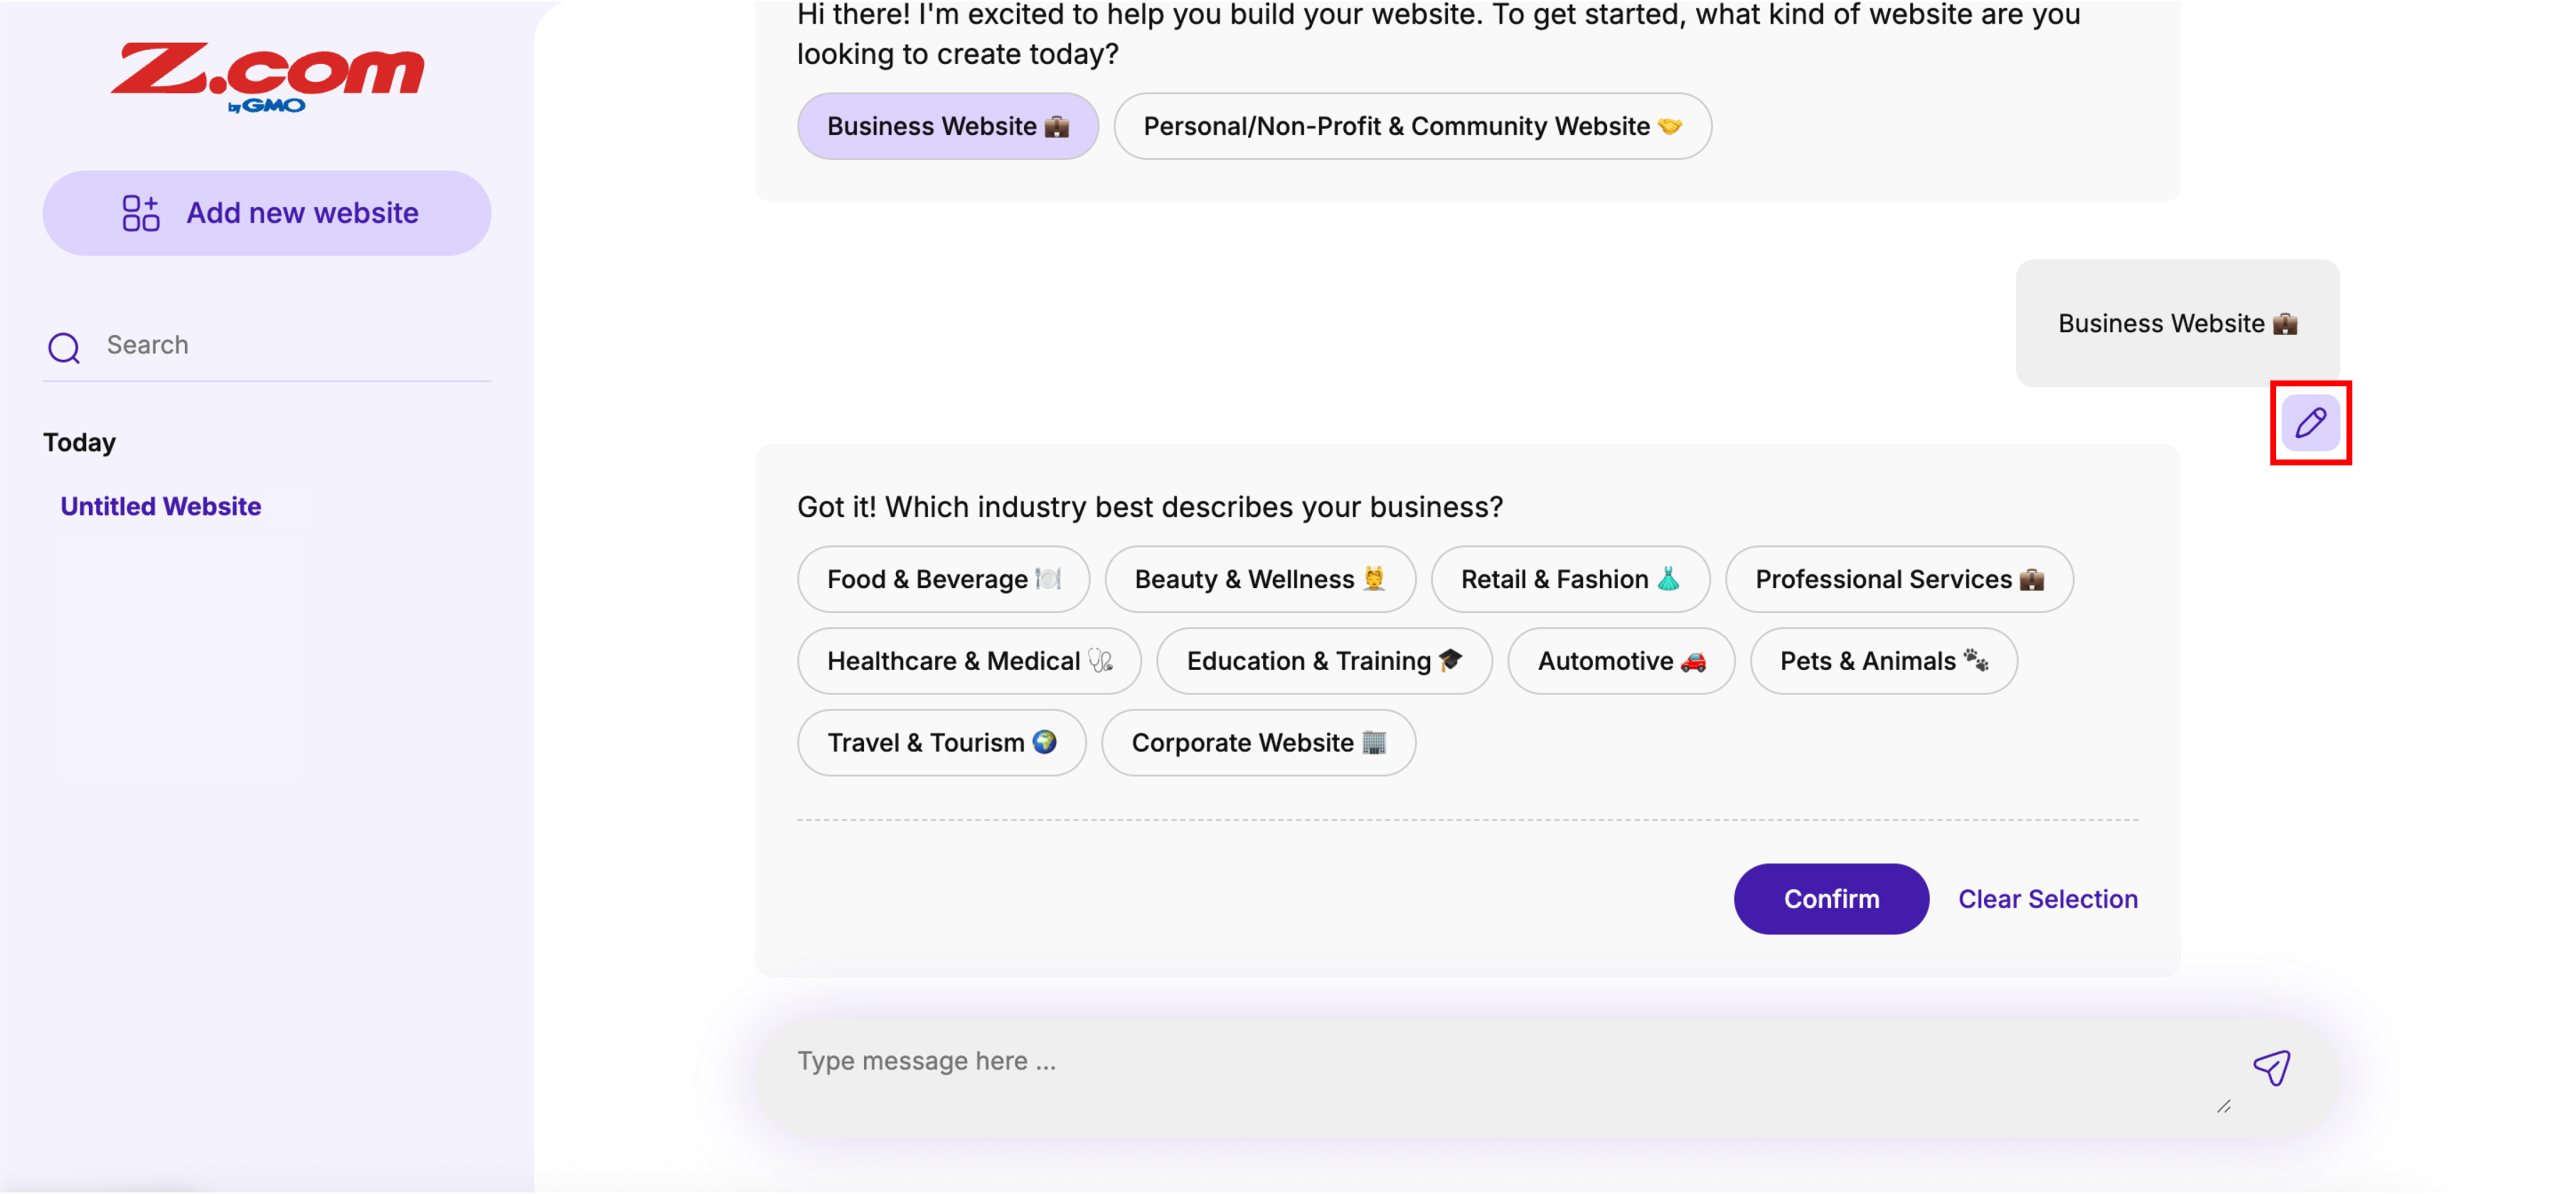
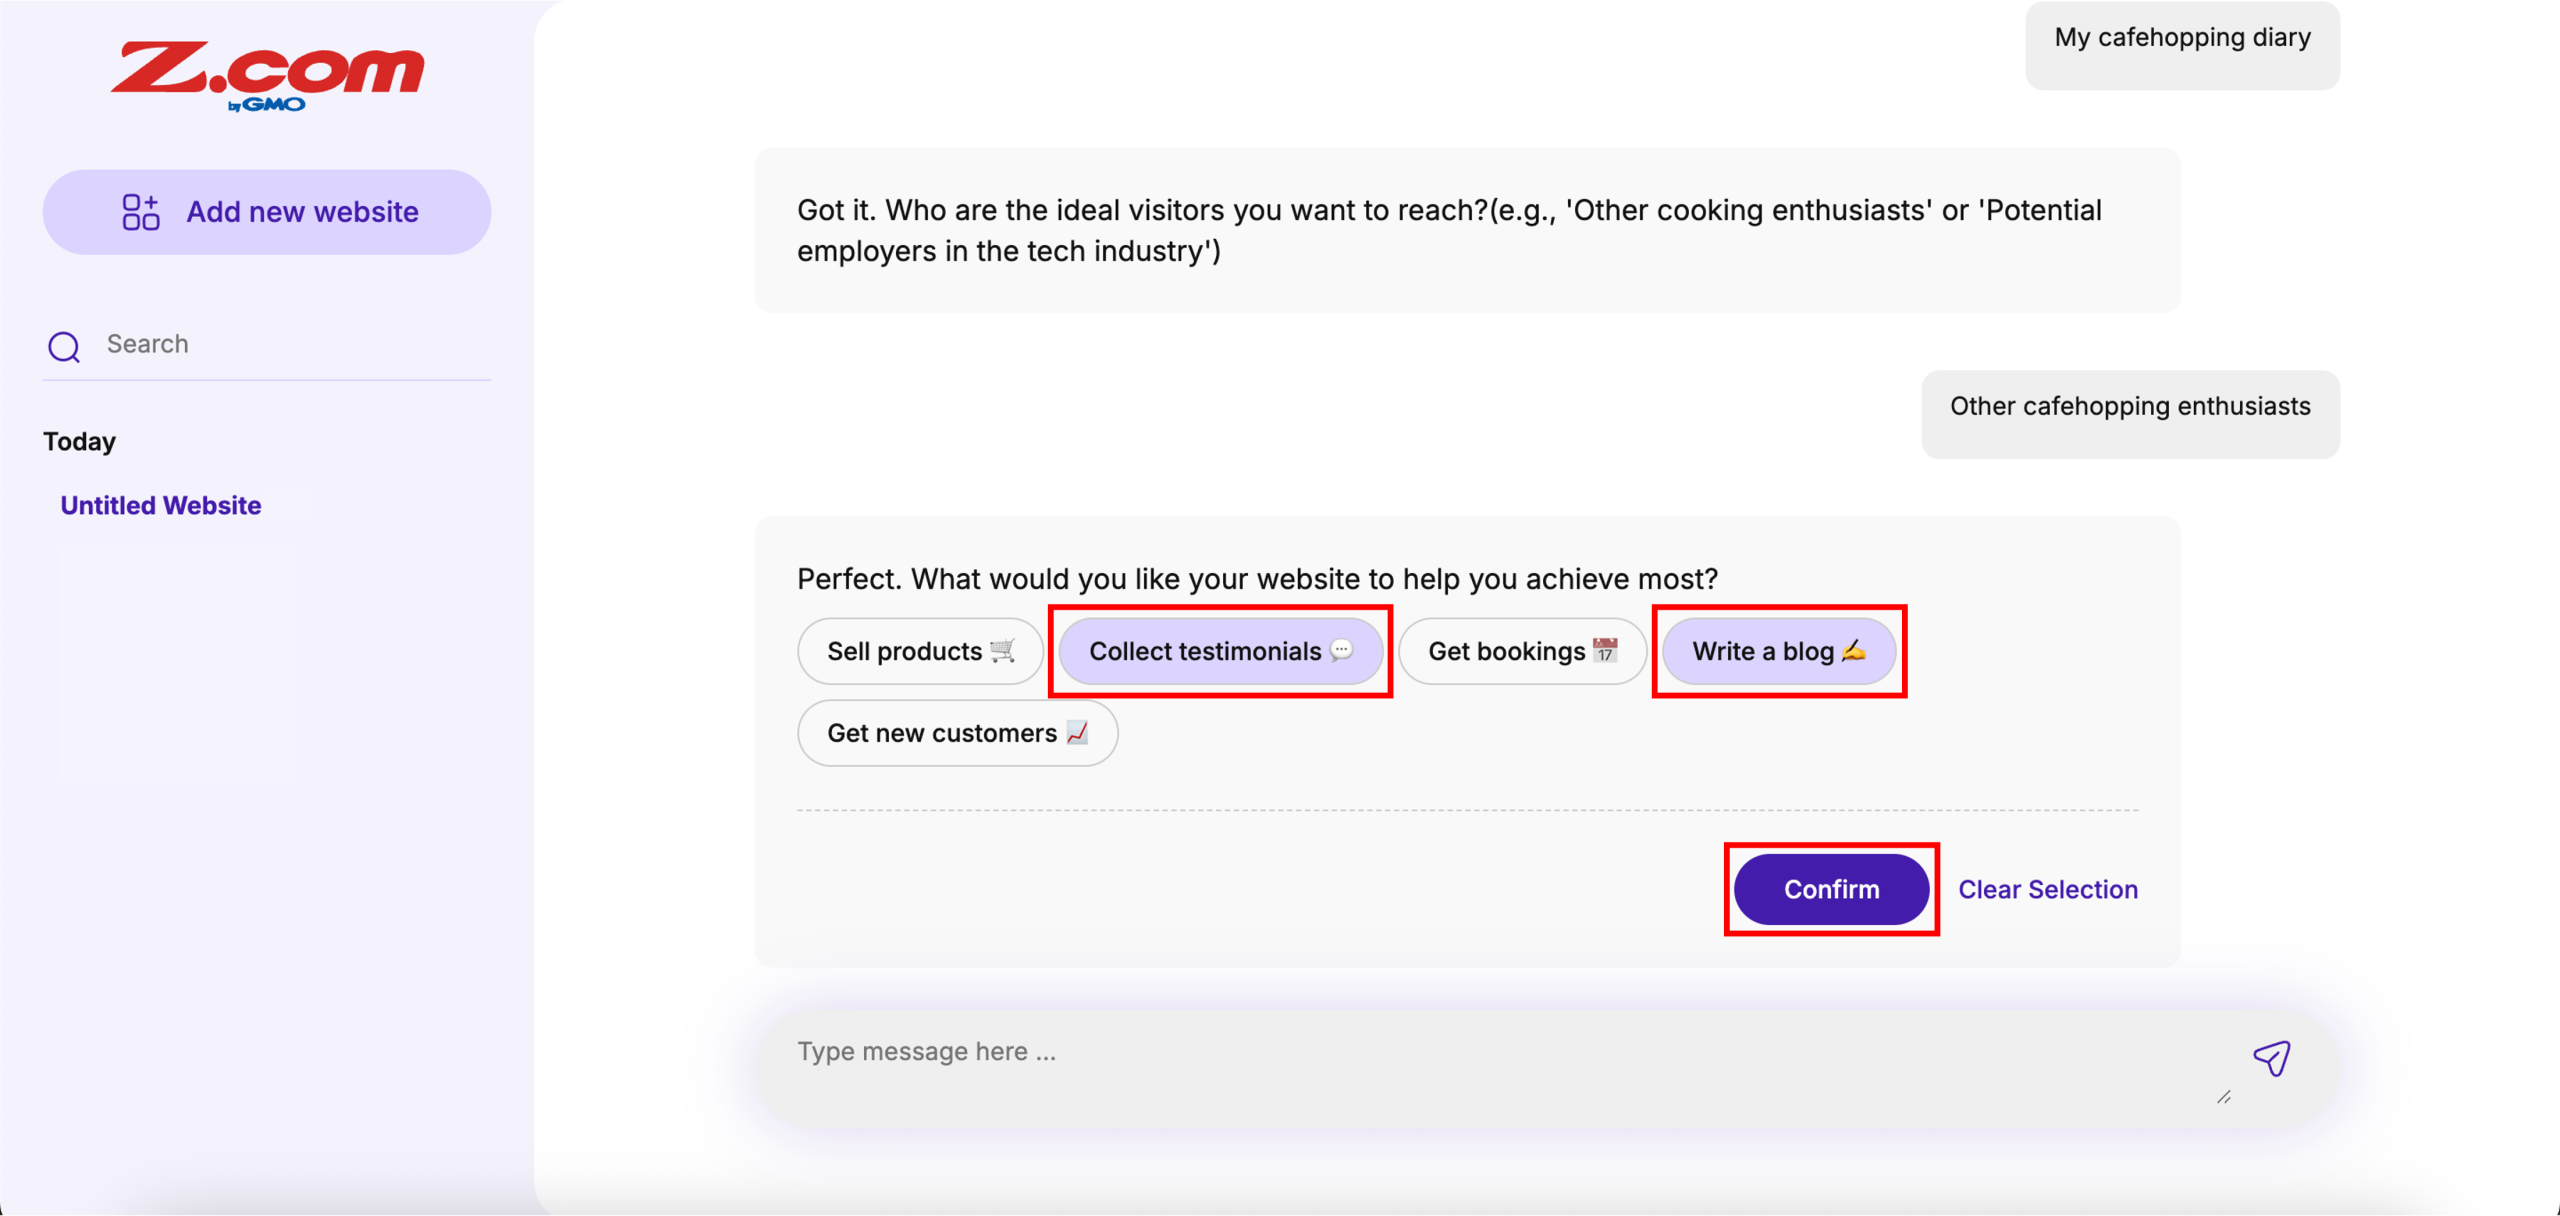
5. A new chat will be created for your website *(each website you create gets its own chat). You will see a welcome message asking what kind of website you would like to create. Choose one of the options and click Confirm to proceed.
Note: To change your selection, hover over the selected option and click the pencil icon that appears. Then you can undo your selection and pick a different option. Similarly, click Confirm to proceed.
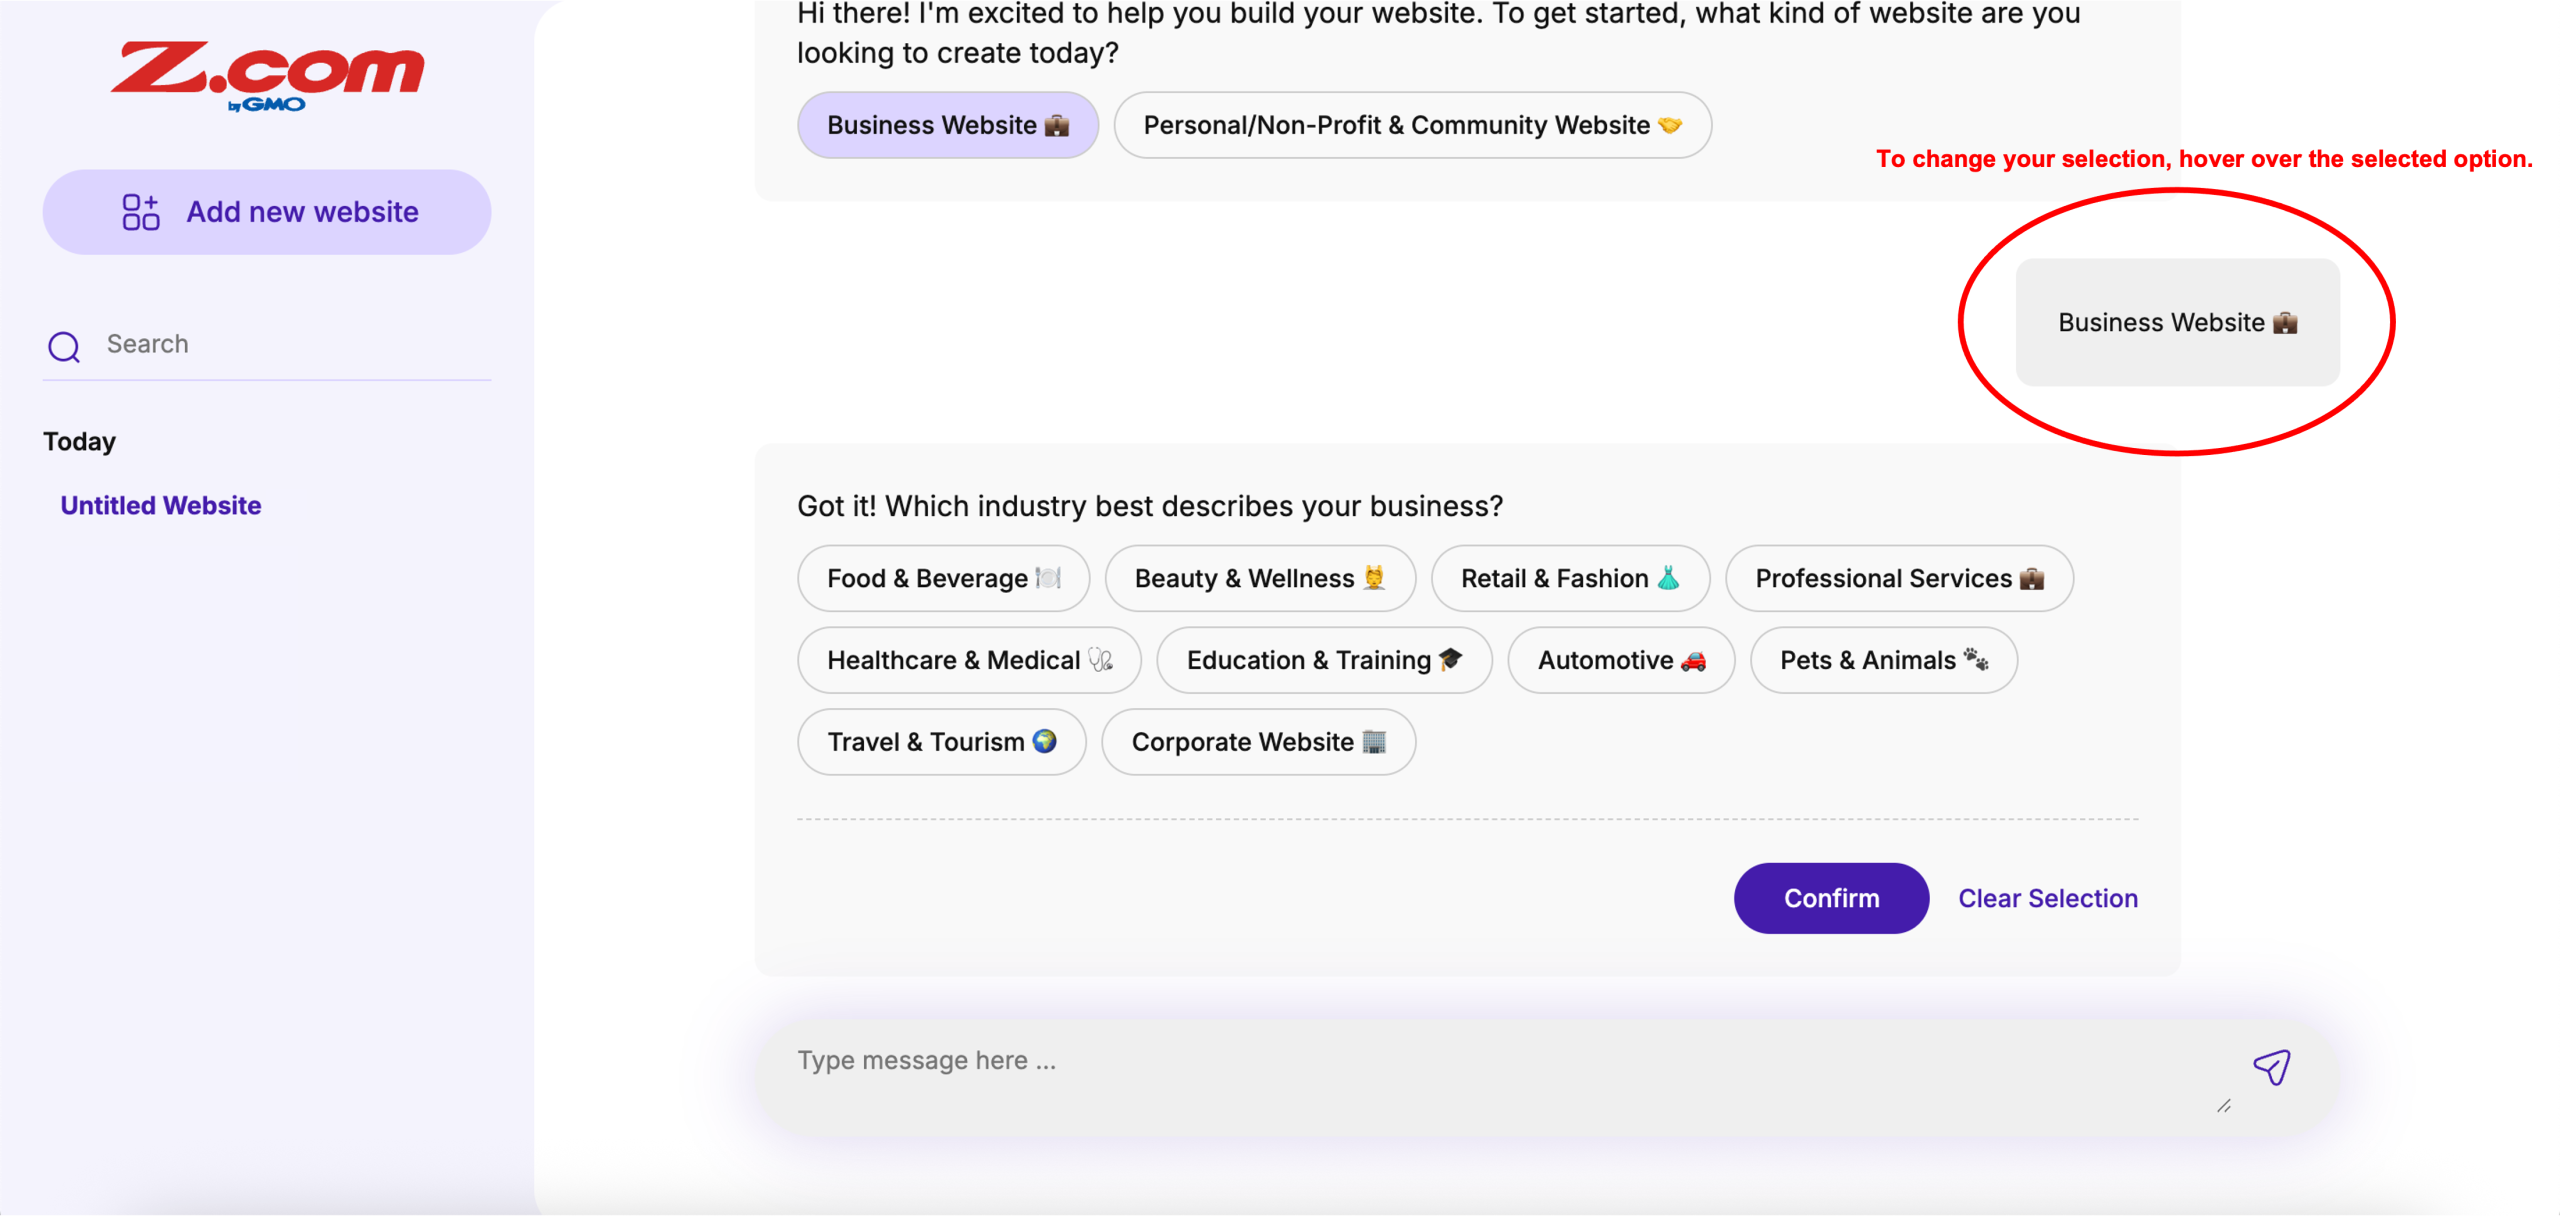
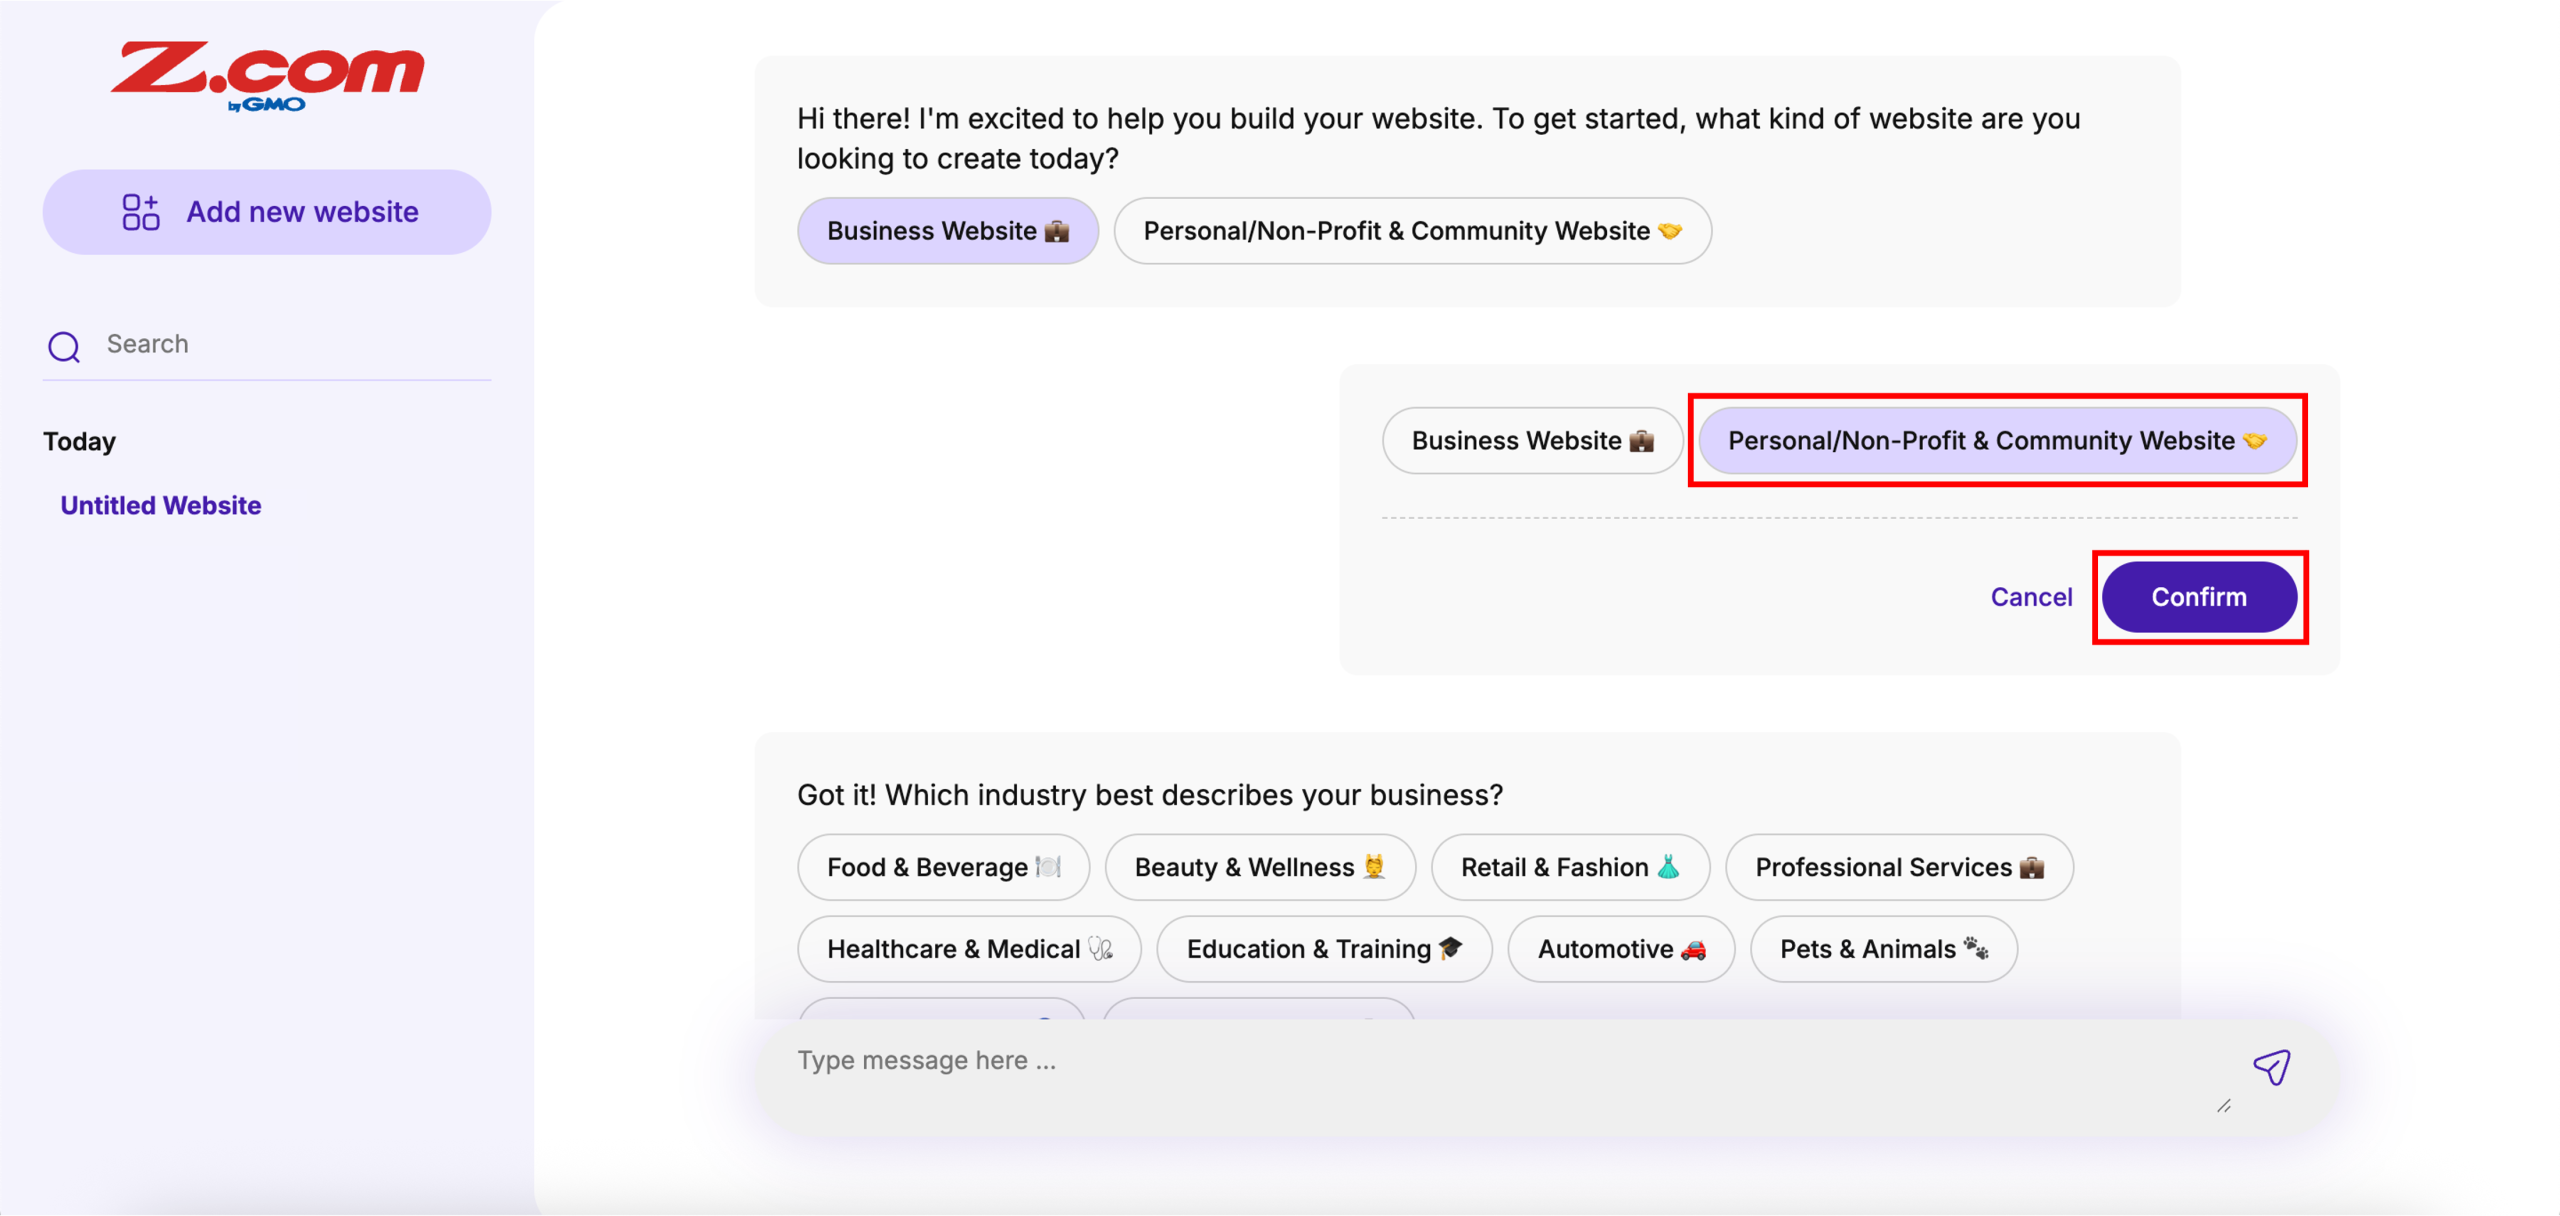
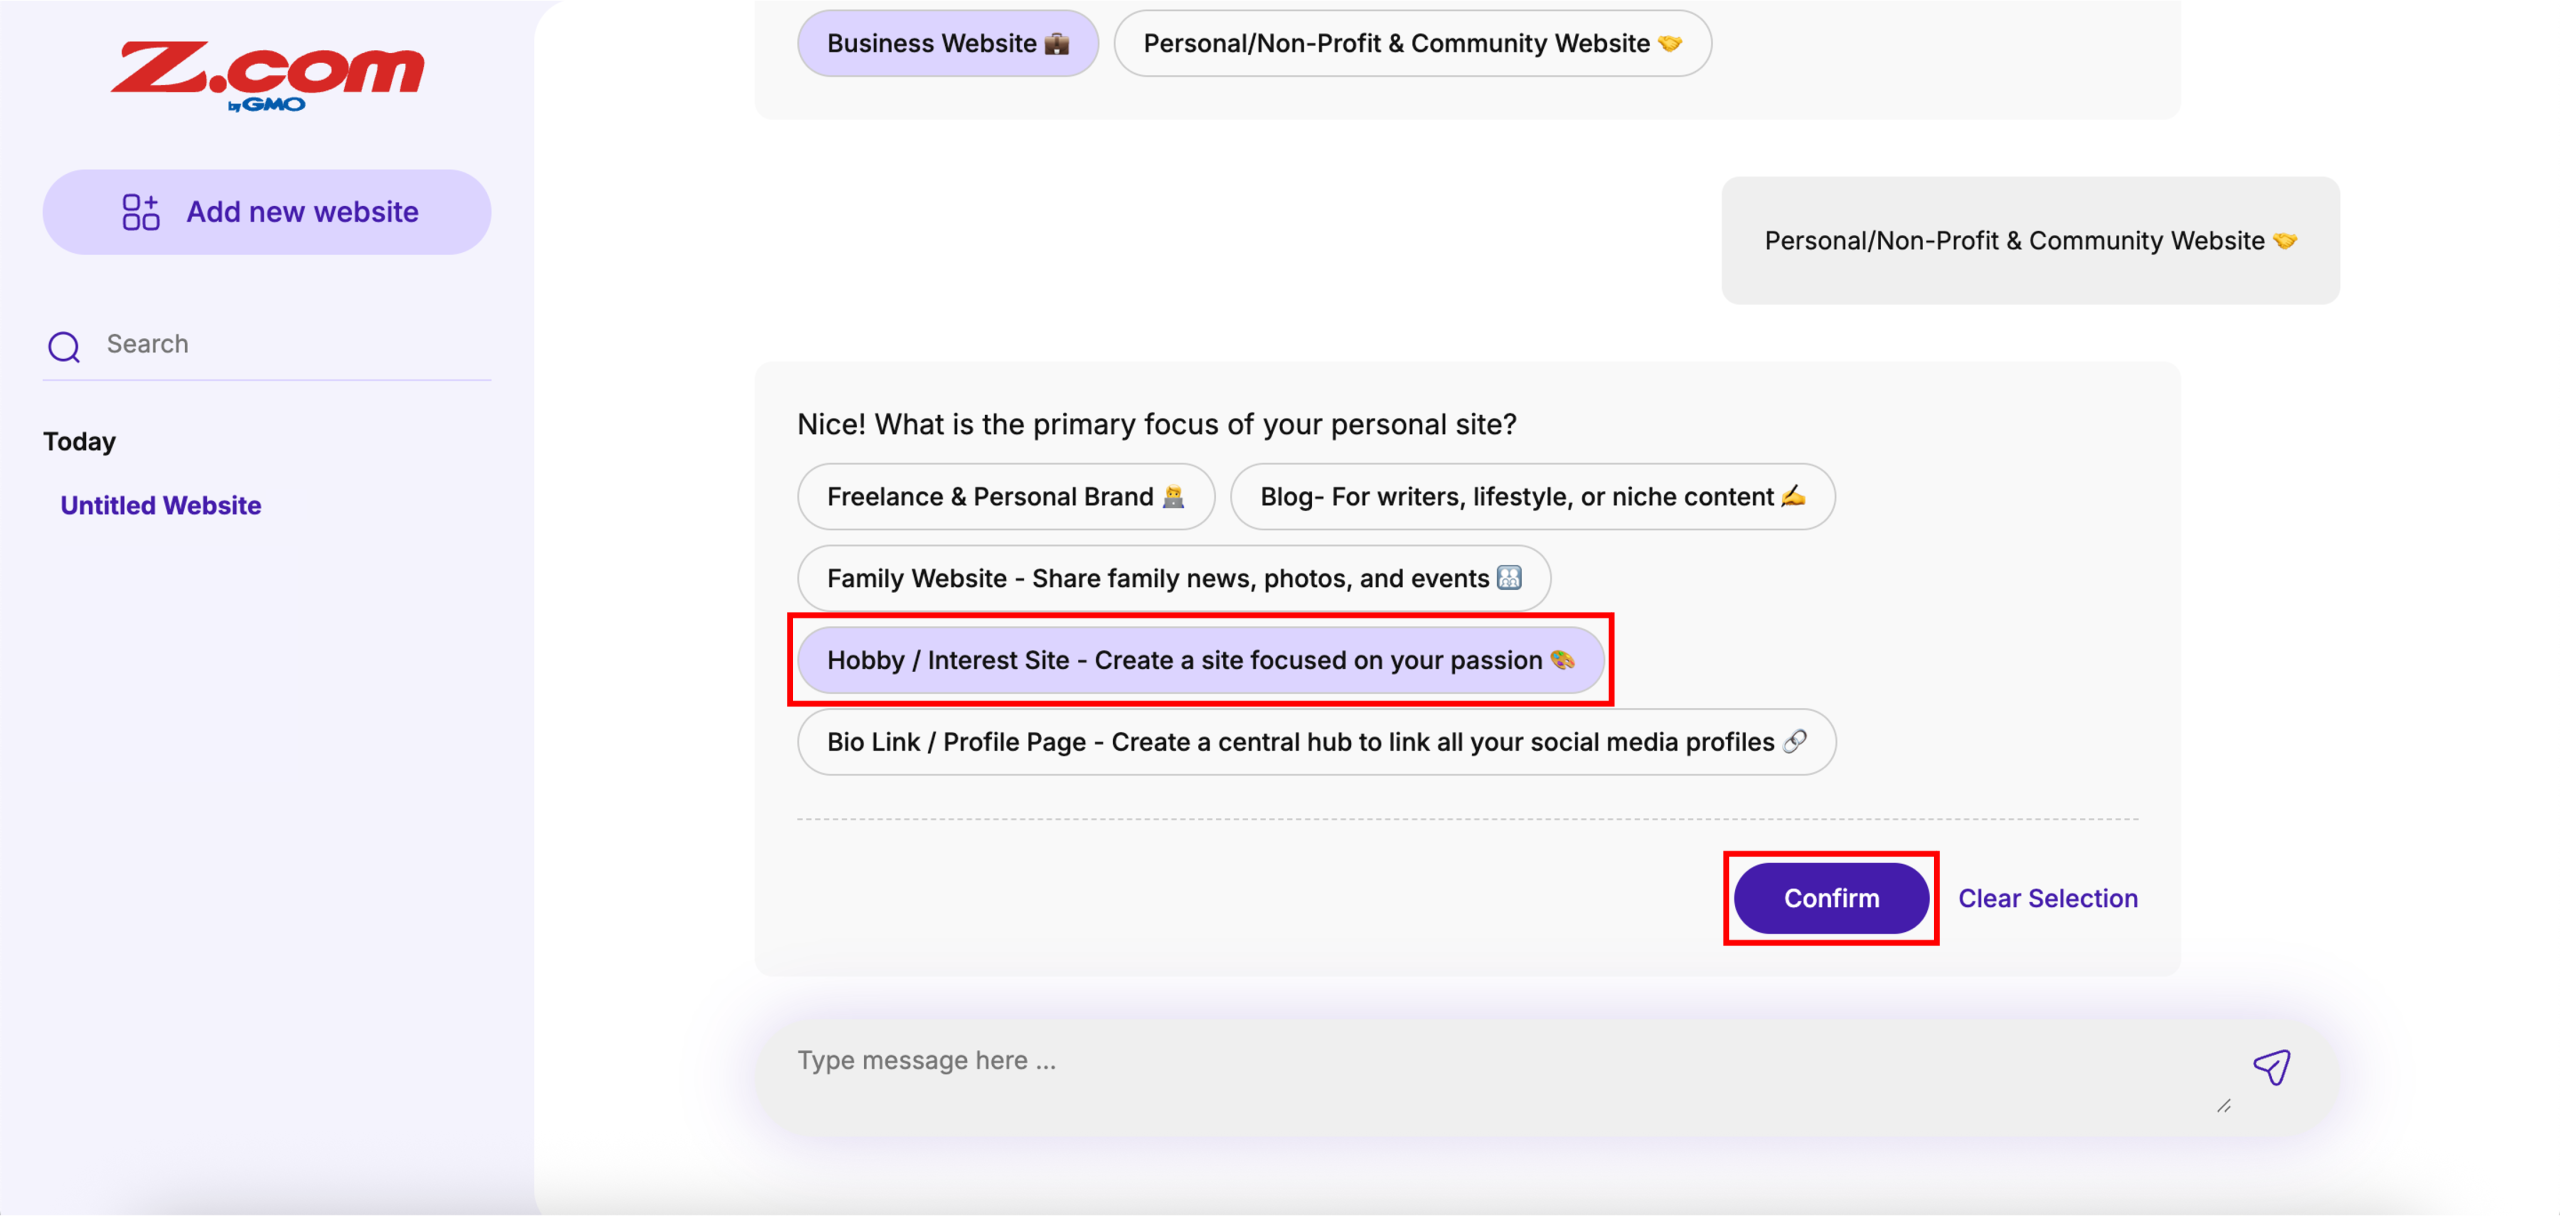
6. Continue following the chat prompts (there are at least 9 questions) to set up your website. Some questions let you type in answers, and some allow multiple selections. Keep going through the prompts until you reach the end of the setup. Click Let’s create website to proceed.
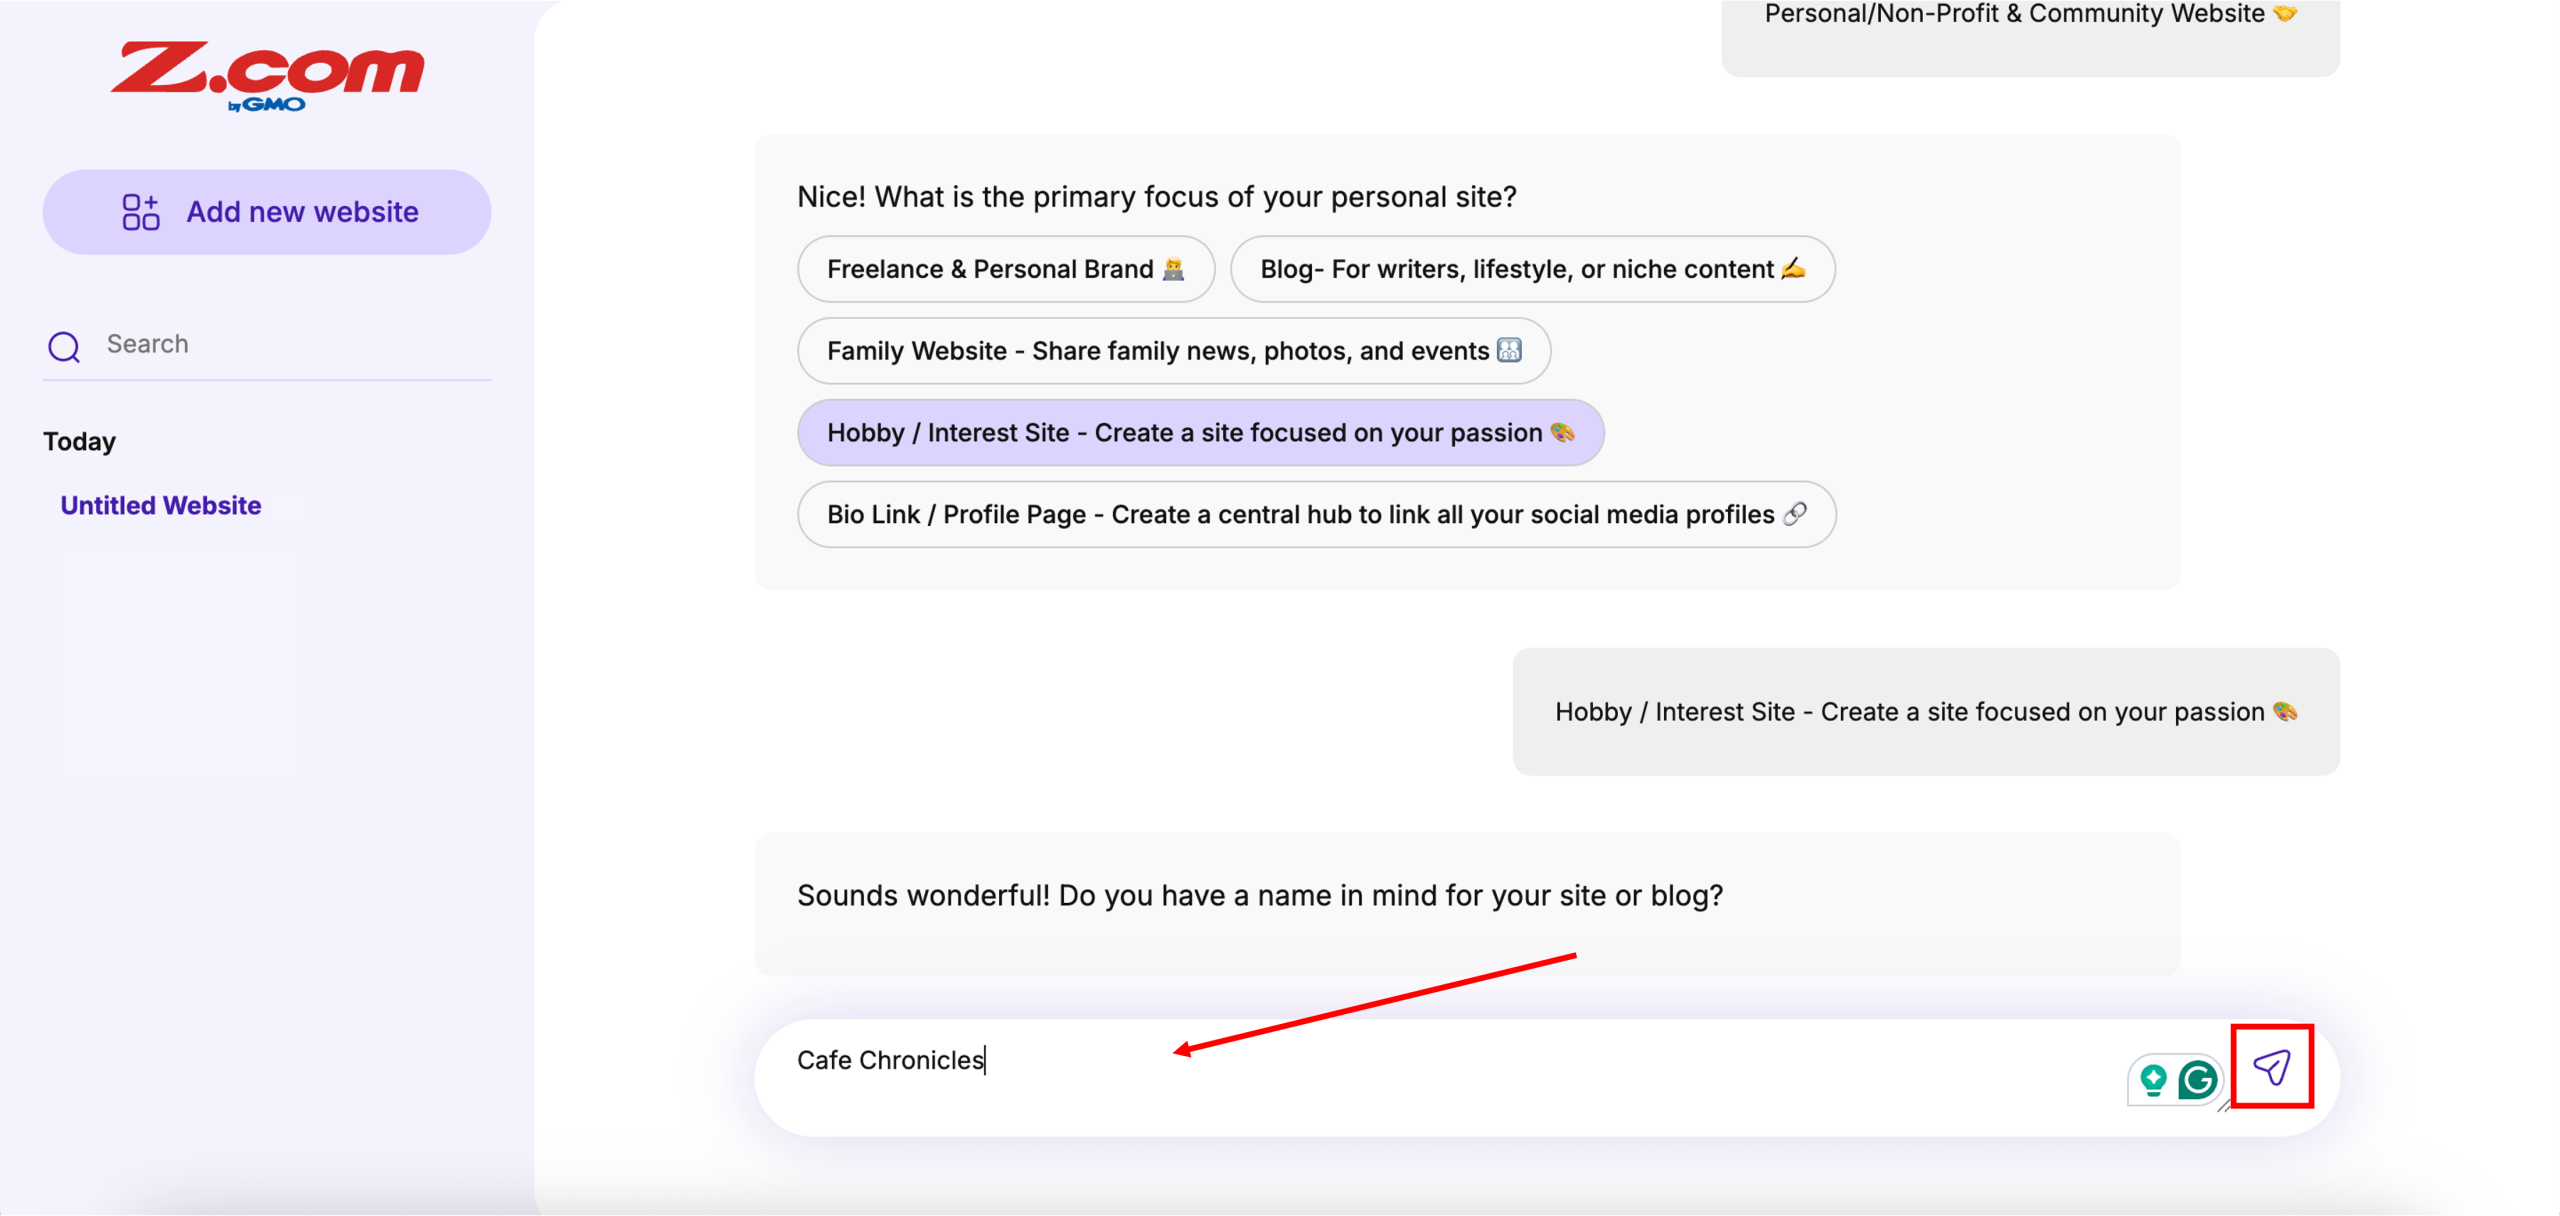
Note: Any input provided will be used as your website name. Avoid entering “nope” or “I do not have it in mind yet”, and enter your desired website name instead.
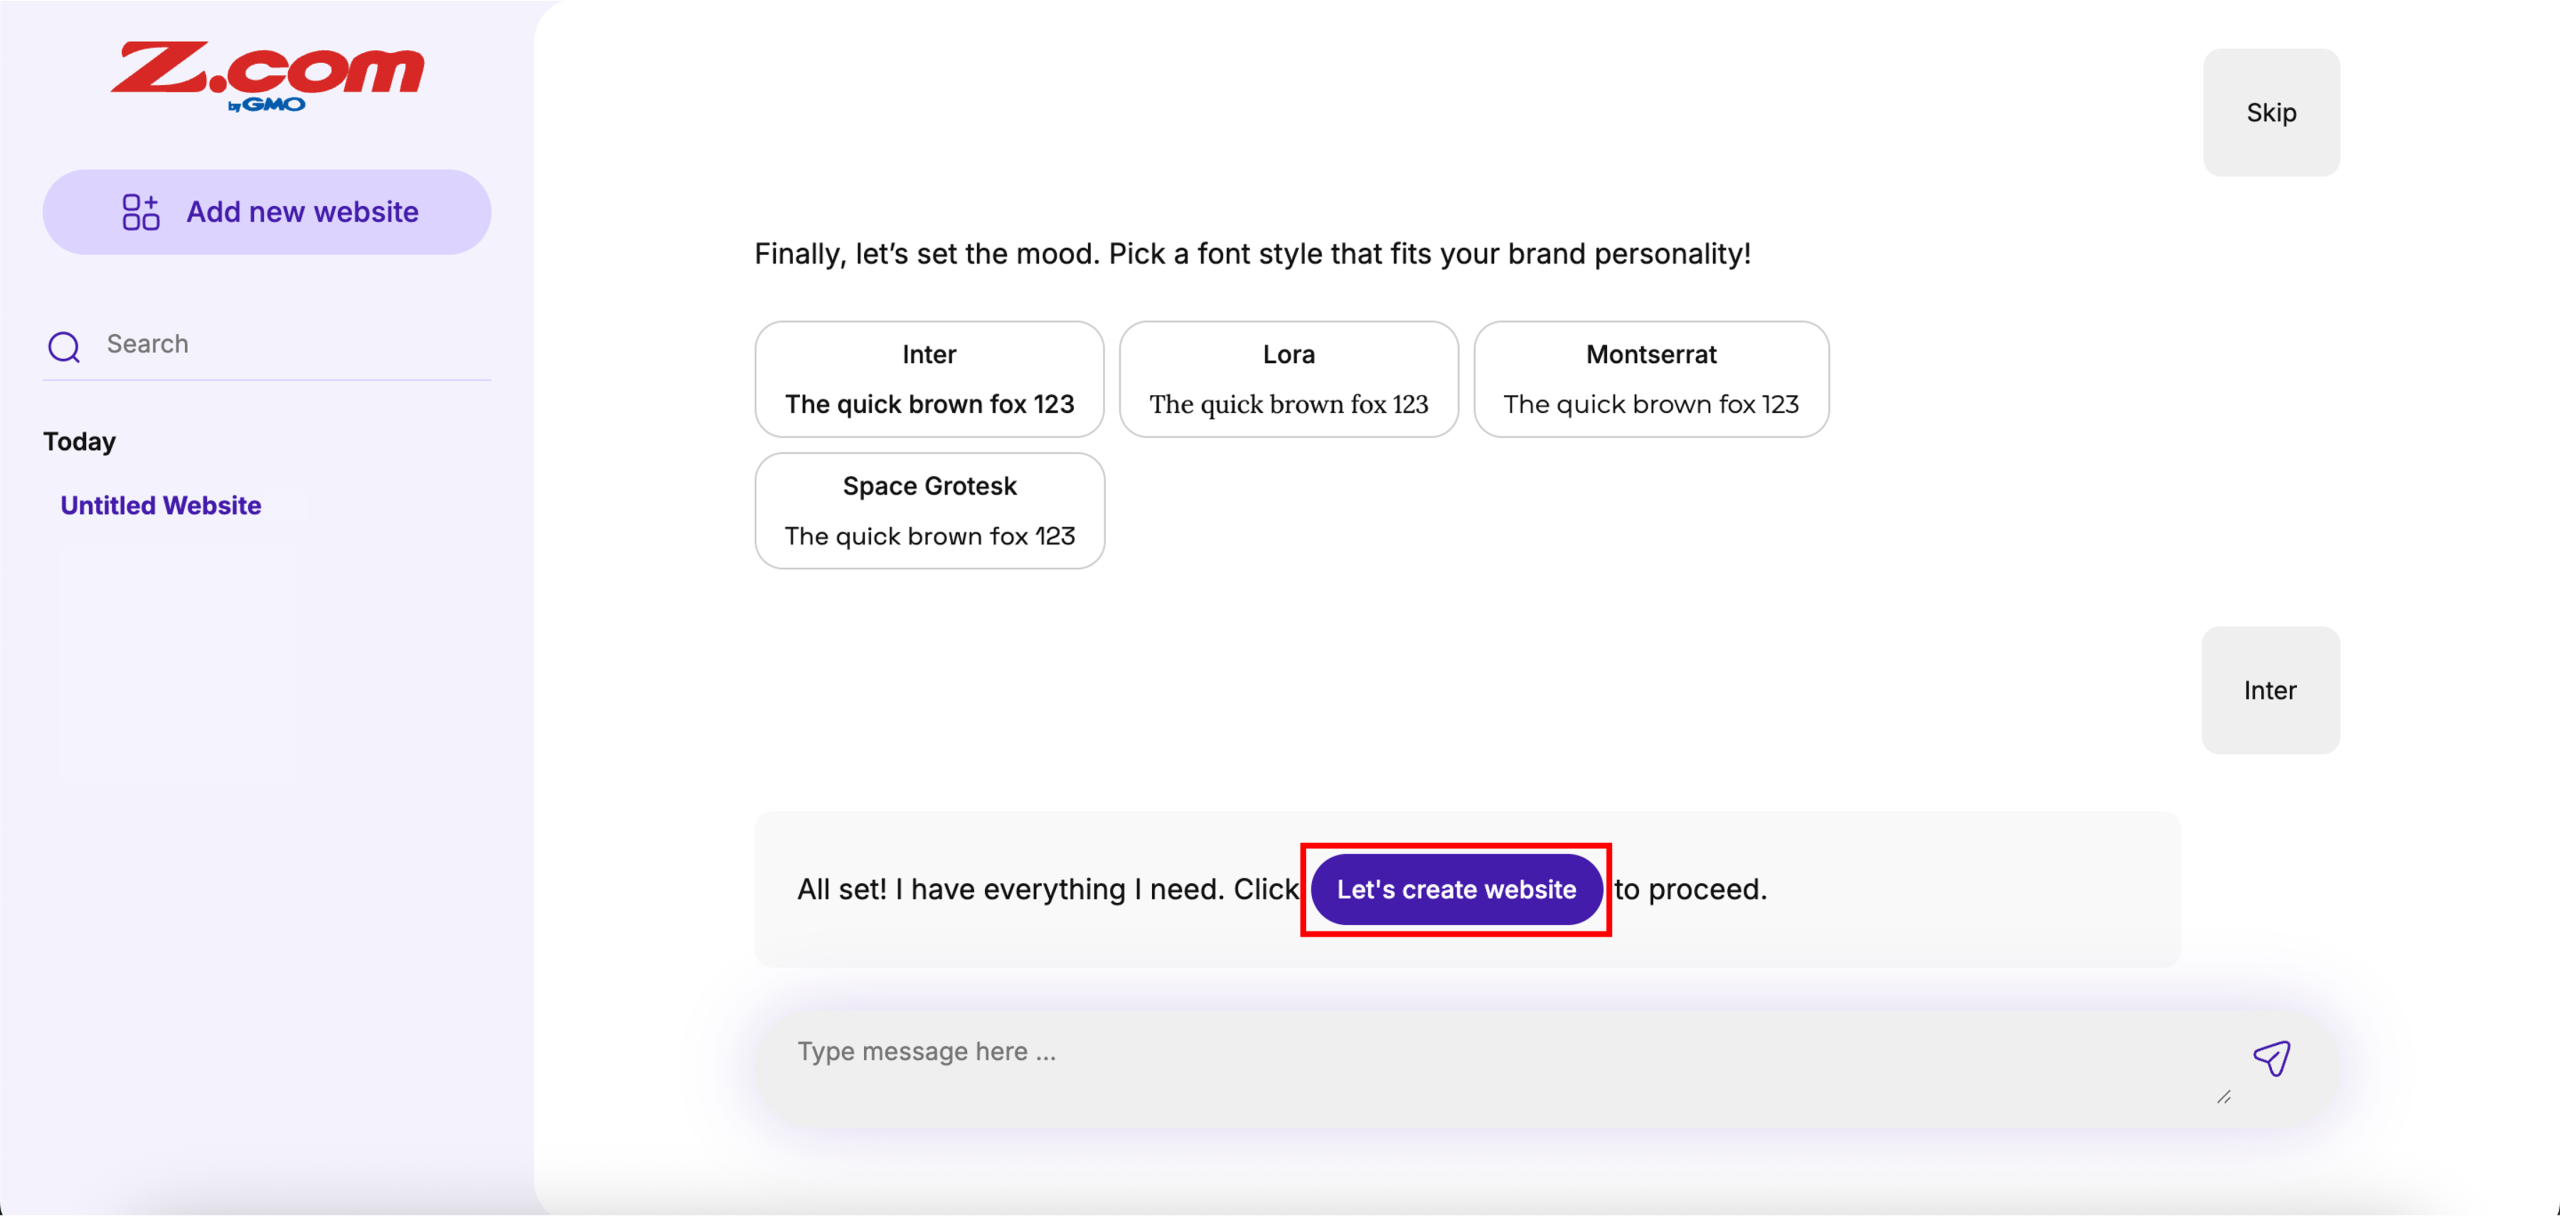
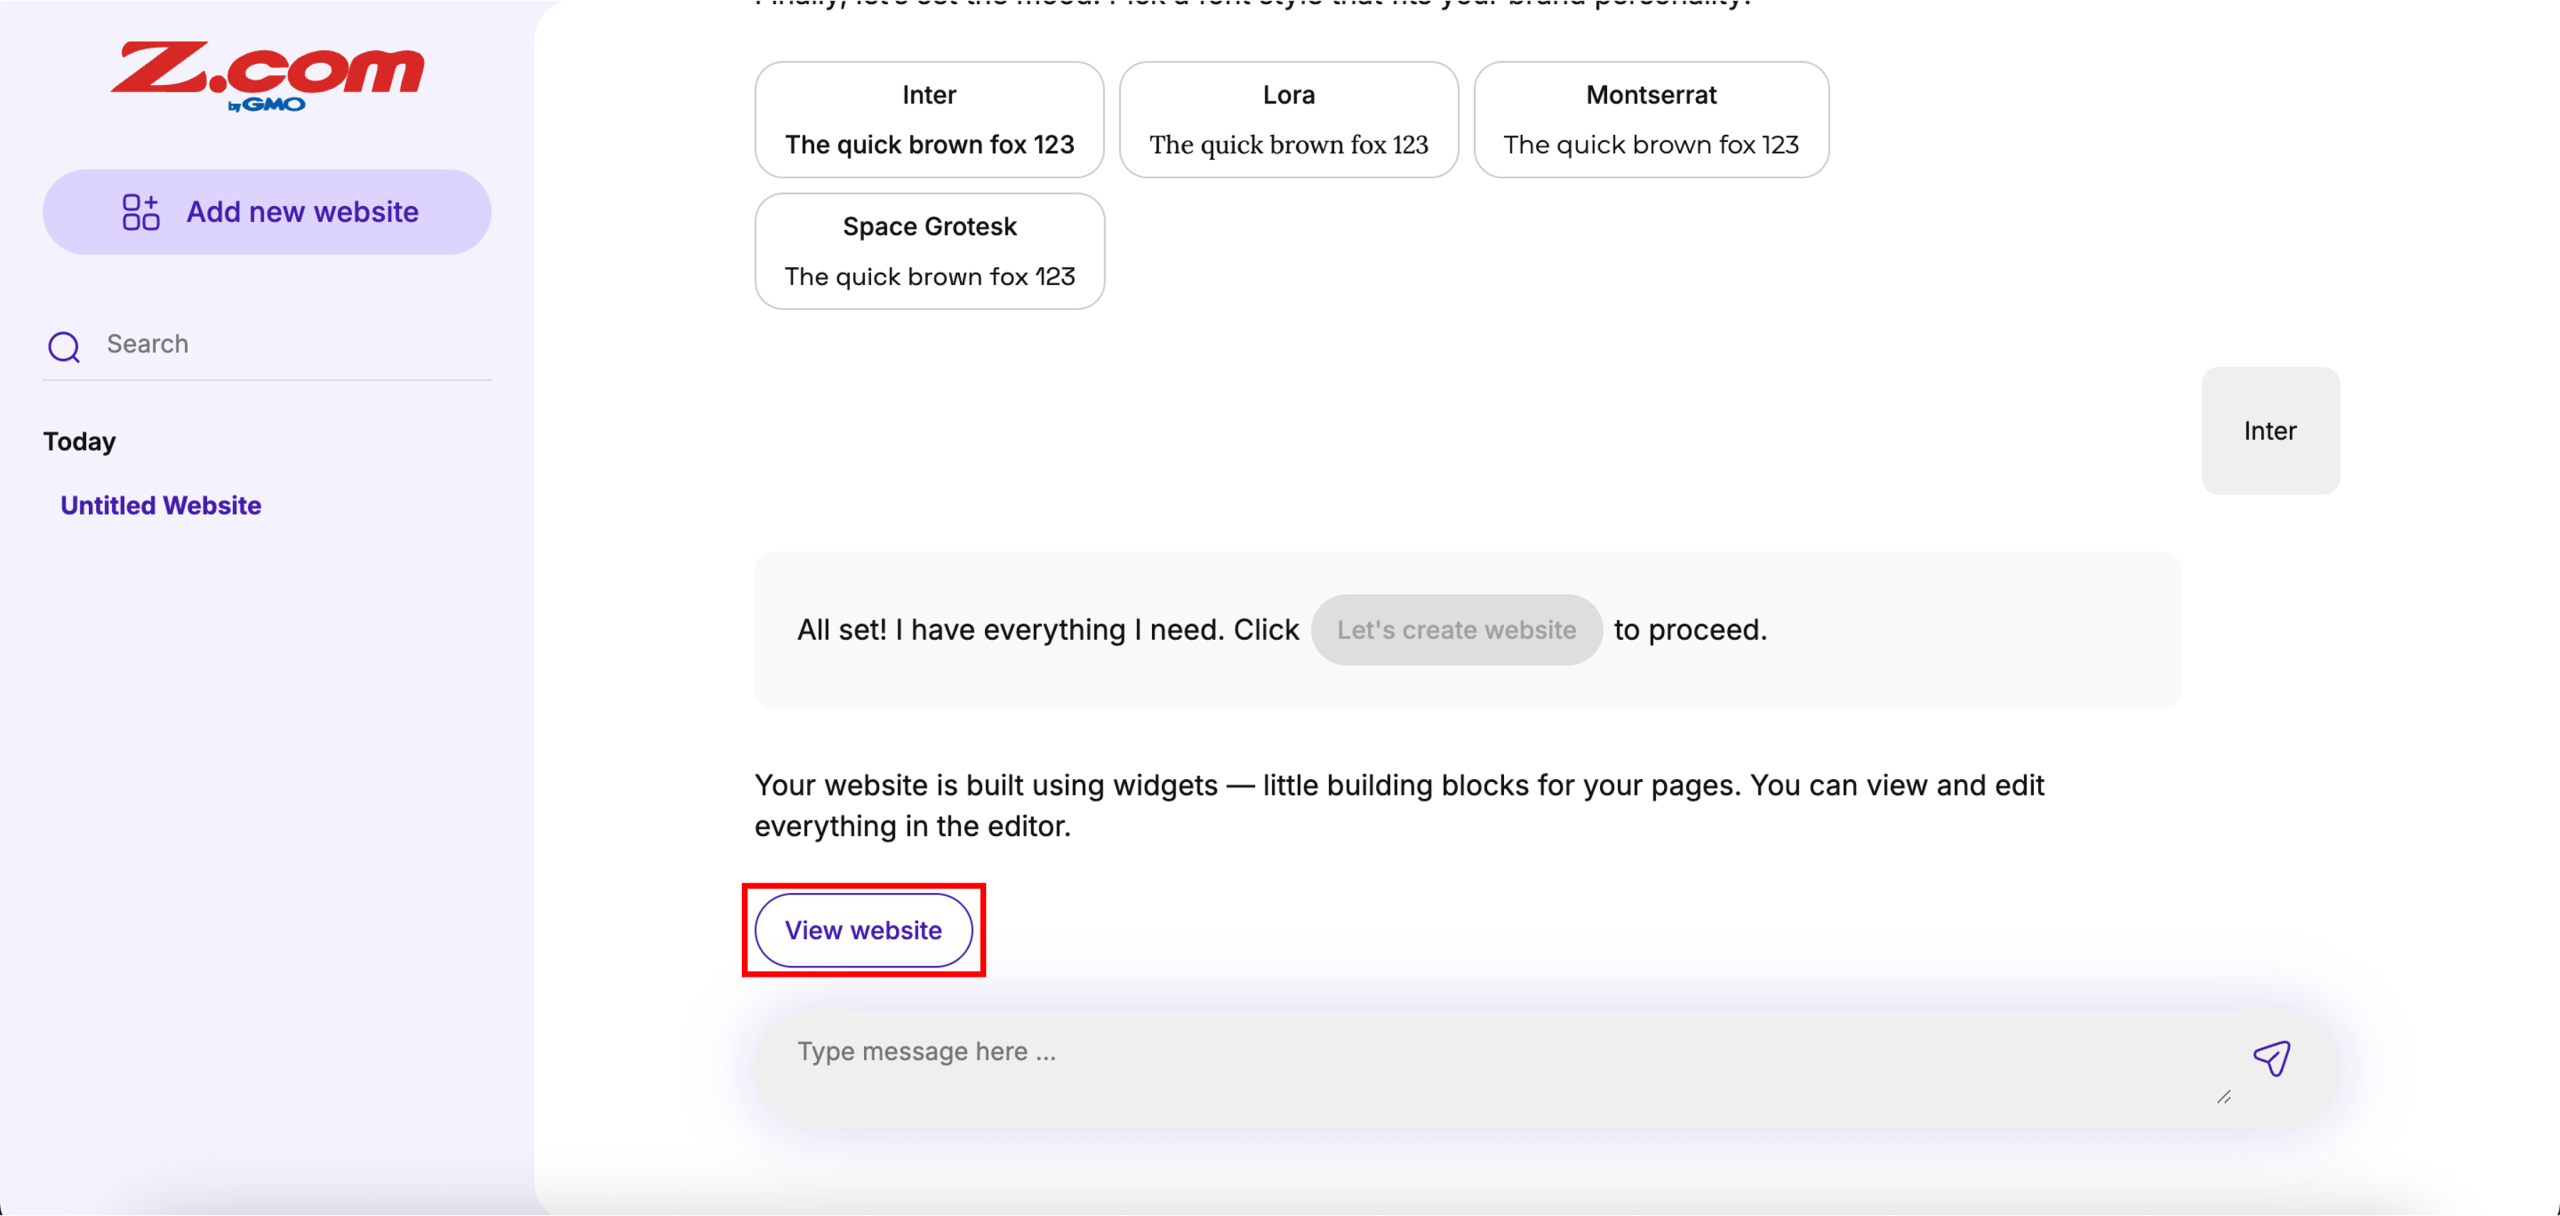
7. Click View website.
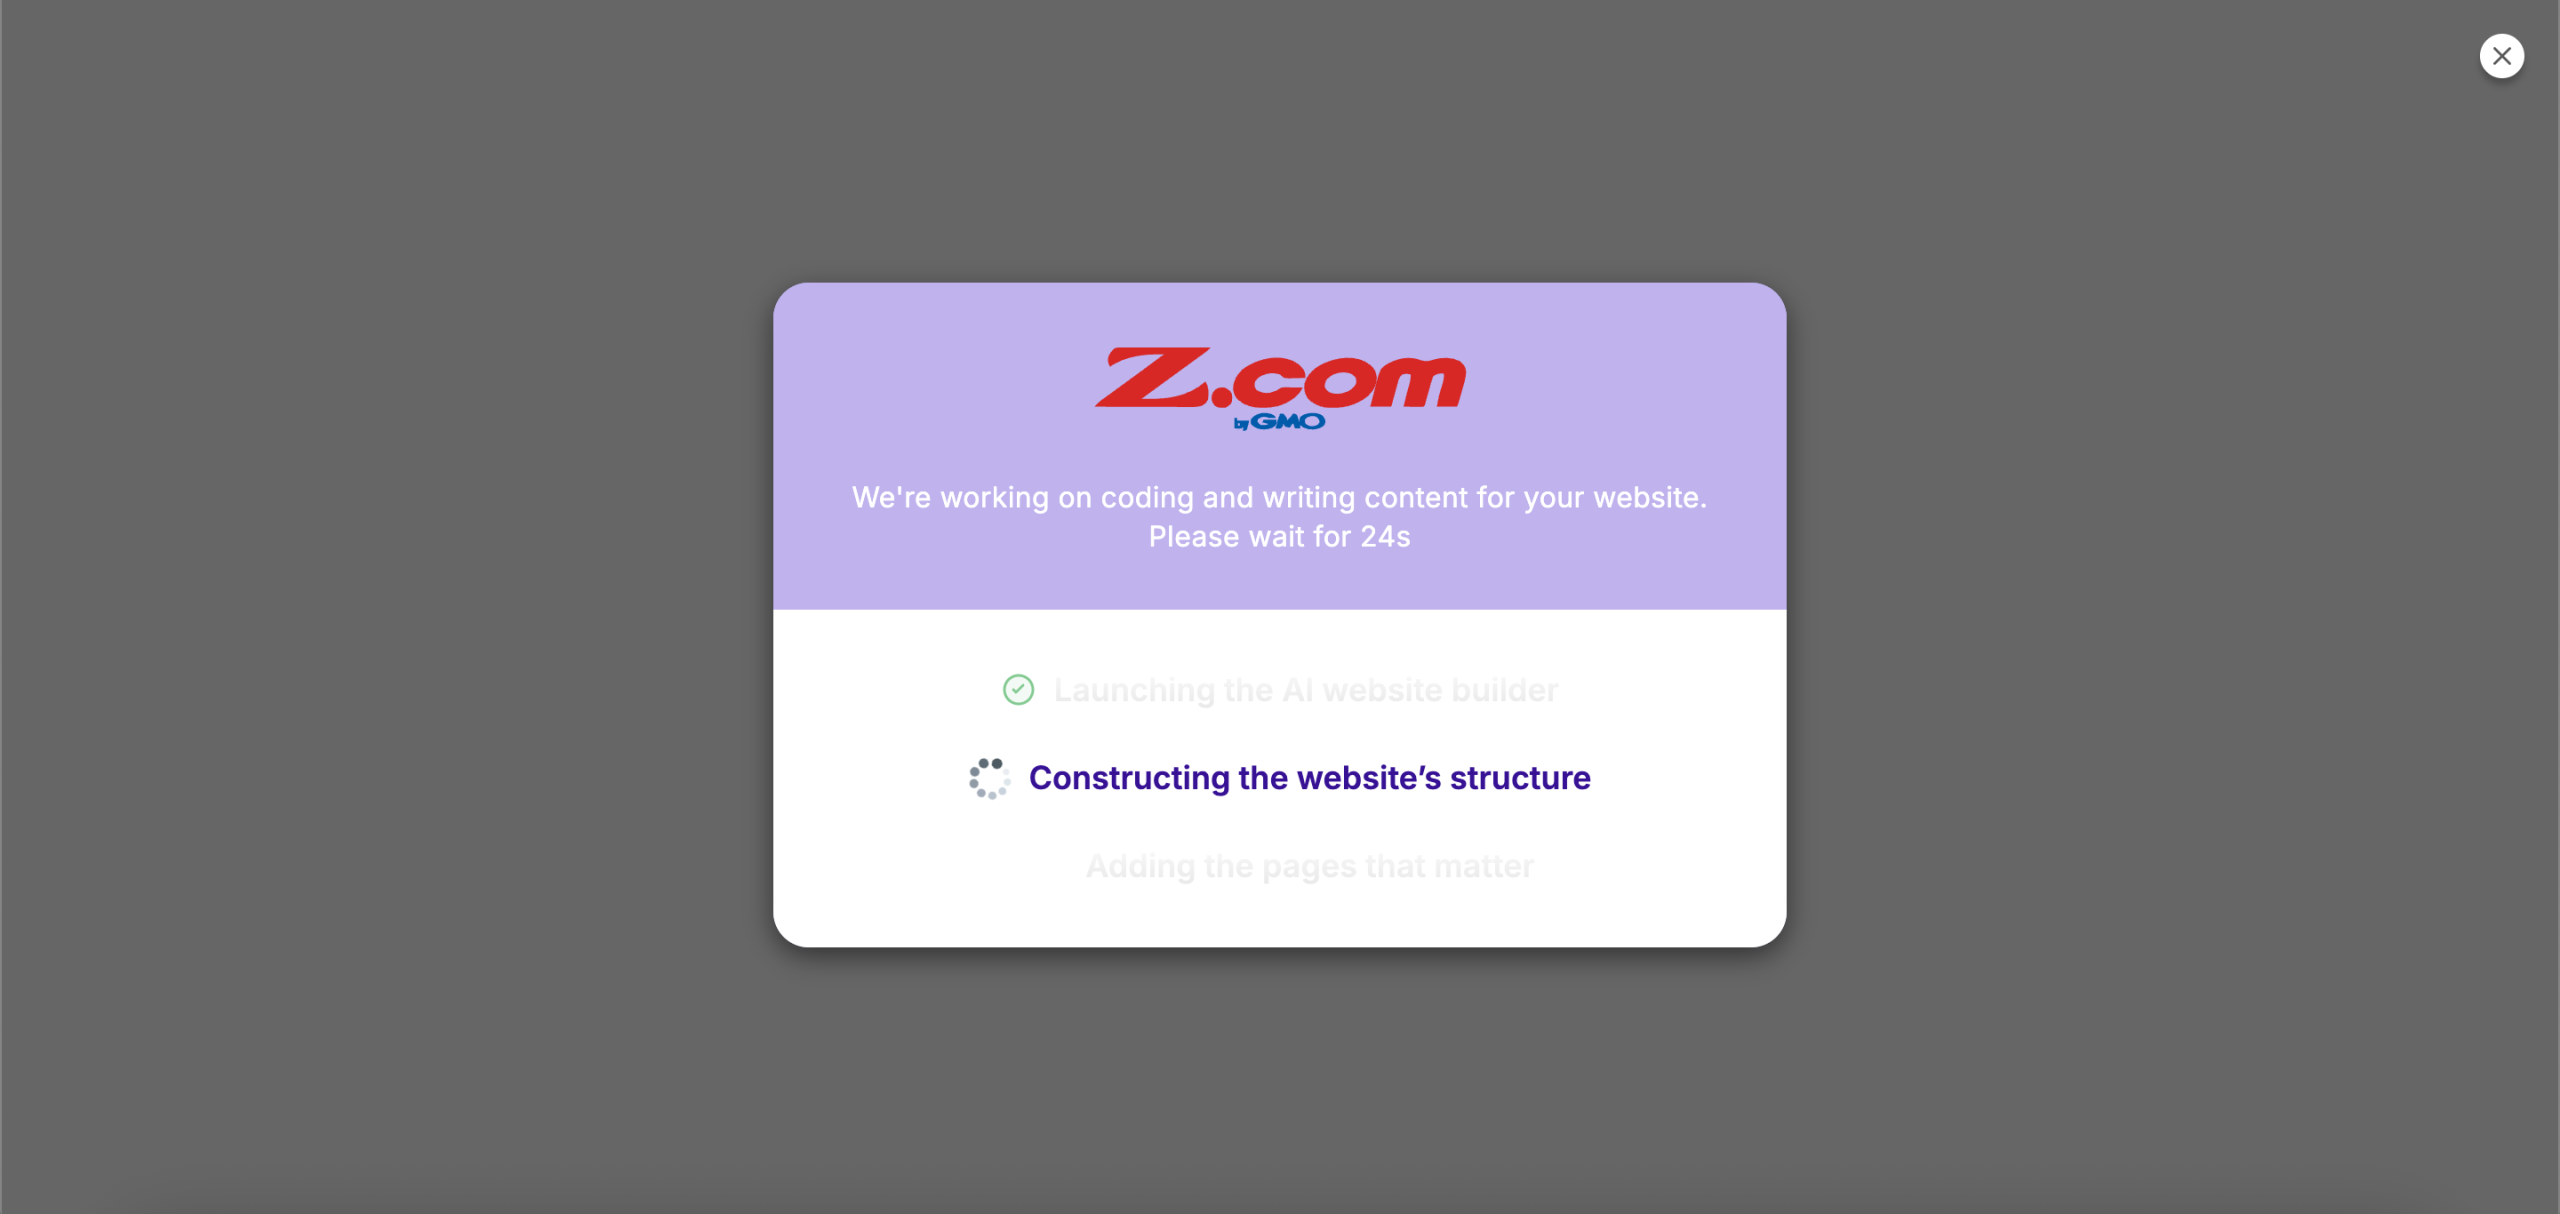
8. Done! The website setup process takes no more than 30 seconds, while the AI generates the key pages for you. Once complete, you should be redirected to your website, which will be published using a Z.com shared domain.
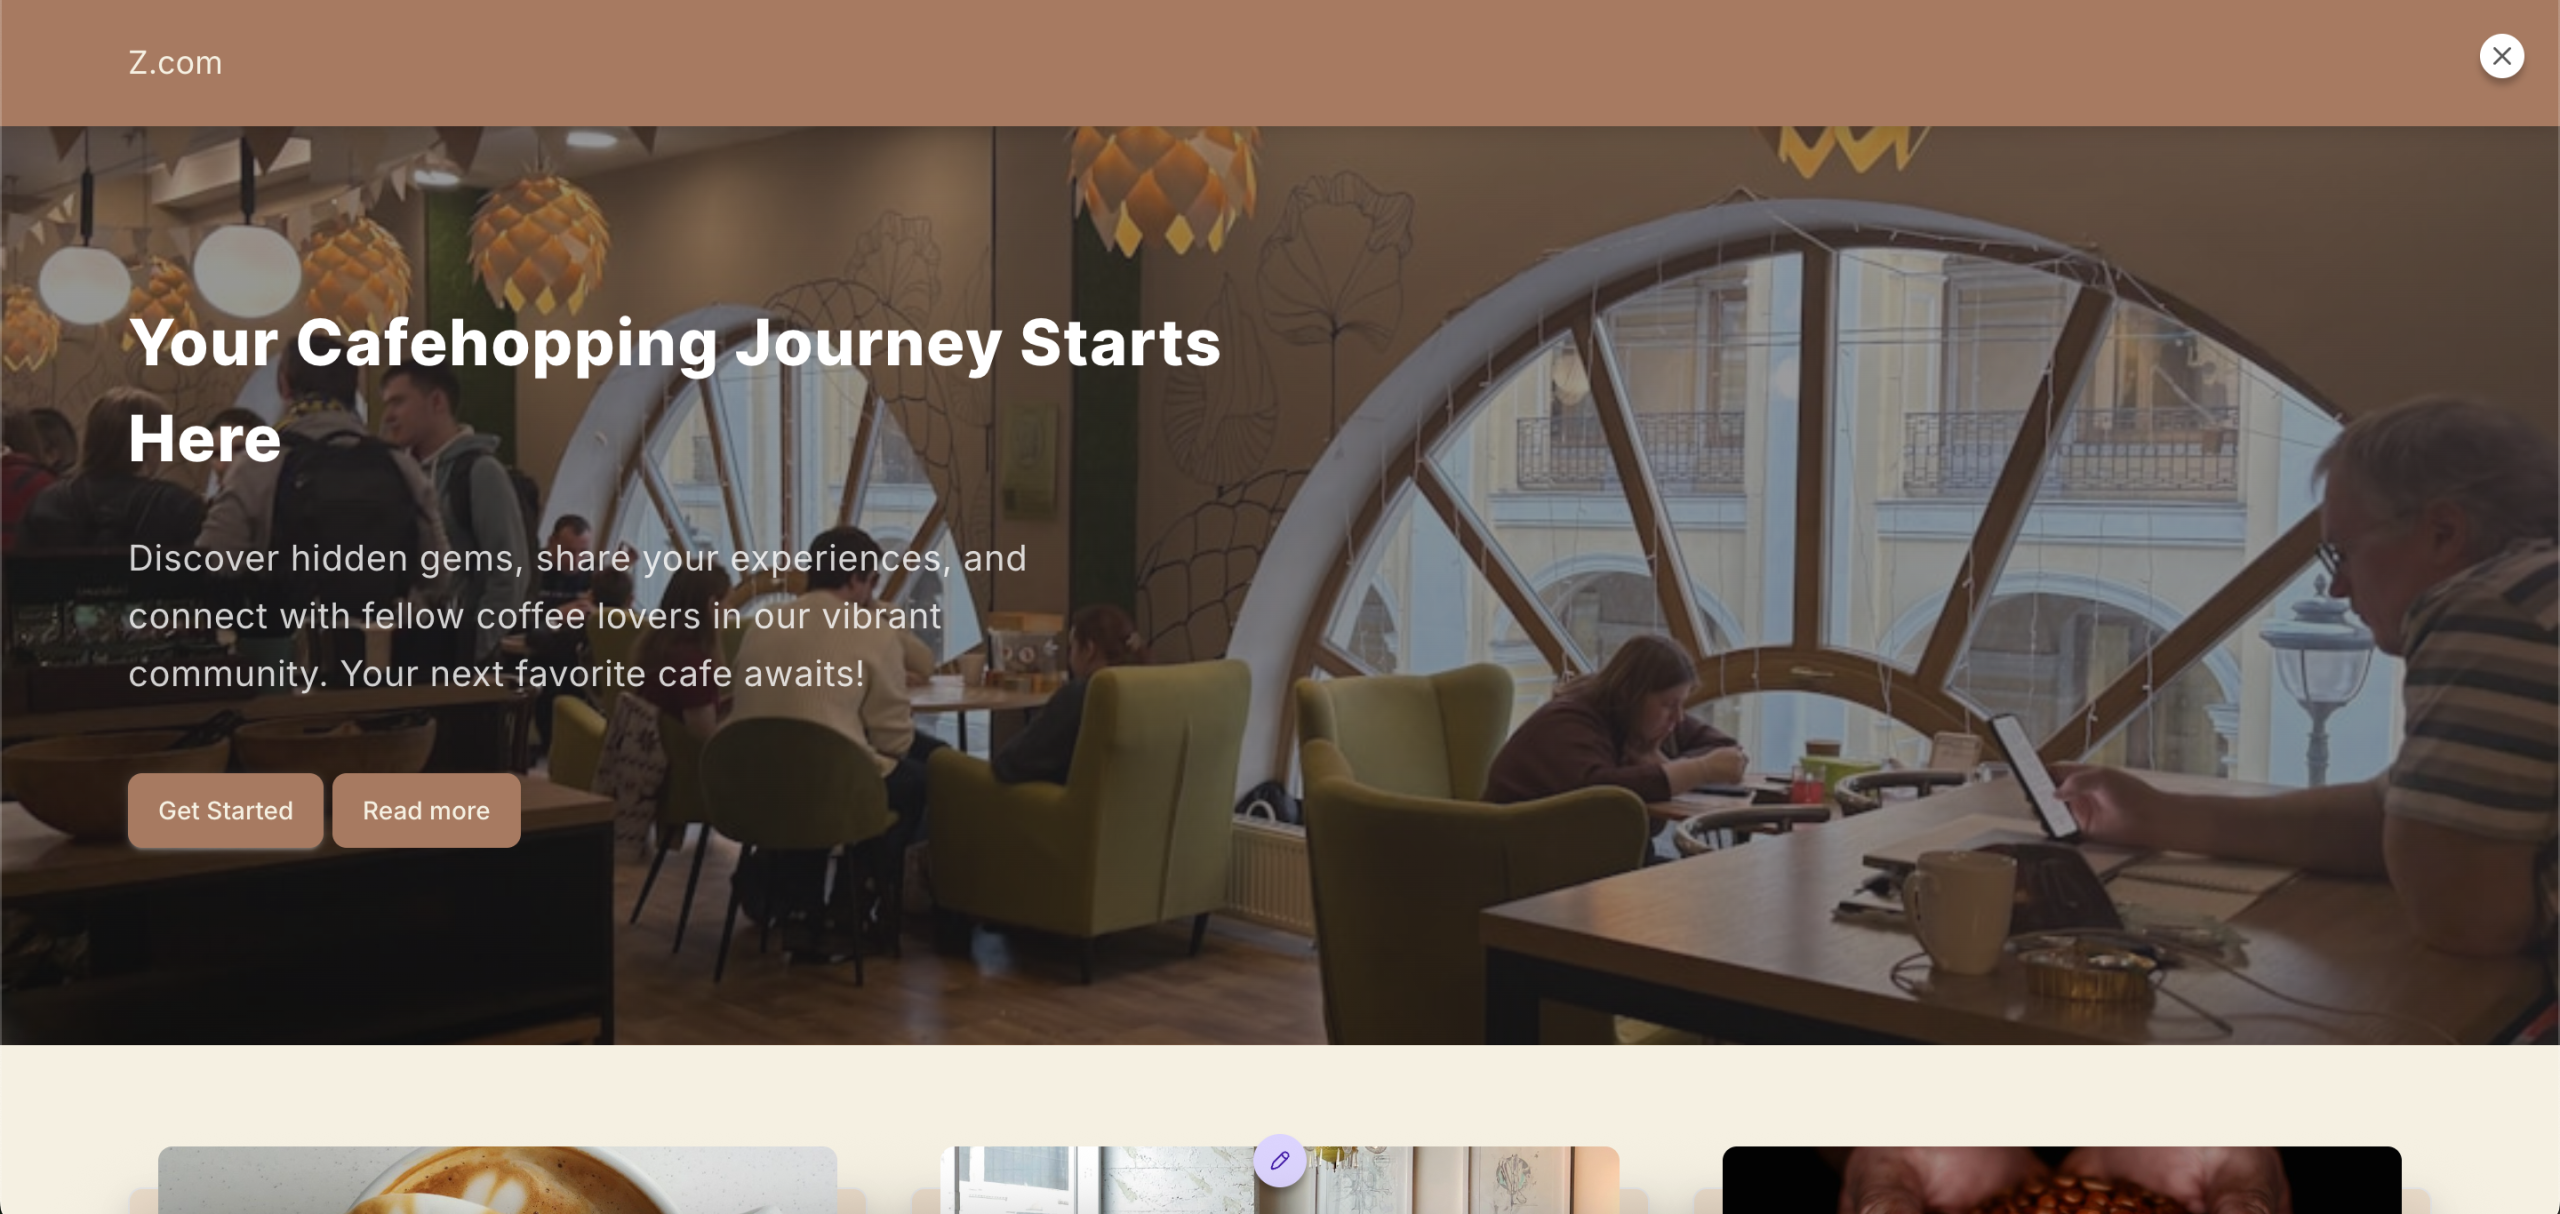
Note: If you would like to use your own domain, please refer to this guide on how to change your website domain from a shared domain to your own domain.