
Example :
How to set up an email or change my account settings.
- Help Center
- AI Powered Website Builder
- Webistes
- How to create a website in 8 simple steps with Z.com
How to create a website in 8 simple steps with Z.com
A website lets you share your ideas, brand, or business with the world. Whether it is a blog, portfolio, or company website, creating your online presence has never been simpler.
With Z.com’s hosting solutions, you can build and launch your website in just a few simple steps using the service that best fits your needs, from WordPress hosting for content creators, to shared hosting for developers, and MiraWEB for beginners who prefer a no-code website builder, all without needing any advanced technical skills.
Here is a quick overview of the eight steps to build your website successfully:
Table of contents
- 1. Decide what your website is for
- 2. Choose your website platform and hosting plan
- 3. Register your domain name
- 4. Set up your website
- 5. Design your website and add your content
- 6. Test your website before going live
- 7. Keep your website secure and up to date
- 8. Promote your website (SEO and Google ranking)
1. Decide what your website is for
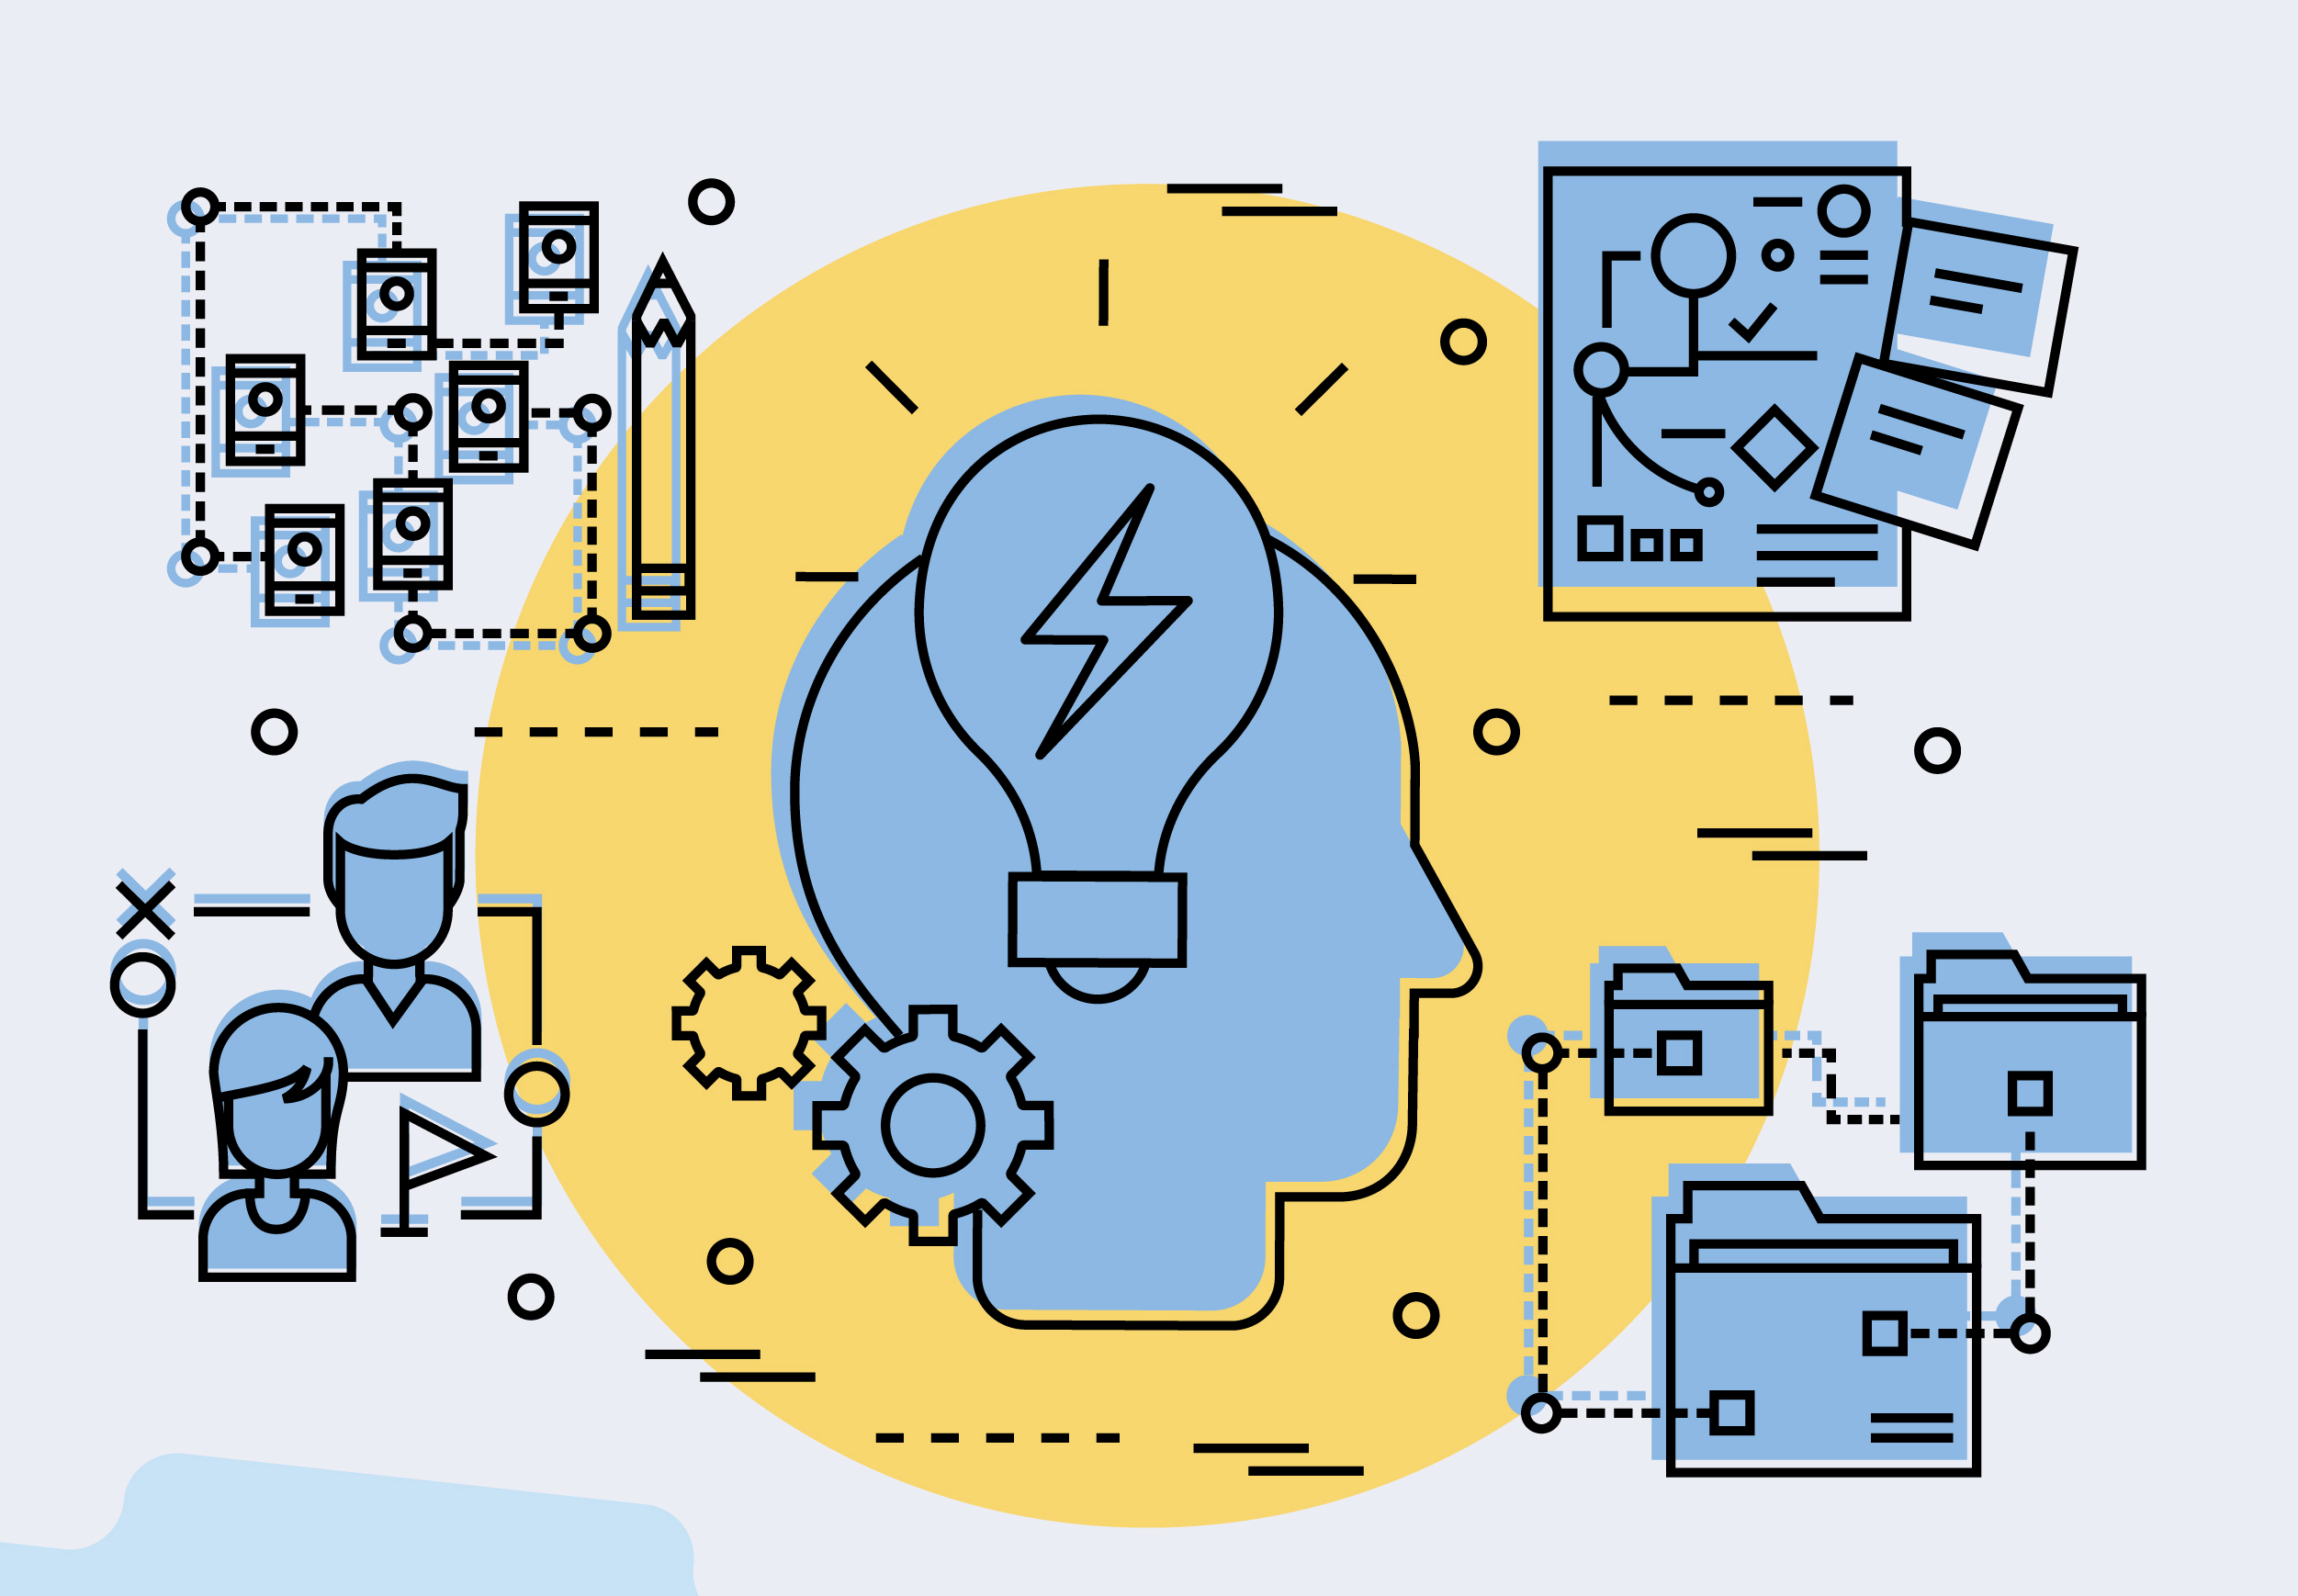
Every great website starts with a clear purpose.
Before you start building, think about what you want your website to achieve. Are you creating a personal blog, an online portfolio, a business website, or an e-commerce store? Your purpose will influence the type of content, design, and tools you will need.
For example:
• A blog focuses on regular updates, articles, and easy navigation.
• A portfolio highlights visuals, projects, and past work.
• A business website should include product or service pages and a contact form.
• An e-commerce store features product listings, shopping carts, and secure payment options to sell items online.
Having a clear goal from the start helps you choose the right website builder, hosting plan, and domain name, ensuring your website grows in the direction you envision.
*Tip: Be specific about your website’s purpose from the start. This will guide your design, content, and hosting choices, making it easier to attract the right audience.
2. Choose your website platform and hosting plan
Your hosting plan is the foundation of your website’s performance.
The platform and hosting plan you choose determine how your website is built, managed, and maintained. Z.com offers flexible options tailored to your goals and experience level:
• WordPress hosting – Best for bloggers, freelancers, and small businesses who want to use the world’s most popular content management system (CMS).
• Shared hosting – Ideal for developers and companies building custom websites or running multiple projects on one server.
• MiraWEB – Perfect for beginners who prefer a quick, no-code website builder with ready-made templates.
Each hosting plan includes built-in tools, free SSL, and flexible backup options, ensuring your website is reliable and secure from the start.
*Tip: Pick a hosting plan that matches your skills and goals. If you are a beginner, MiraWEB’s no-code platform is perfect. Content creators may prefer WordPress hosting, while developers can leverage shared hosting for flexibility.
3. Register your domain name

Your domain name is your website’s unique address on the internet. It is how people find and remember you online.
Pick a domain name that best represents your brand, business, or blog. Keep it short, simple, and easy to spell so visitors can remember it. For example, a company may use its business name, while a blogger or freelancer could include a personal name or topic-based keyword.
You can register your preferred domain name directly through Z.com in just a few clicks. Even if you are not ready to build your website yet, it is a great idea to secure your domain early to make sure no one else takes it. Later, you can easily connect it to your website or forward multiple domains to your main website for better branding and visibility.
Note: Our annual hosting plans include one free domain with selected TLDs. This is a limited-time promotion, and eligibility may vary. For full details and the latest information, please visit our website.
If your first choice is taken, try other extensions like .net, .co, or add keywords related to your business or location. For example, “mybrandstore.com”, “mybrandonline.net”, or “mybrandph.co”.
A well-chosen domain name boosts your brand credibility and helps people find your website more easily in search engines like Google.
*Tip: Keep your domain short, memorable, and brand-relevant. Consider alternative extensions (.net, .co) if your first choice is taken, and do not forget to point your nameservers to Z.com if registering a new domain.
For more detailed guidance, you can also use our AI-powered domain name generator. Try it here: Generate Domain with AI https://web.z.com/ph/domain/
4. Set up your website
Once you have your hosting plan and domain name, it is time to set up your website.
How you set up your website depends on the type of hosting plan you have chosen:
• WordPress hosting users:
There is no need to install WordPress manually, as it is already preconfigured for you. Simply log in to your Z.com Client Area and access WP Squared, your all-in-one WordPress management dashboard. From there, you can create a new website with just one click, log in to your WordPress admin page, and start customising right away.
Explore our WordPress hosting plans: https://web.z.com/ph/wordpress-hosting/
• Shared hosting users:
You can install WordPress (or another website platform) using cPanel’s one-click installer, or upload your own website files directly through the File Manager.
Explore our shared hosting plans: https://web.z.com/ph/hosting/
• MiraWEB users:
You can start building your website instantly with pre-designed templates and a simple drag-and-drop editor. No coding required.
Explore our MiraWEB plans: https://web.z.com/ph/websites/miraweb/
Note: Before proceeding, make sure your domain name is correctly connected to your hosting account. If your domain is registered with Z.com, you can easily update its DNS settings to point to the correct server. Please click here to view our guide on editing your domain’s DNS.
*Troubleshooting tip: After updating your domain’s nameservers or DNS settings, it may take 24 to 48 hours for the changes to propagate (a process known as DNS propagation) fully. If your website does not appear right away, do not worry. It will be accessible once the update is complete.
Once your domain and hosting are linked, your website will be ready for design and customisation in the next step.
5. Design your website and add your content
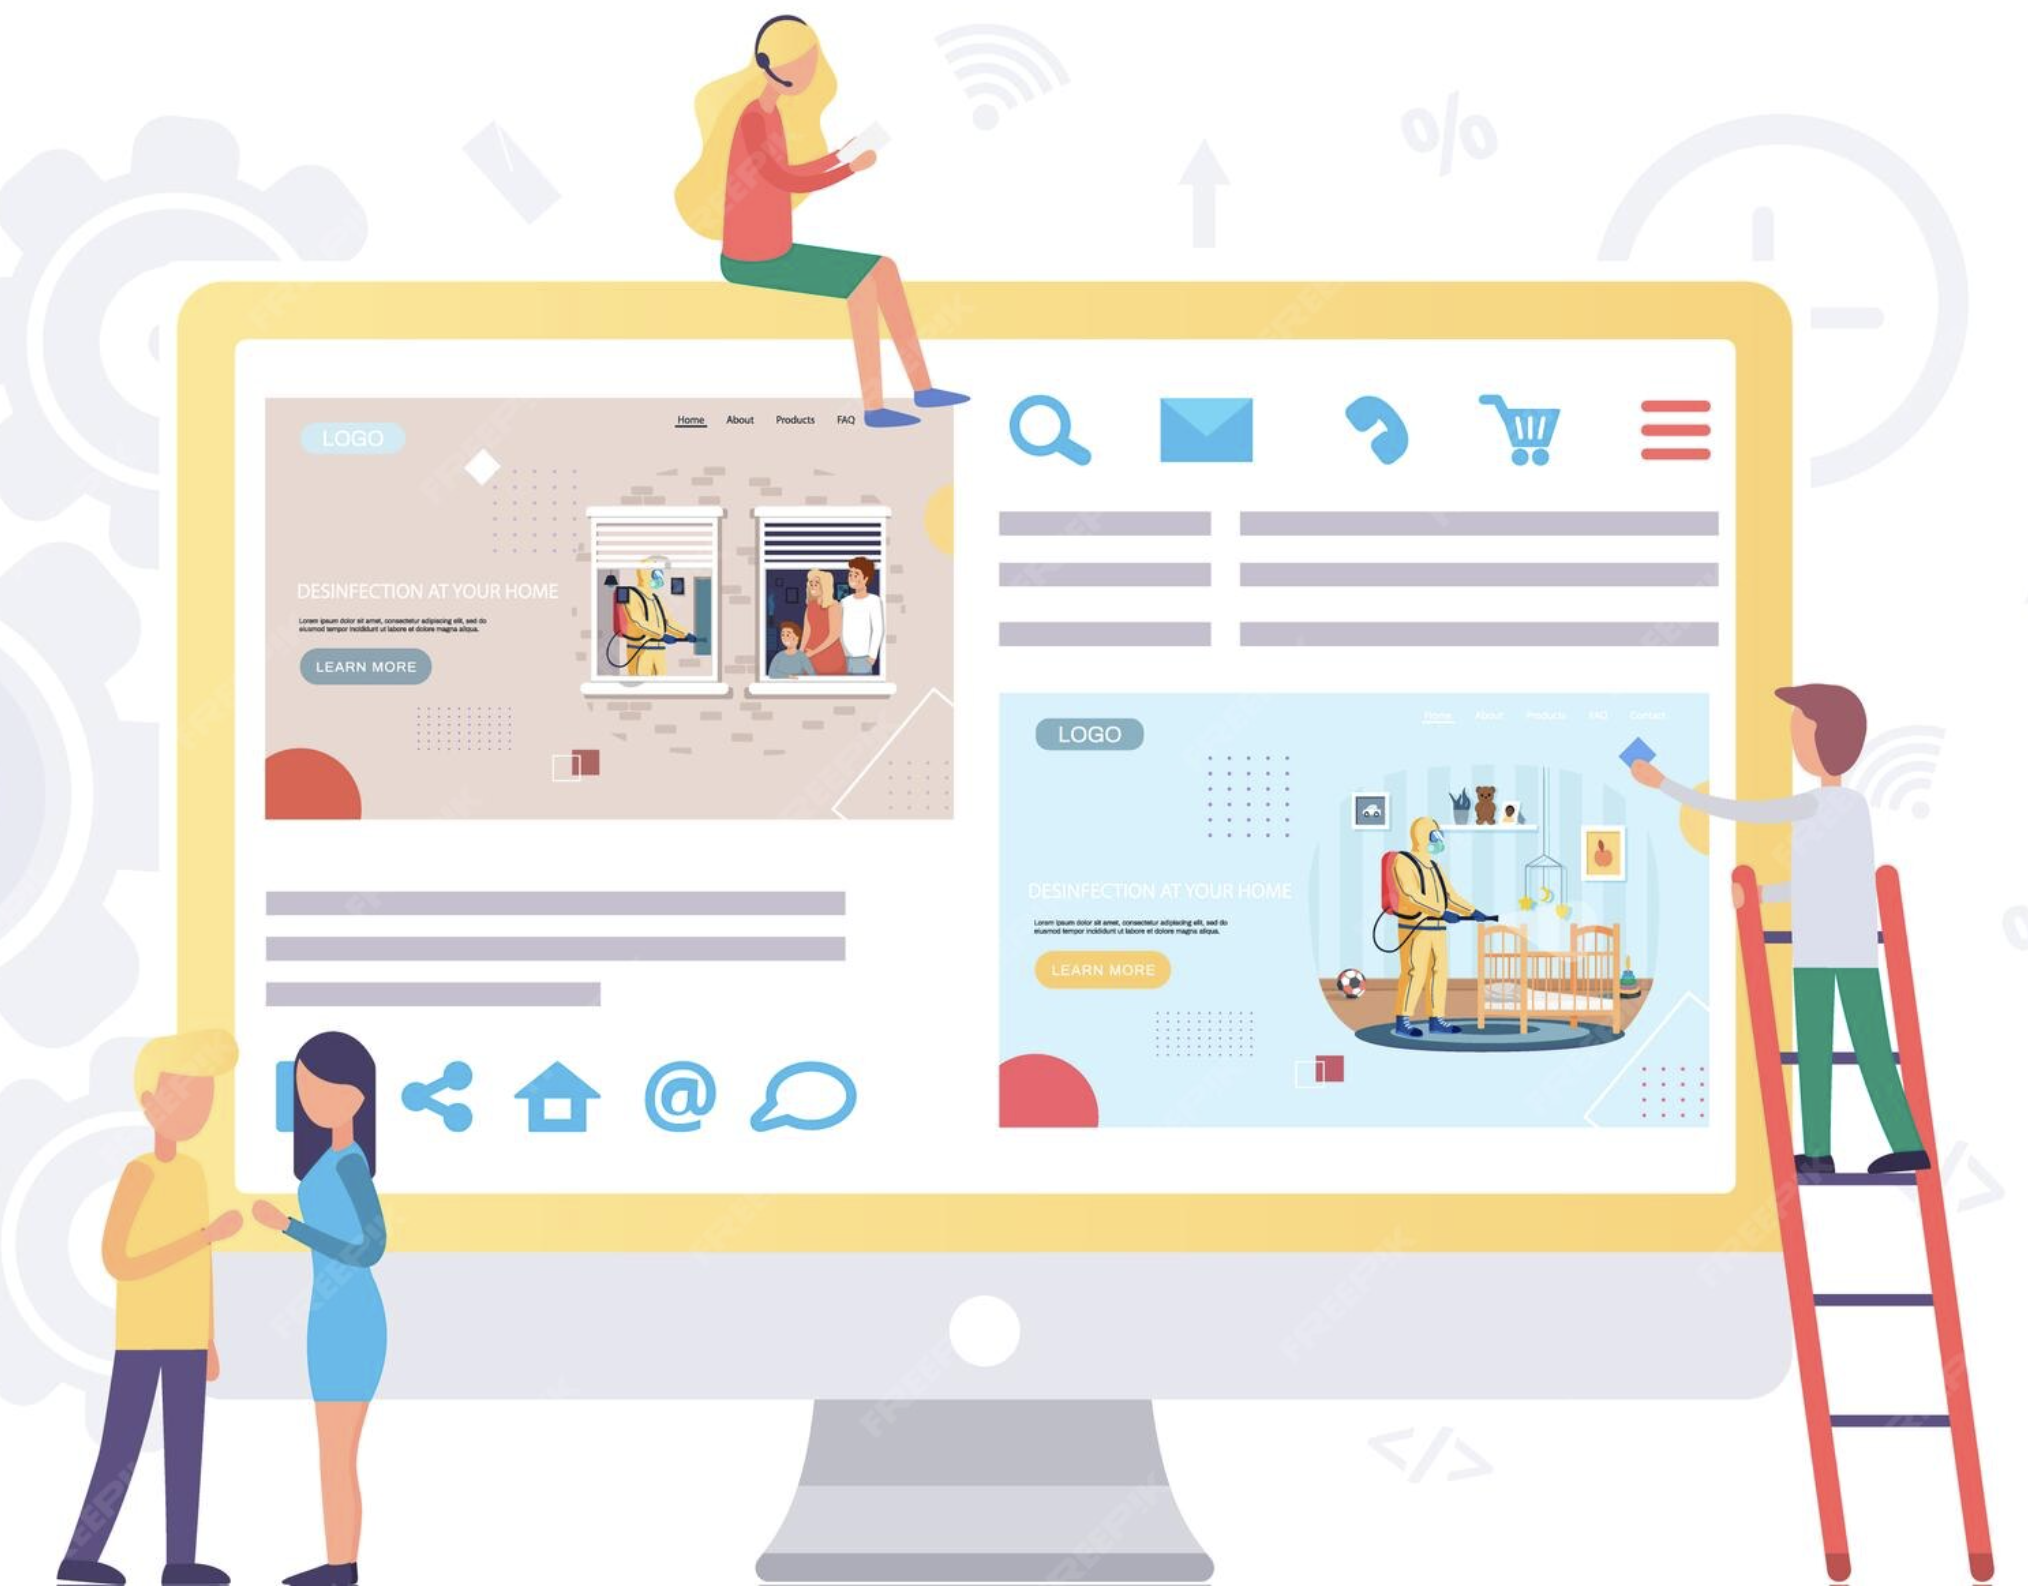
Your website’s design and content shape the first impression visitors have of your brand. This is also the fun part, bringing your ideas to life with a clean, simple design that helps visitors understand who you are and what you offer.
Choose a theme or template
Start by selecting a layout that matches your brand or purpose.
• WordPress hosting users: Choose from thousands of free or premium themes within your WP Squared dashboard. Most themes let you customise colours, fonts, and layouts without touching any code.
• Shared hosting users: If you are building your website from scratch or using another CMS, upload your own design or explore and use HTML templates that best fit your website’s goals.
• MiraWEB users: Pick a ready-made template and personalise it using the drag-and-drop editor. You can easily add images, text, and sections like “About” or “Contact” with just a few clicks.
Add your pages and content
Every website needs key pages that help visitors navigate easily. Common examples include:
• Home: Provide a clear overview of your brand or what your website is about.
• About: Share your story, mission, or team background to build trust.
• Services/Products: Highlight what you offer and how it benefits your audience.
• Contact: Include your email, contact form, or social media links so visitors can reach you easily.
• Blog: Create a space like a blog page if you plan to share regular updates, articles, or announcements.
Add your branding
Use your logo, brand colours, and consistent typography to make your website look professional and memorable. Consistency helps reinforce your brand identity and makes your website instantly recognisable.
*Tip: Keep your pages clean and balanced. Use headings, bullet points, visuals, and whitespace. Clear text and simple navigation make your website engaging and easy to explore on desktop and mobile devices.
6. Test your website before going live
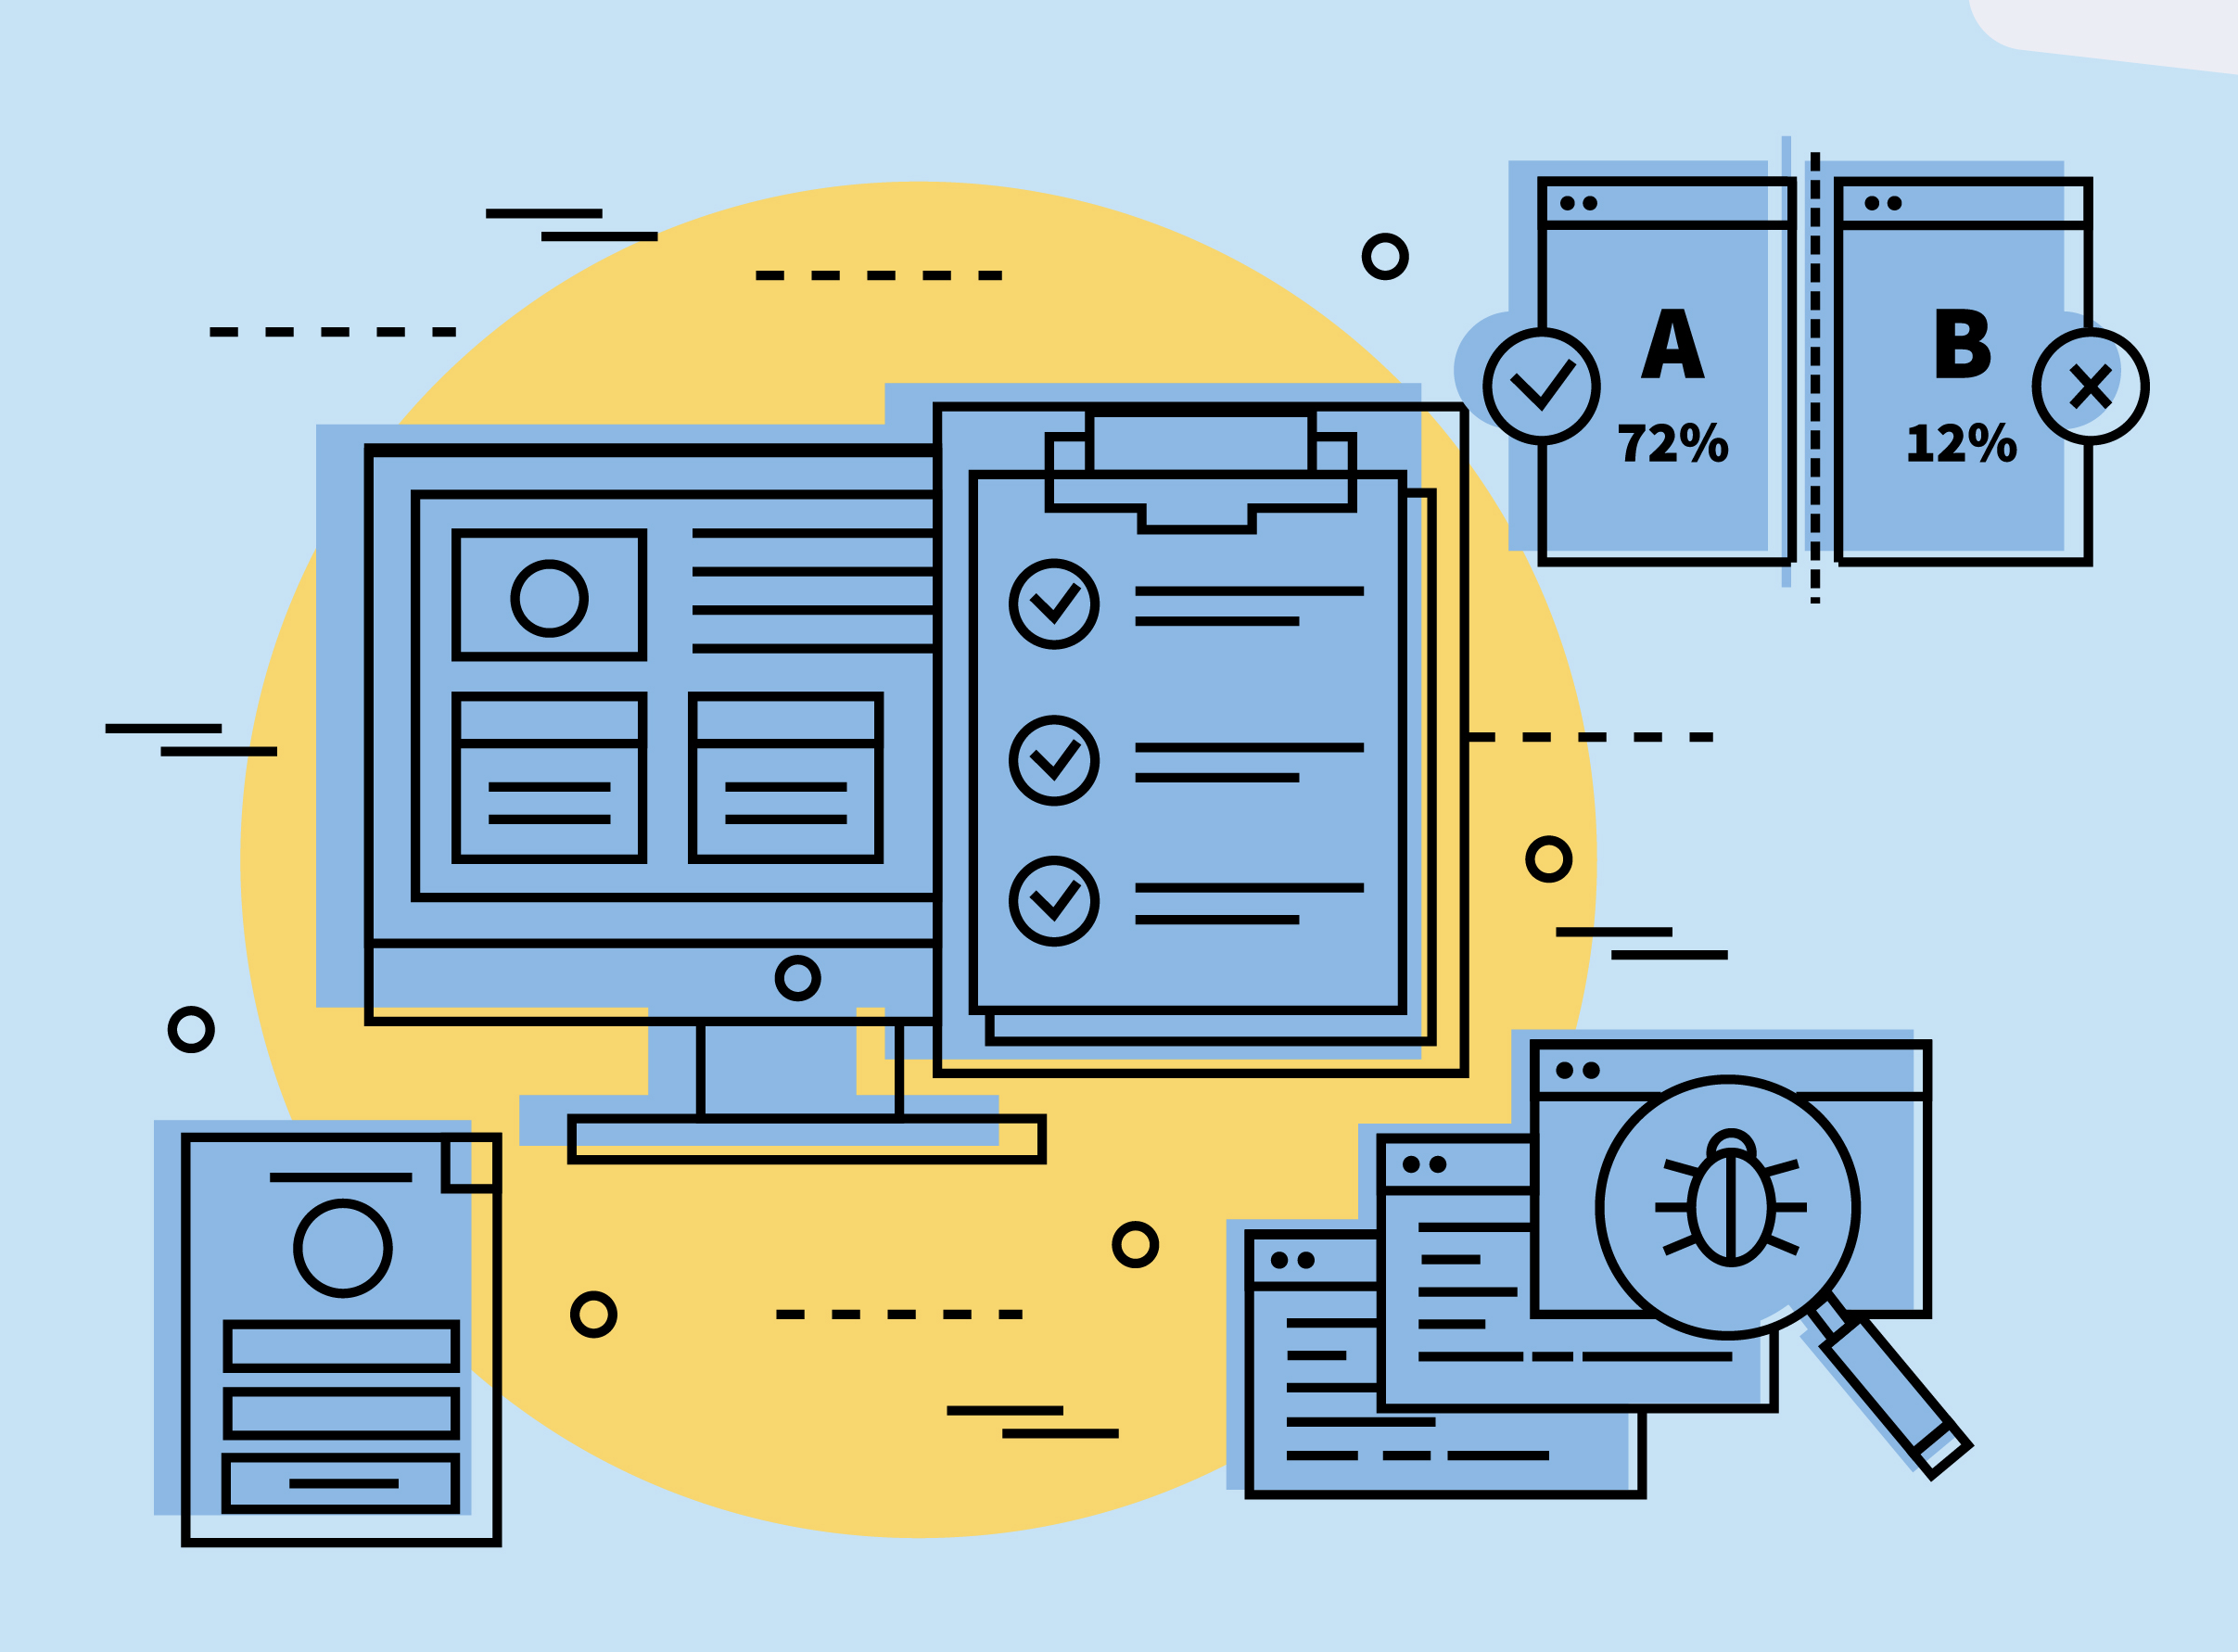
Before publishing your website, it is important to test everything thoroughly. This ensures that your visitors enjoy a smooth, professional experience right from the start.
Check your website’s performance and layout
Preview your website on desktop, tablet, and mobile devices to ensure it looks good across all devices. Test your menus, buttons, and links to confirm that all pages load correctly and quickly.
Review your content and design
Proofread your text for typos and grammar errors, double-check that all images display properly, and make sure your brand colours and fonts appear consistently across all pages.
Optimise for speed and SEO
A fast-loading website ranks better on Google and provides a better user experience. Compress large images, remove unnecessary plugins, and use caching tools when available. Make sure each page has a clear title, meta description, and relevant keywords to help search engines understand your content.
Check forms and integrations
If you have a contact form, newsletter signup, or shopping cart, submit a few test entries to ensure everything works as expected. Also, verify that any third-party tools (like analytics or payment gateways) are properly connected.
*Tip: Check for broken links or missing images. Treat this step as your final “quality check”. It is easier to fix minor issues now than after your website goes live.
7. Keep your website secure and up to date
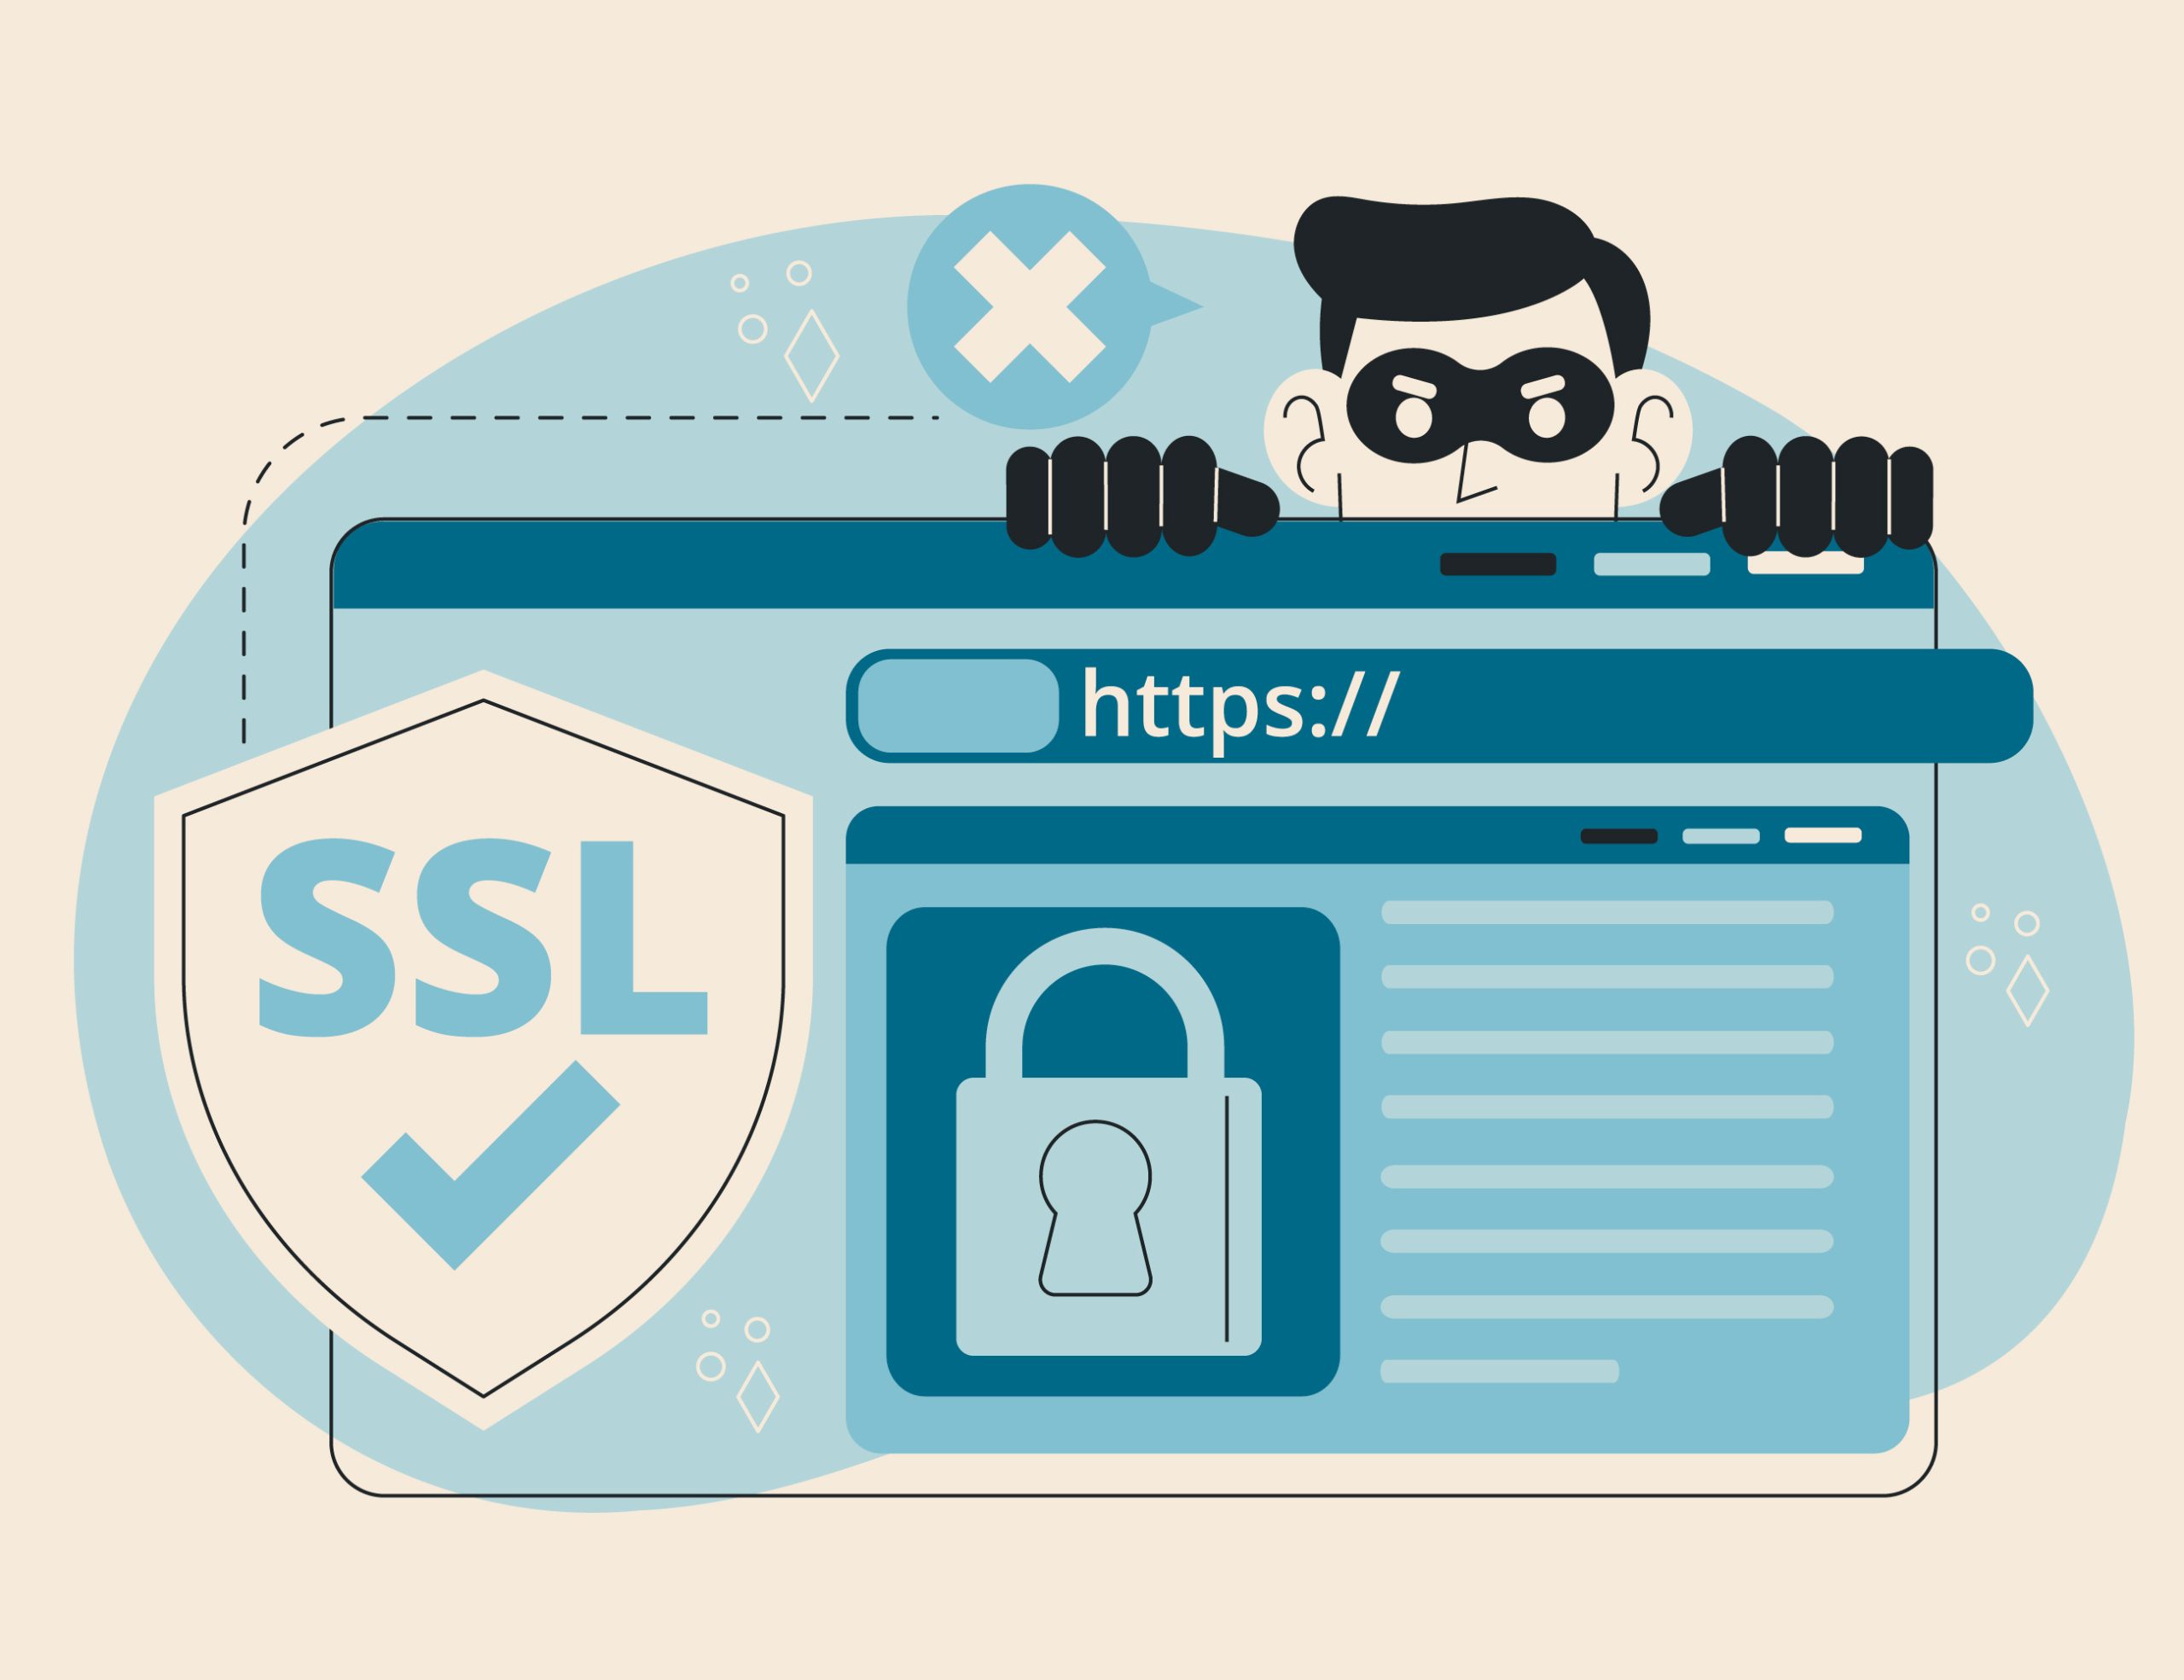
Once your website goes live, regular maintenance and security checks keep it running smoothly while helping to protect your data, build trust, and maintain strong website performance.
Update your website regularly
Keep your website software, plugins, and themes up to date to prevent compatibility issues and security vulnerabilities.
• WordPress hosting users: Updates can usually be managed directly through your WP Squared dashboard.
• Shared hosting users: Make sure to check your CMS or scripts for updates regularly, especially if you have built your website manually.
• MiraWEB users: The platform handles most updates automatically, so you can focus on managing your content.
Back up your website
Regular backups protect your data in case of errors or unexpected issues.
Z.com’s hosting services offer both automatic and manual backup options, allowing you to restore your website quickly when needed.
Secure your website with SSL and strong passwords
SSL (Secure Sockets Layer) encrypts data transferred between your website and its visitors, keeping information safe.
• Z.com provides free SSL certificates with every hosting plan, ensuring secure and trustworthy connections.
• Use strong, unique passwords for all admin accounts and enable two-factor authentication (2FA) when possible.
Monitor website performance and uptime
Use analytics and monitoring tools to track performance and uptime. A slow or frequently offline website can affect your SEO and user experience.
Tools like Google Analytics, Google Search Console, or built-in performance monitors in your hosting dashboard can help identify and fix issues early.
*Tip: Schedule a monthly or quarterly “website checkup” to review your content, test your links, and ensure all pages load properly. Minor, regular updates help prevent bigger problems later on.
8. Promote your website (SEO and Google ranking)
Promoting your website through SEO helps people find your content, grow your online presence, and improve your Google ranking.
Optimise your content
Use clear headings, descriptive page titles, and concise meta descriptions to make your pages easy to understand for both visitors and search engines. Include relevant keywords naturally throughout your content, without overstuffing.
Use images and media wisely
Images and videos make your website more engaging, but large files can slow it down. Always compress your images before uploading. Do not forget to add alt text, a short description of what the image shows. Alt text helps visitors using screen readers understand your content and also helps Google know what your images are about, which can improve your SEO.
Build links
Internal links (connecting your pages) help visitors navigate your website and allow search engines to index your content. External links to reputable sources can improve your website’s credibility and ranking.
Promote on social media
Share your website on platforms like Facebook, Instagram, LinkedIn, or Twitter. Social engagement drives traffic and signals relevance to search engines.
Track performance
Tools like Google Analytics and Google Search Console let you monitor visitor behaviour, keyword performance, and website health. Use these insights to improve content, fix issues, and grow your online visibility.
*Tip: SEO is an ongoing process. Regularly update your website, add new content, and refine keywords to maintain and improve your search ranking.
Launch your website with confidence using Z.com’s reliable hosting solutions. Choose from WordPress hosting, shared hosting, or MiraWEB, and start reaching your audience today!