Example :
How to set up an email or change my account settings.
- Help Center
- WordPress Hosting
- Websites
- How to enable WordPress debugging using the WP Squared dashboard
How to enable WordPress debugging using the WP Squared dashboard
WordPress debugging helps you identify errors and issues on your website, such as plugin conflicts, theme problems, or PHP warnings. Enabling debug mode allows WordPress to display or log error messages that can assist with troubleshooting.
In the WP Squared dashboard, you can enable WordPress debugging through the Tools section without manually editing configuration files. This guide explains how to enable debug mode for your WordPress website using the WP Squared dashboard.
Note:
• Debug mode may display error messages on your website.
• It is recommended to enable debugging only for troubleshooting purposes.
• Disable debug mode after resolving the issue to prevent exposing sensitive information.
• If you are unsure about the errors shown, consult a developer before making changes.
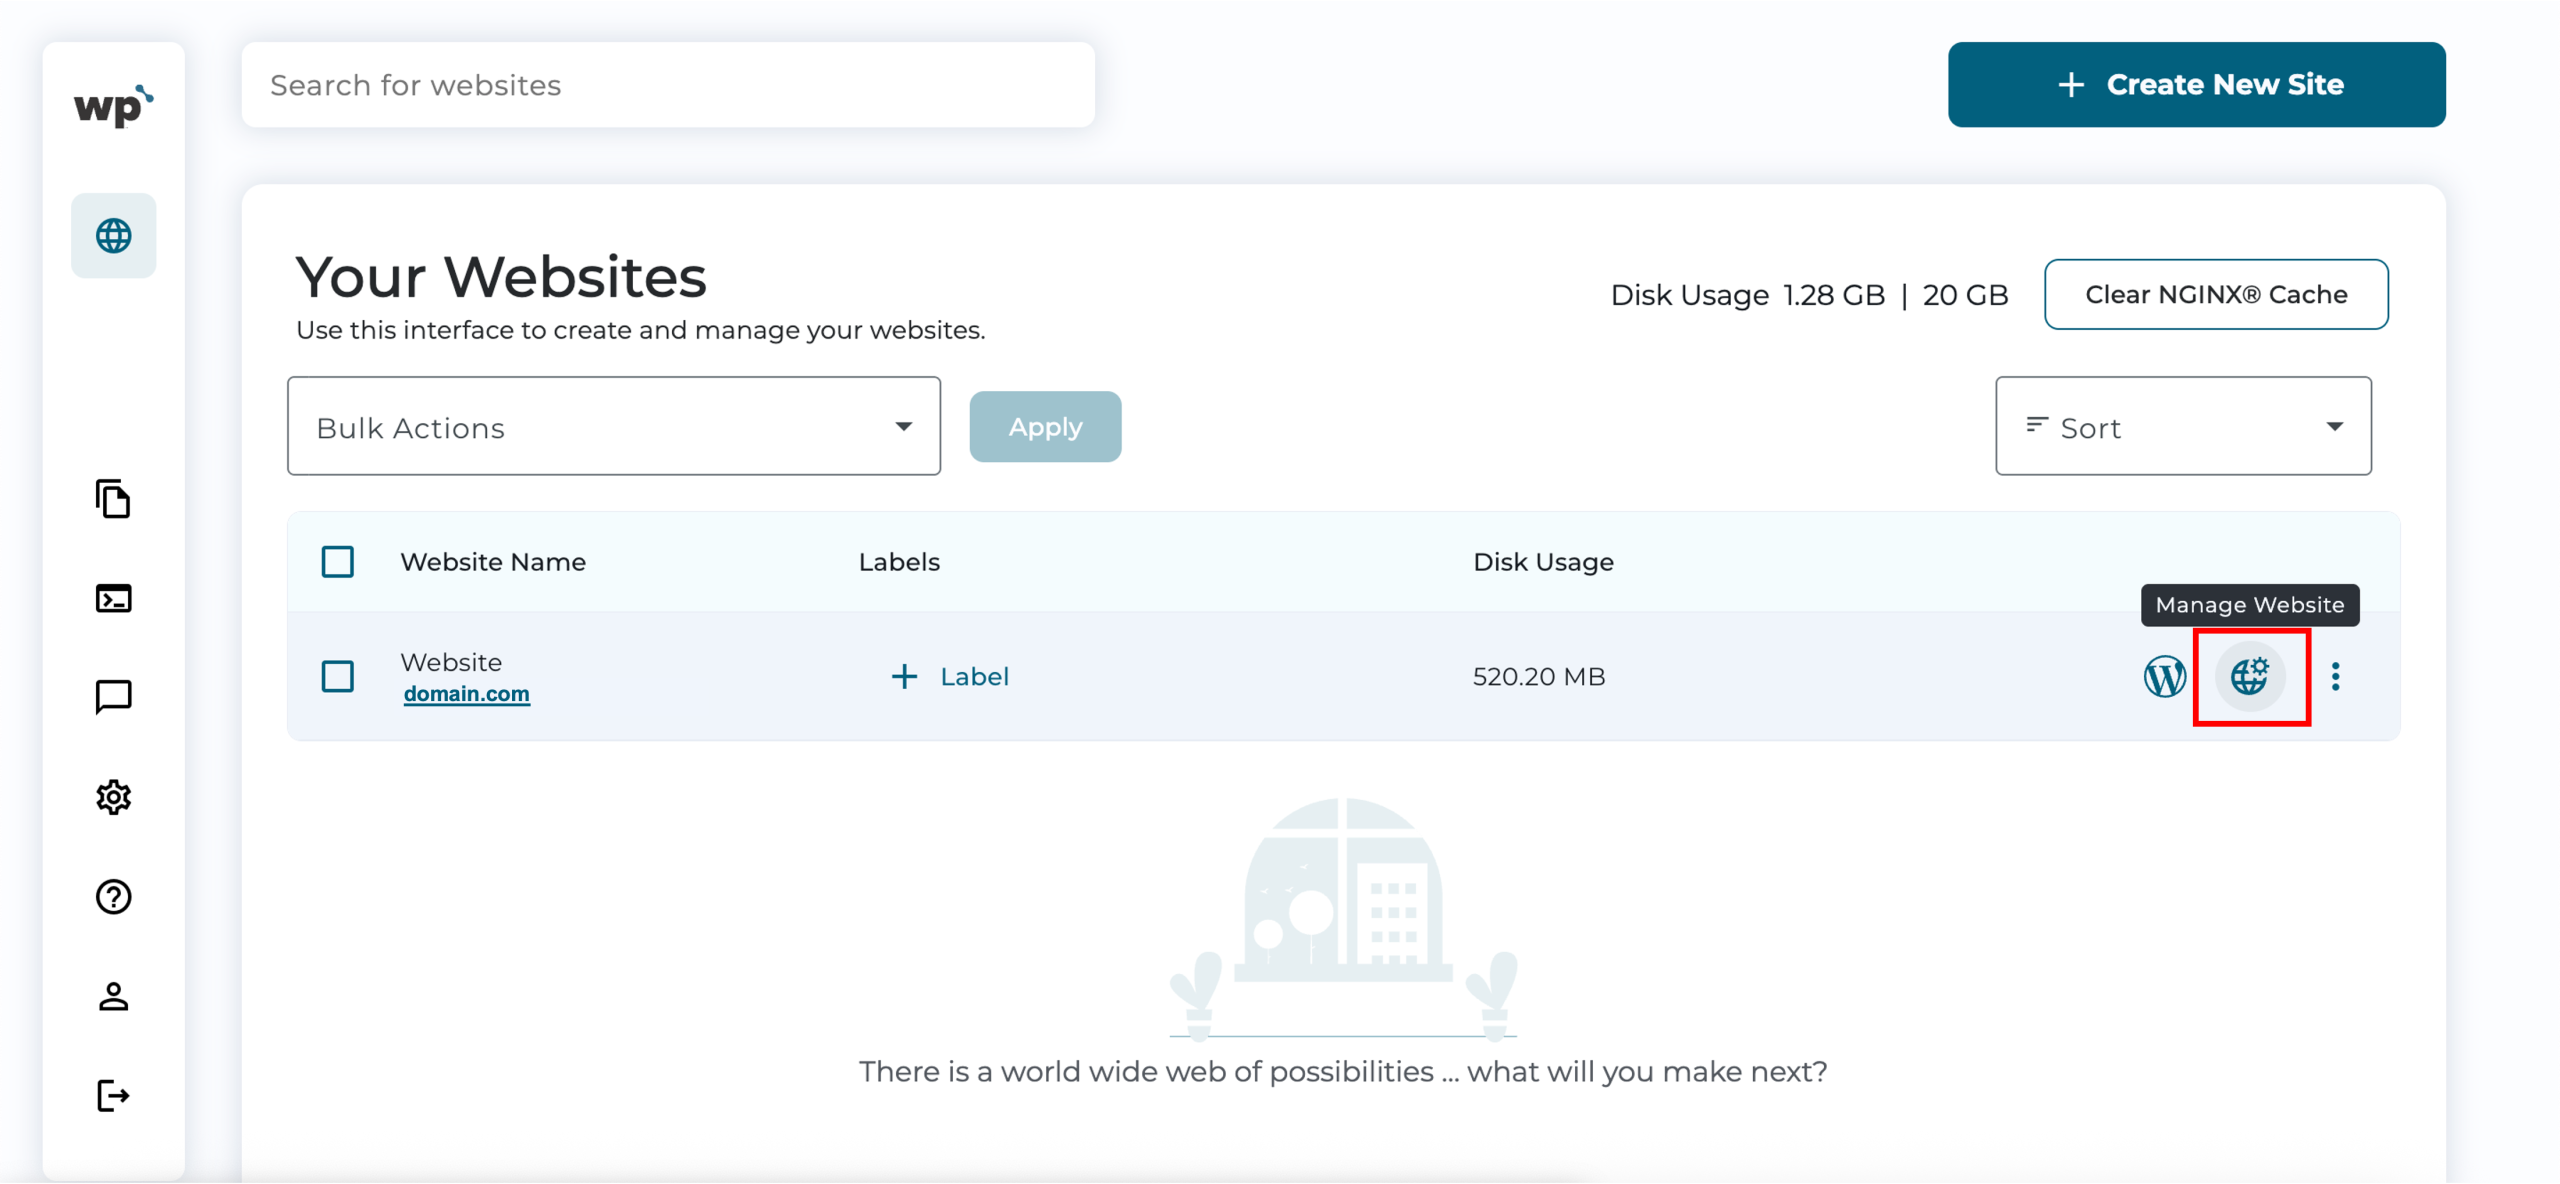
1. Upon reaching your WP Squared dashboard, click Manage Website next to the website you wish to enable debugging for.
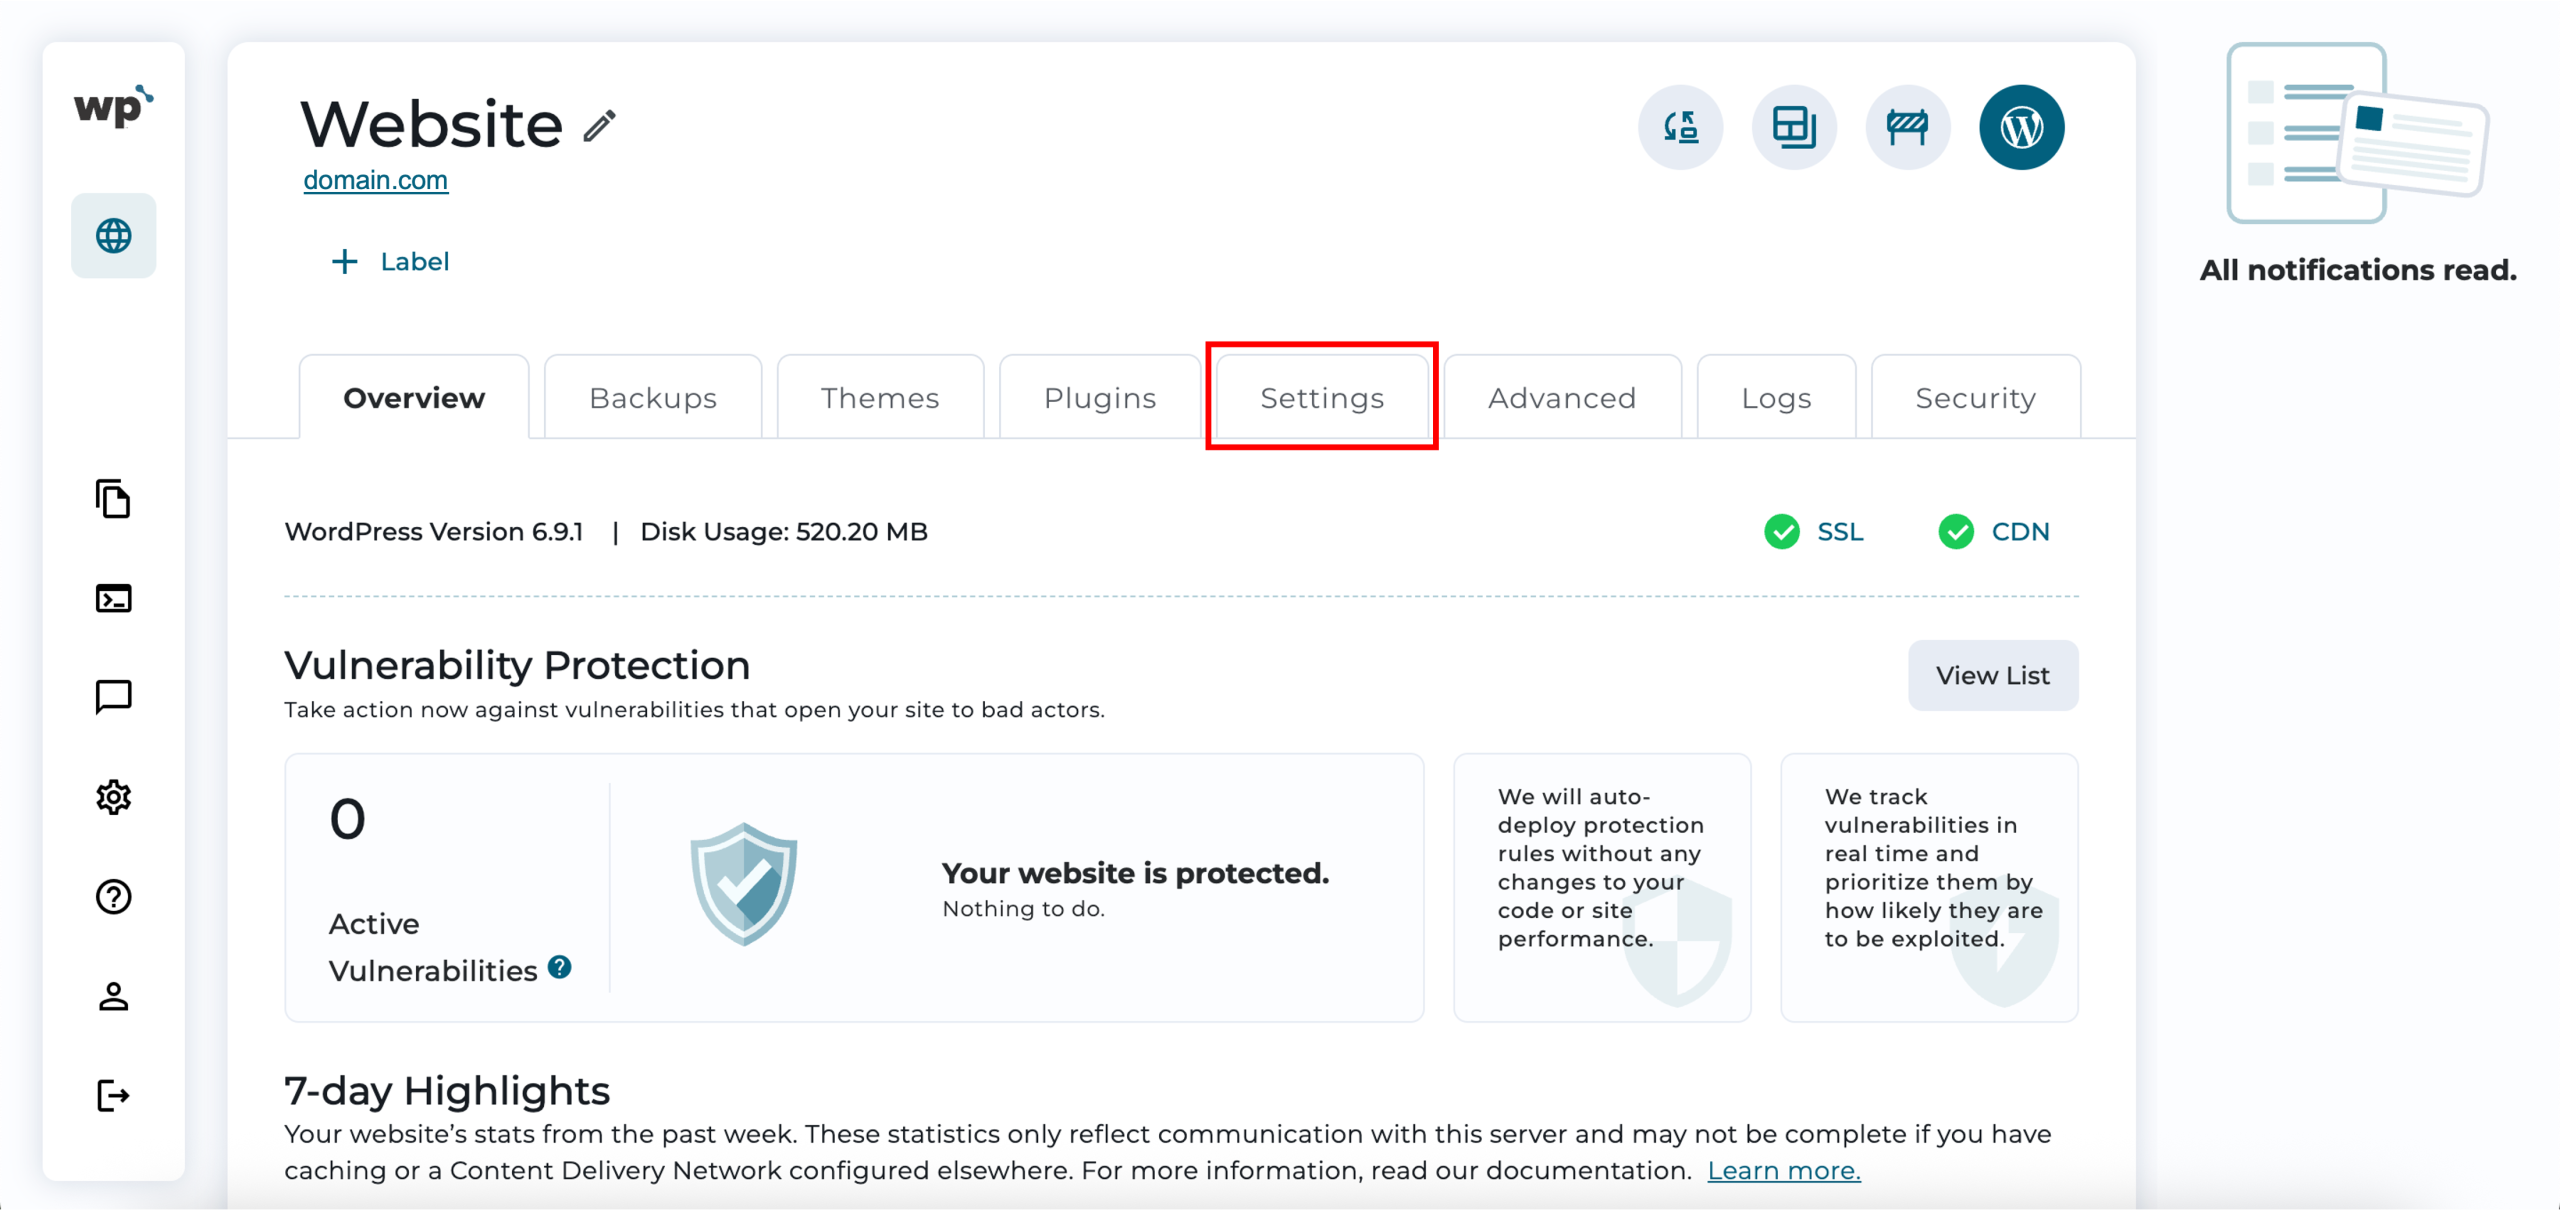
2. Click on the Settings tab.
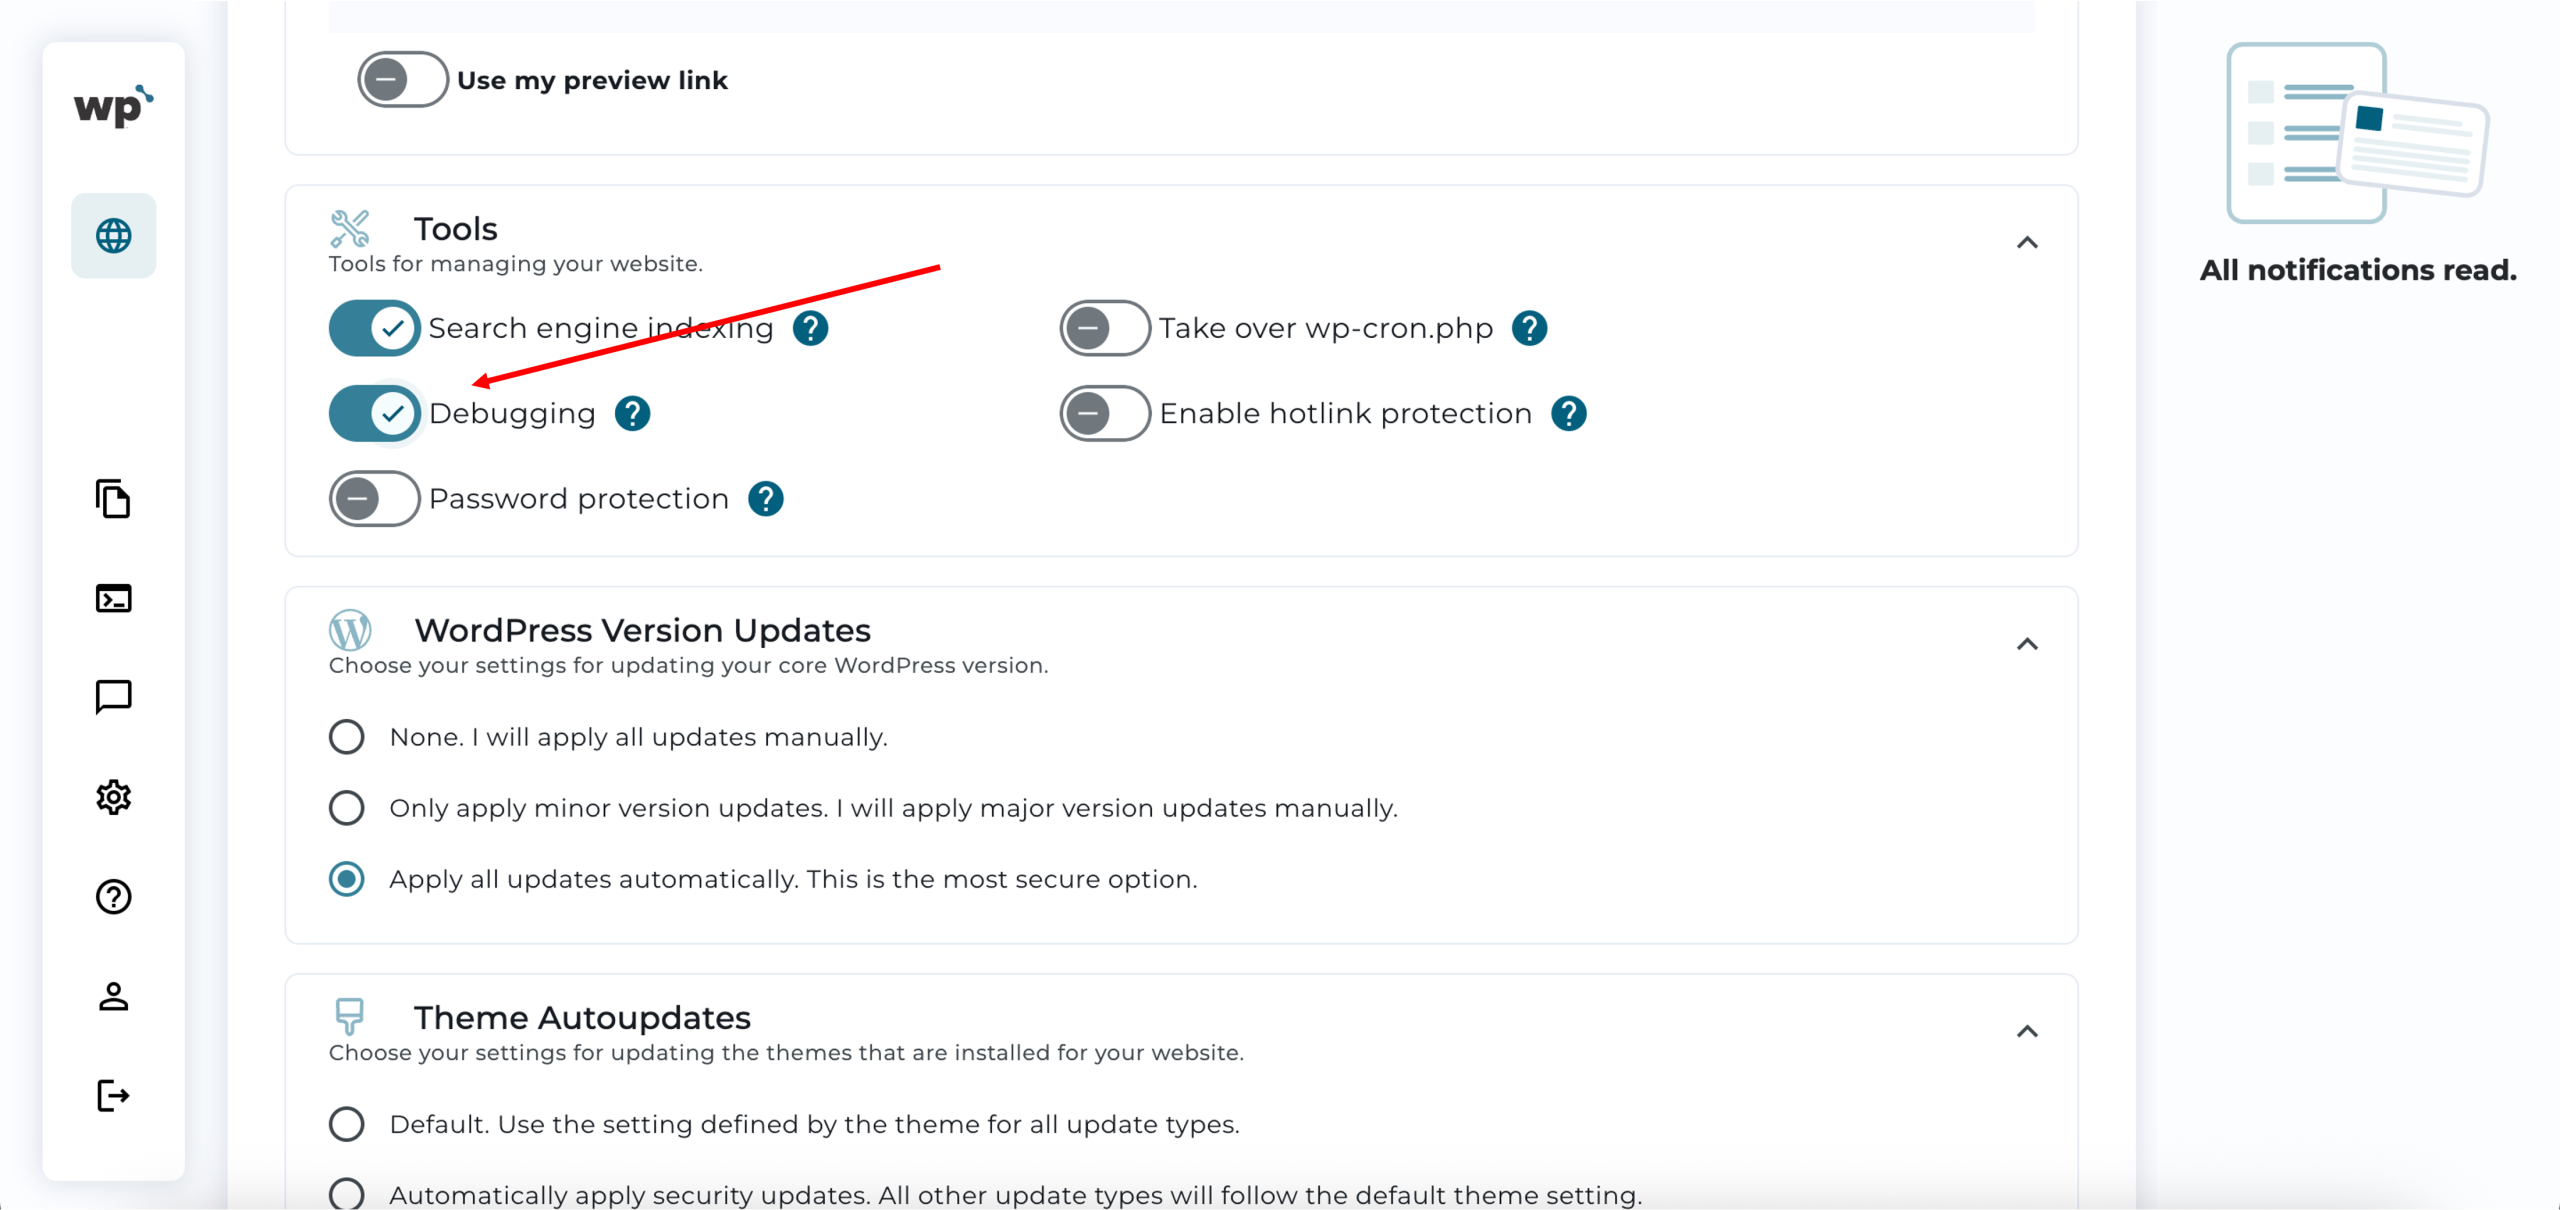
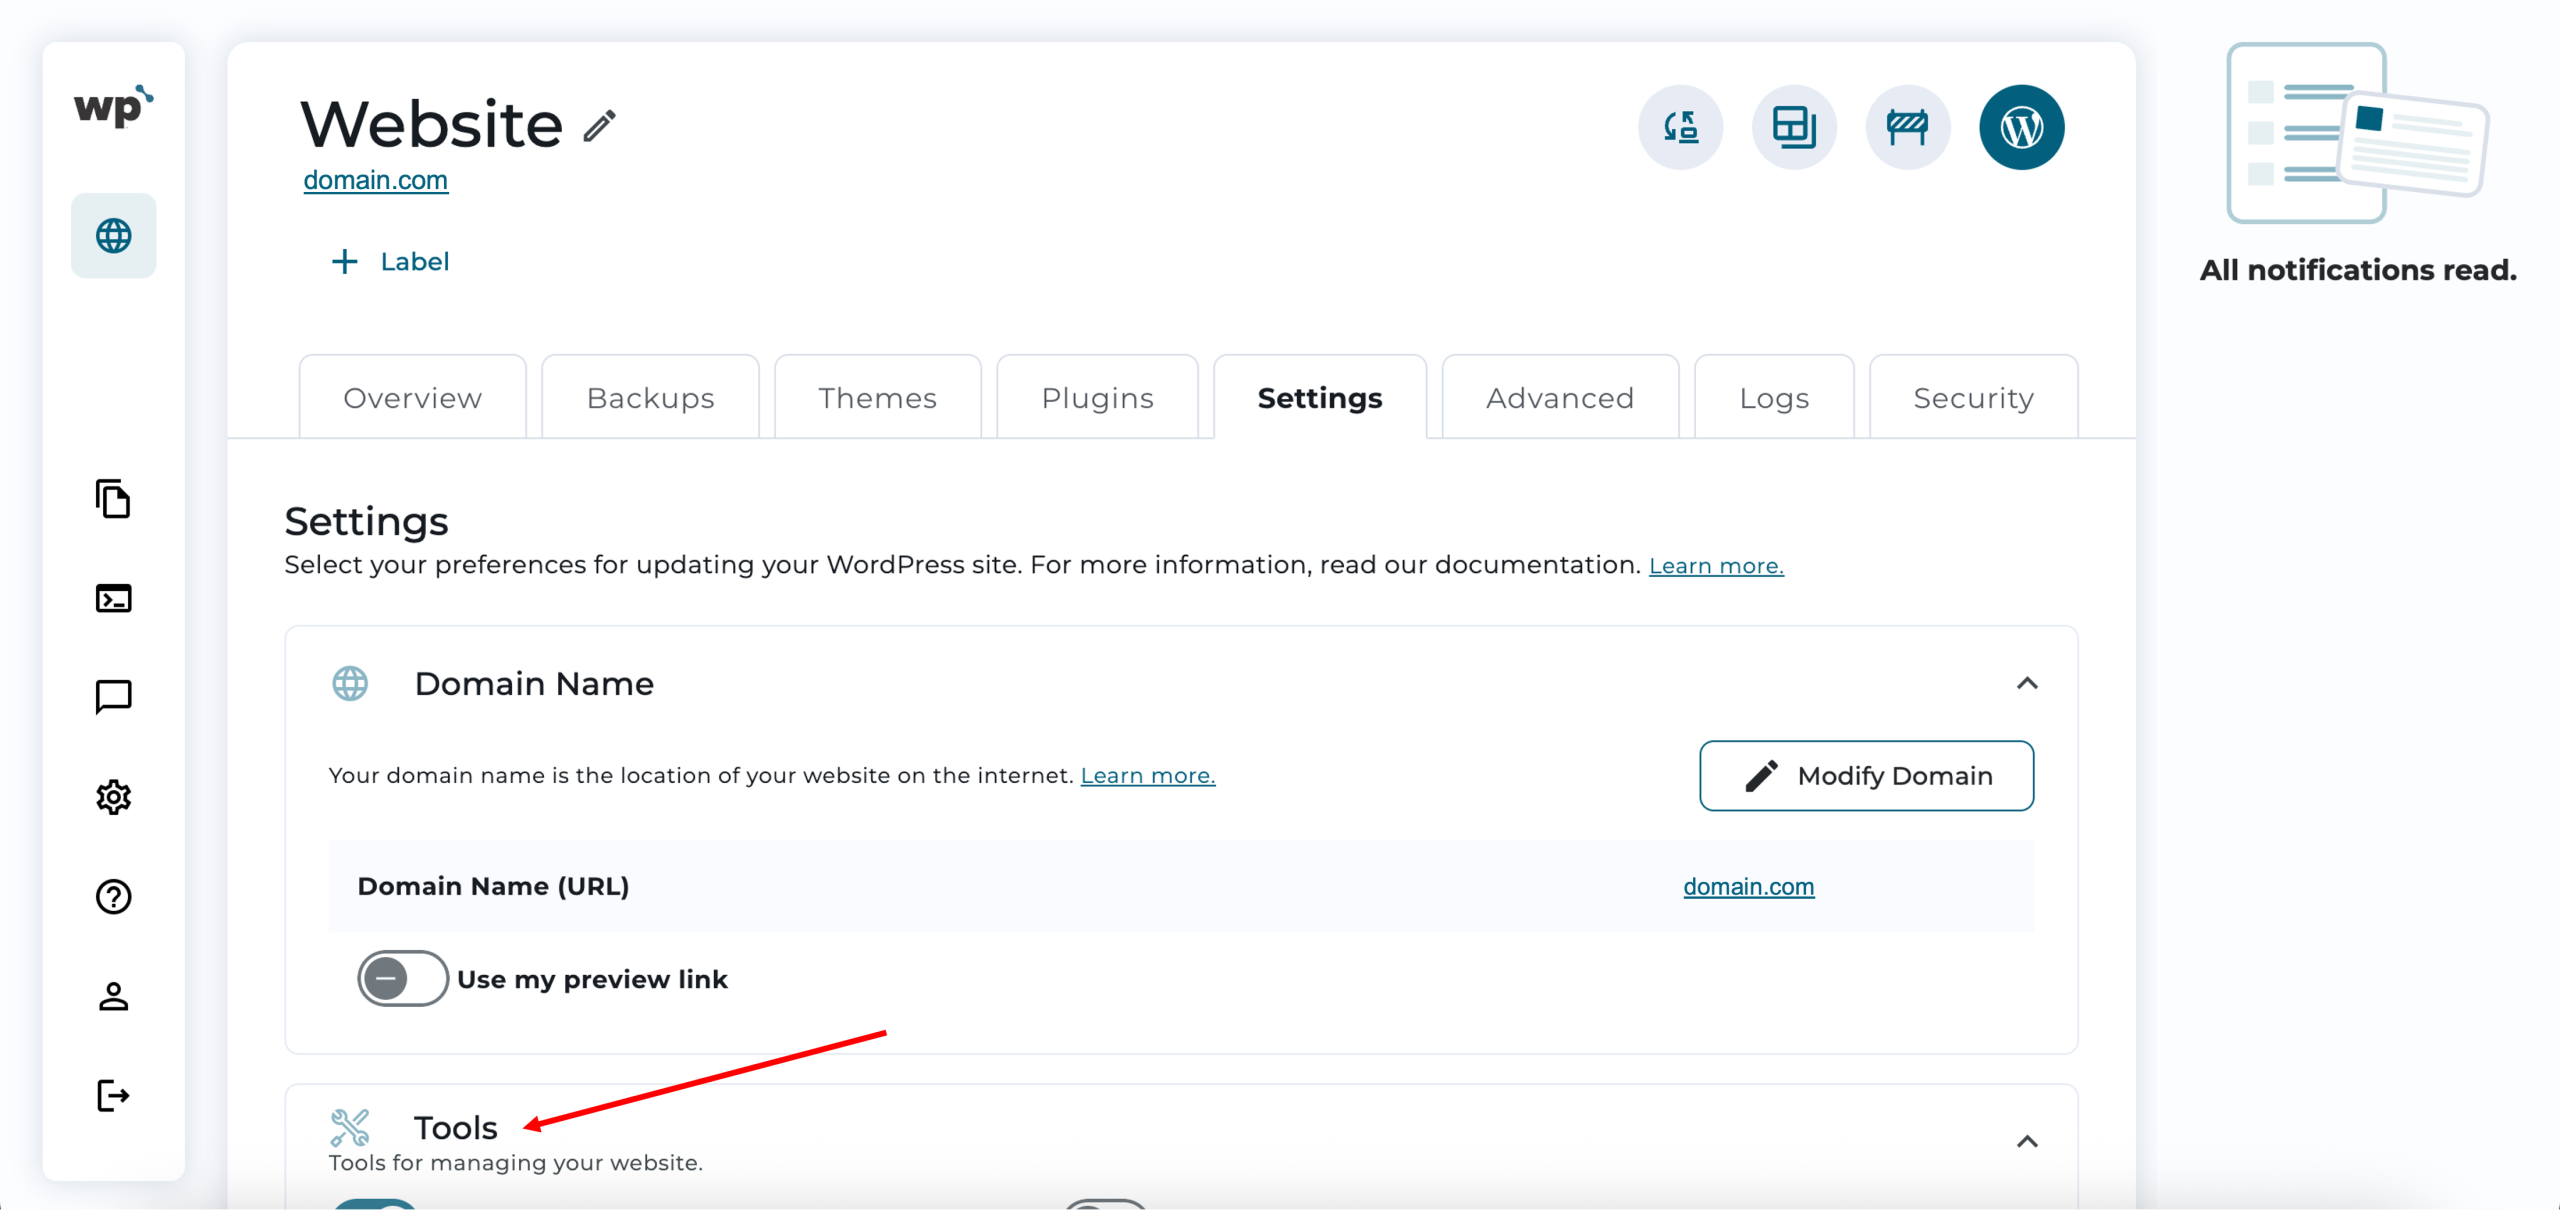
3. Scroll down to locate the Tools sections. Click on the toggle to enable debugging.

4. Done! Successfully enabling debugging should look like the following. Similarly, to disable debug mode, click the toggle.