Example :
How to set up an email or change my account settings.
- Help Center
- WordPress Hosting
- Websites
- How to migrate a WordPress website using All-in-One WP Migration
How to migrate a WordPress website using All-in-One WP Migration
Migrating a WordPress website allows you to move your website’s files, database, themes, plugins, and settings from one location to another. One of the simplest ways to do this is by using the All-in-One WP Migration plugin, which lets you export and import your website through the WordPress admin dashboard.
This guide explains how to migrate a WordPress website using the All-in-One WP Migration plugin as part of your WordPress hosting service.
Note:
• All-in-One WP Migration is a WordPress plugin and must be installed before you can use it. You can click here for a guide on how to install plugins on your WordPress hosting service.
• Migration typically involves exporting the website from the source website and importing it into the destination website.
• Make sure you have a backup of your website before starting the migration process. You can click here for a guide on how to back up your WordPress website using the WP Squared dashboard.
• Large website backups may require additional plugin extensions or higher hosting resources, depending on file size limits.
• Ensure that your destination WordPress website is already set up and accessible before importing your website.
After successfully installing the All-in-One WP Migration plugin:
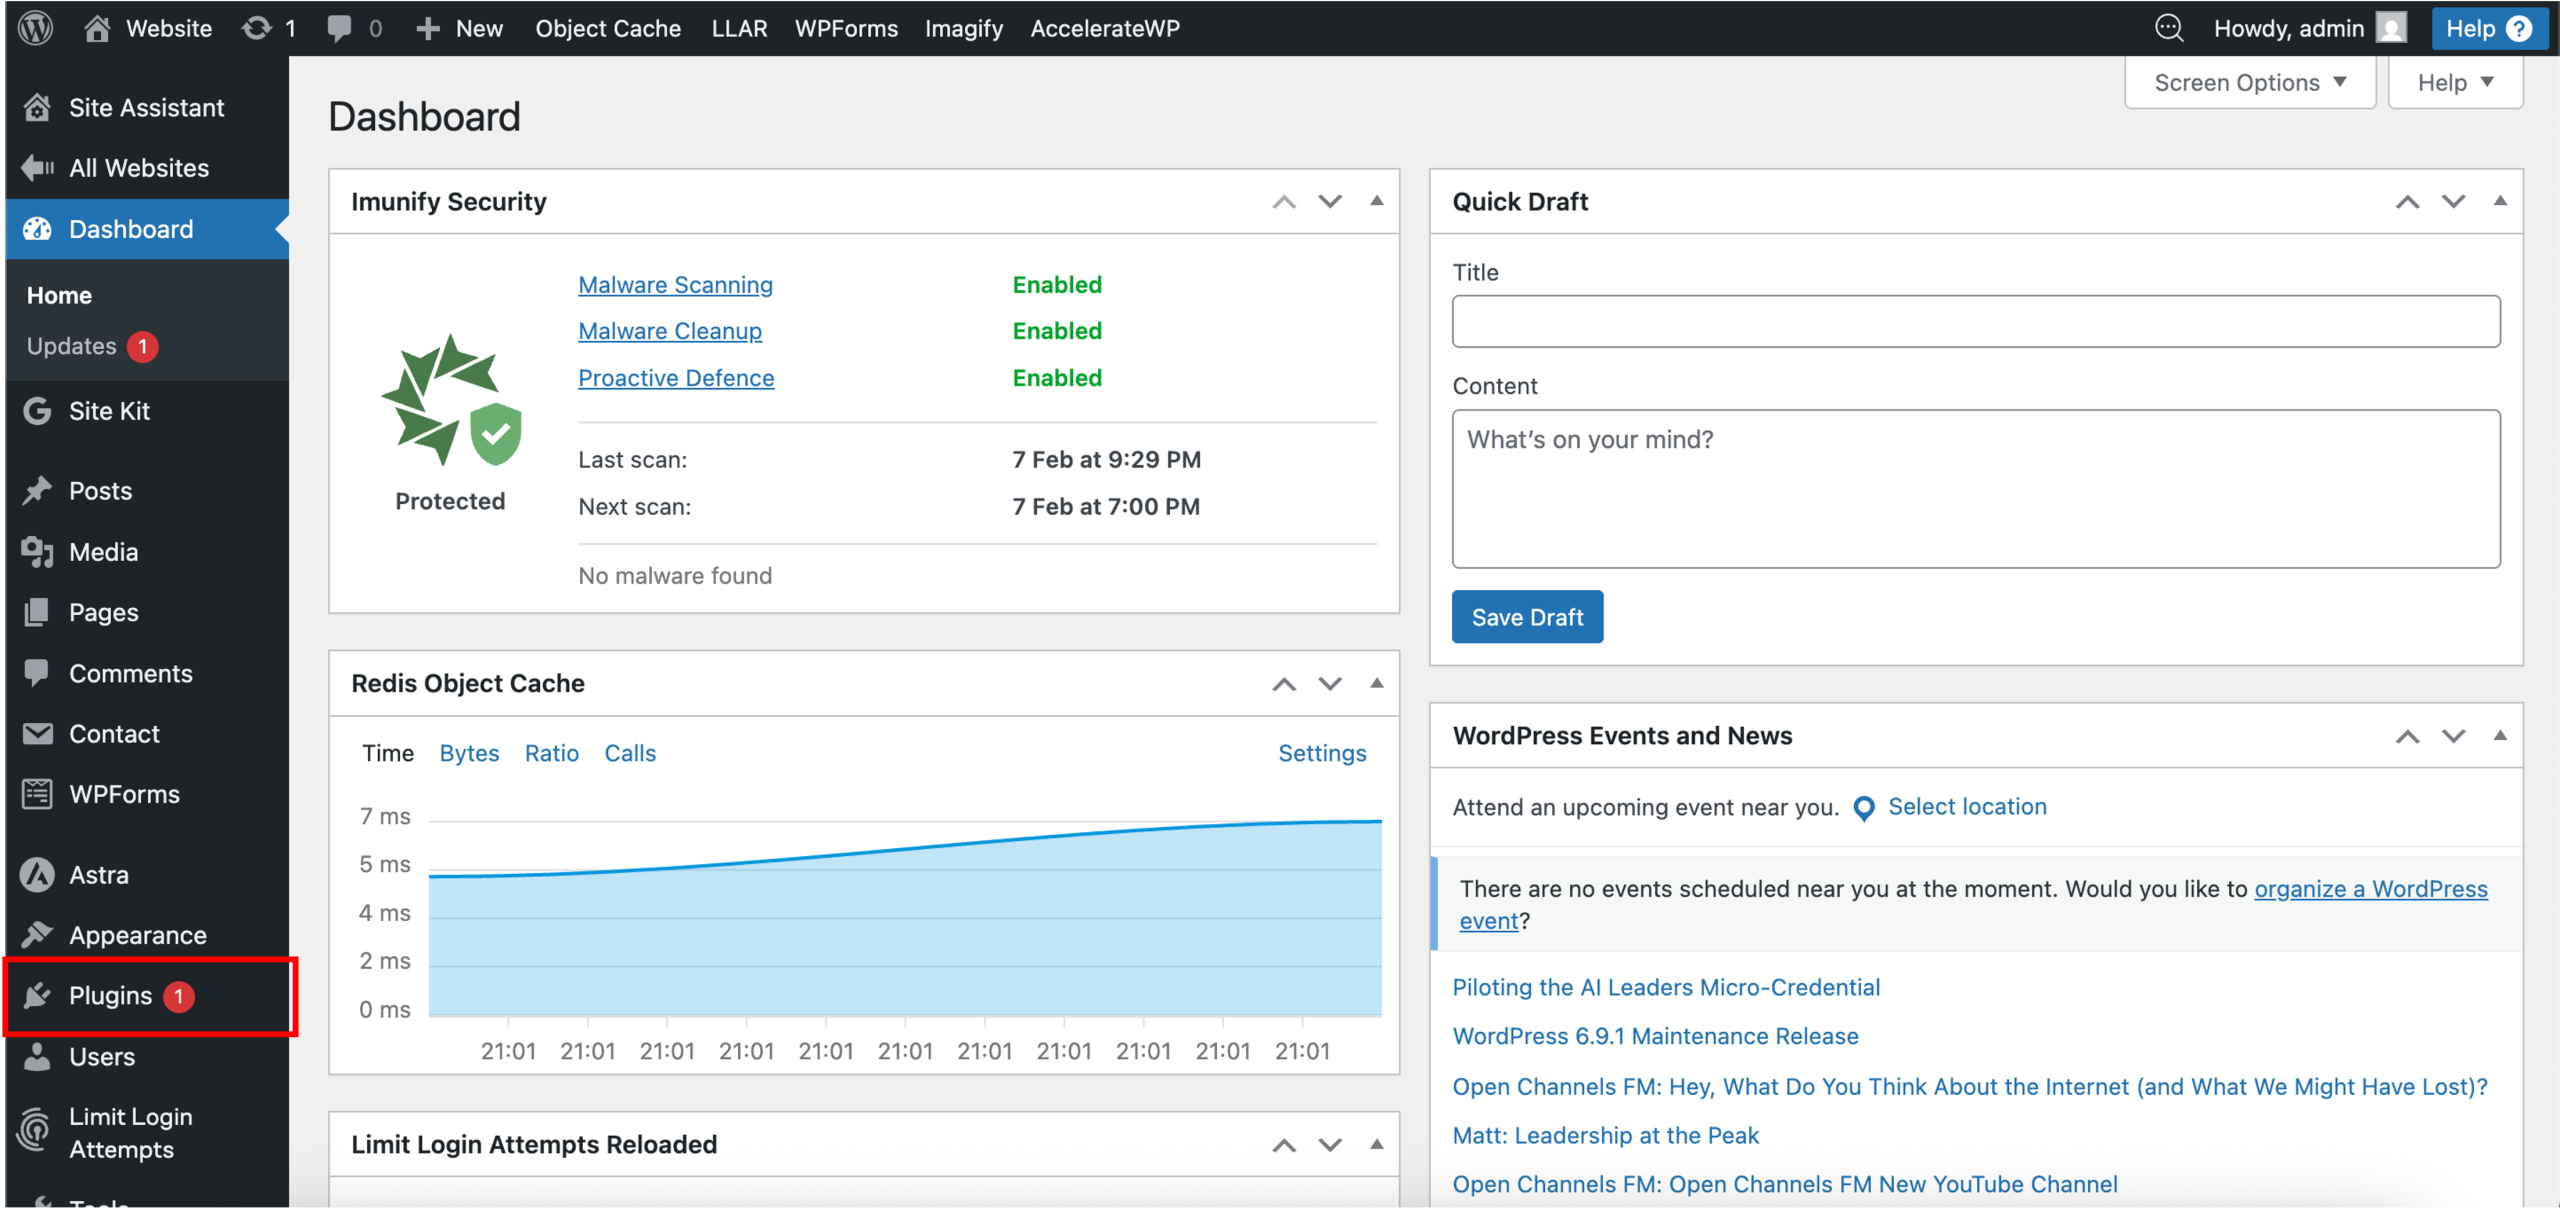
1. Upon reaching your WordPress admin dashboard, click Plugins from the left sidebar.
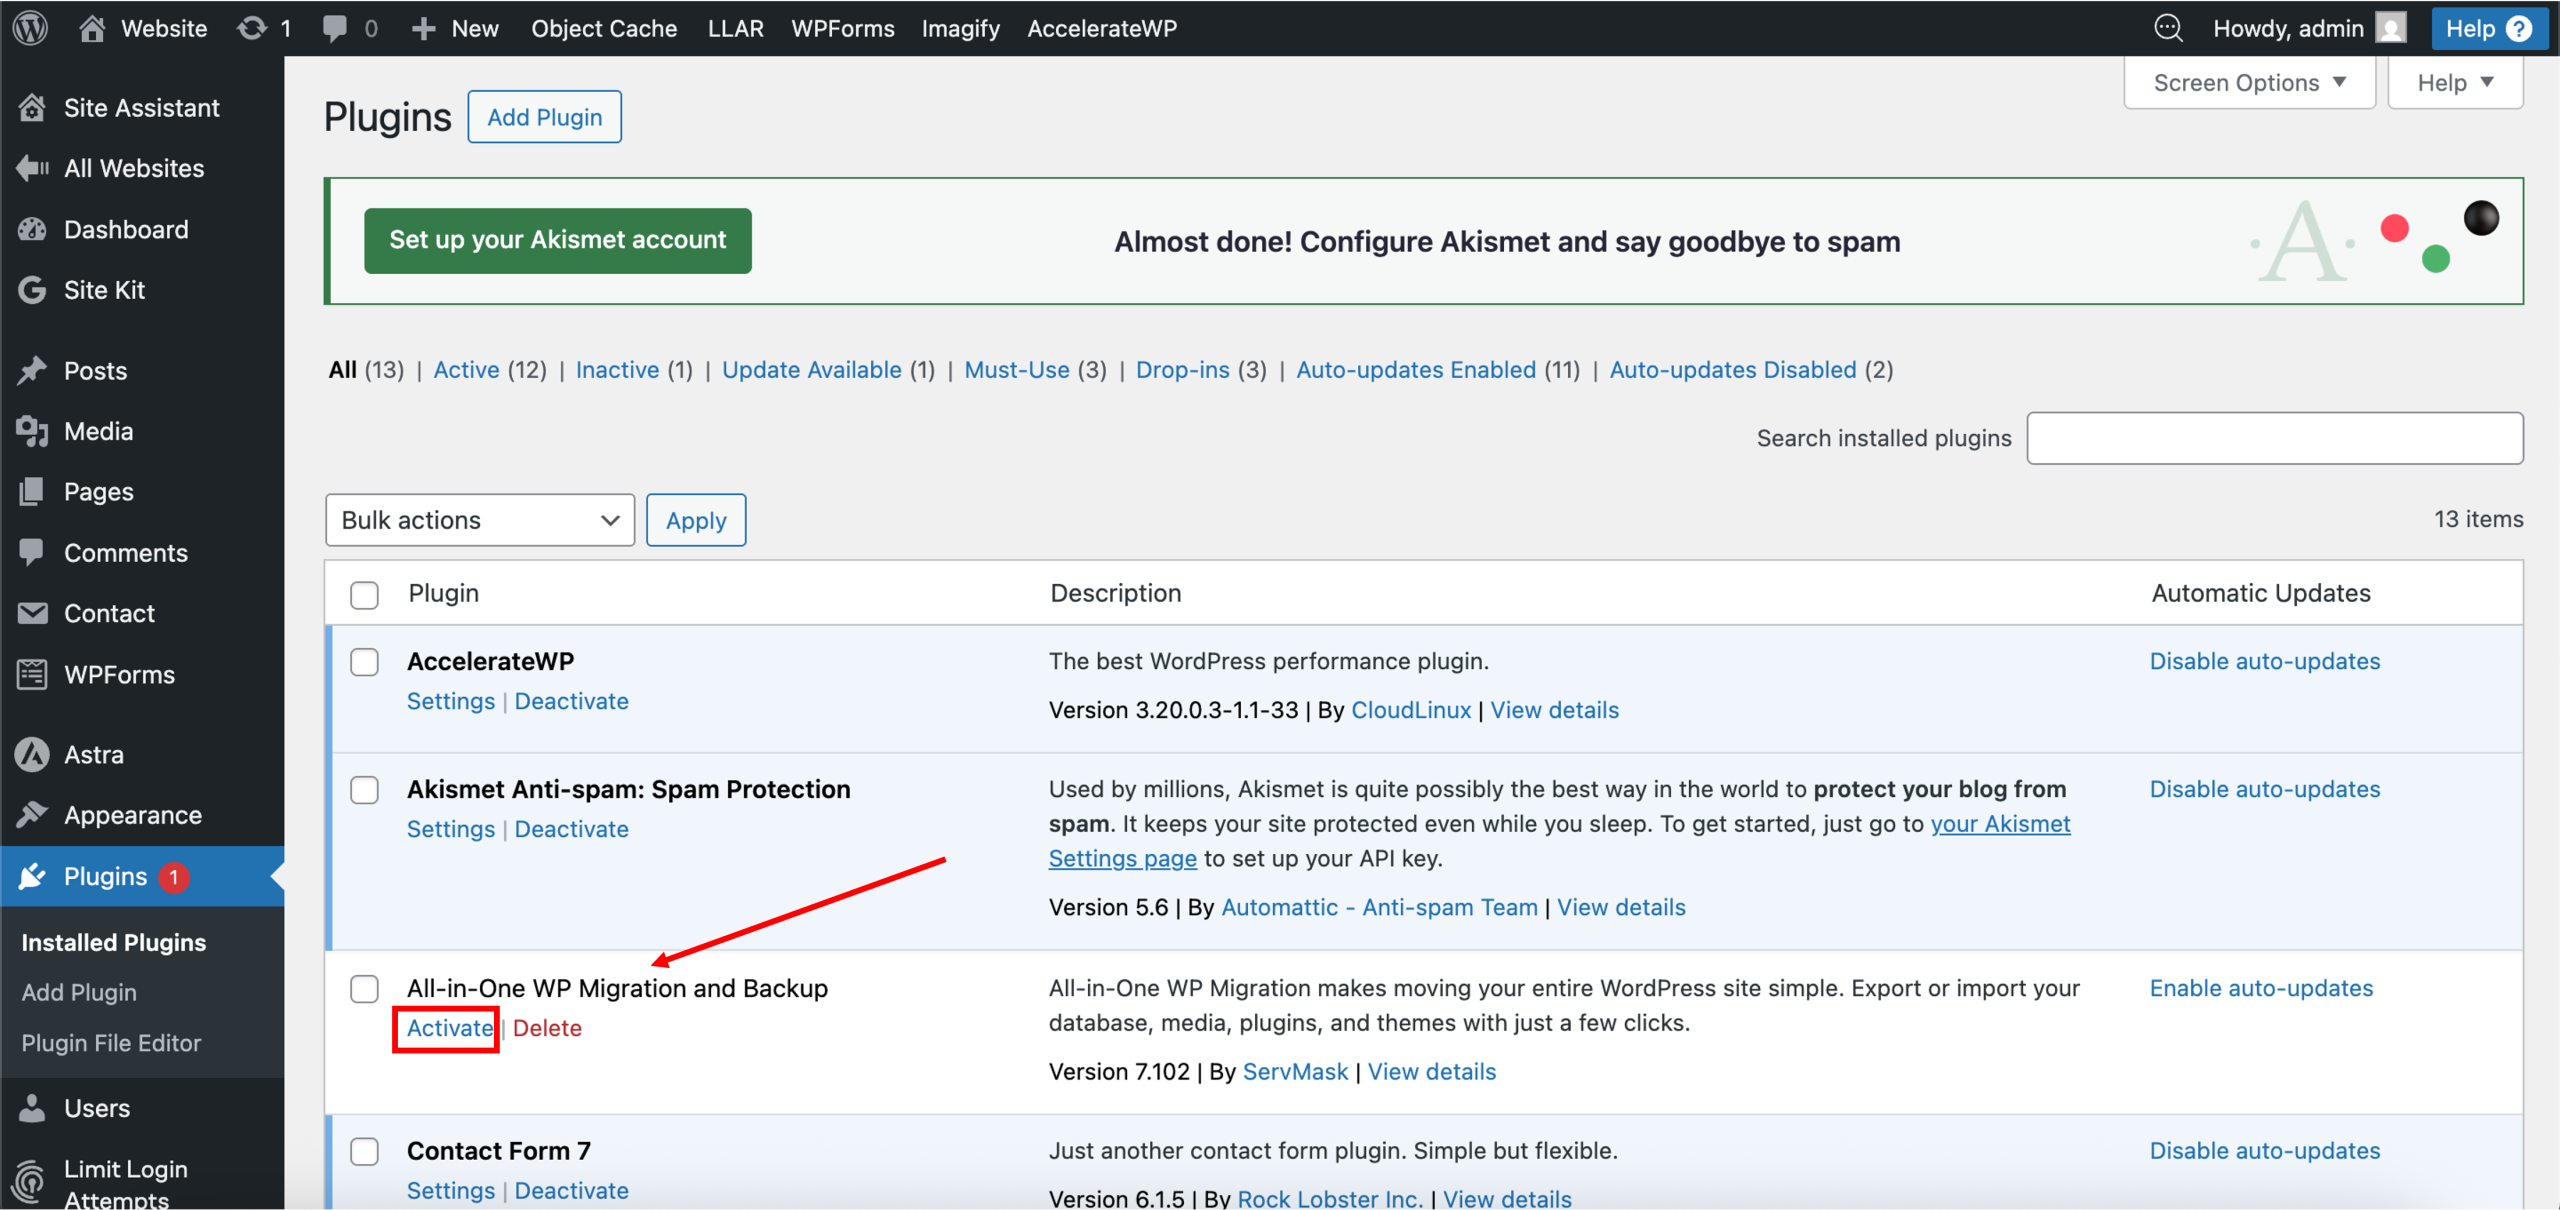
2. Under your list of plugins, locate the All-in-One WP Migration plugin and click Activate to use the installed plugin.
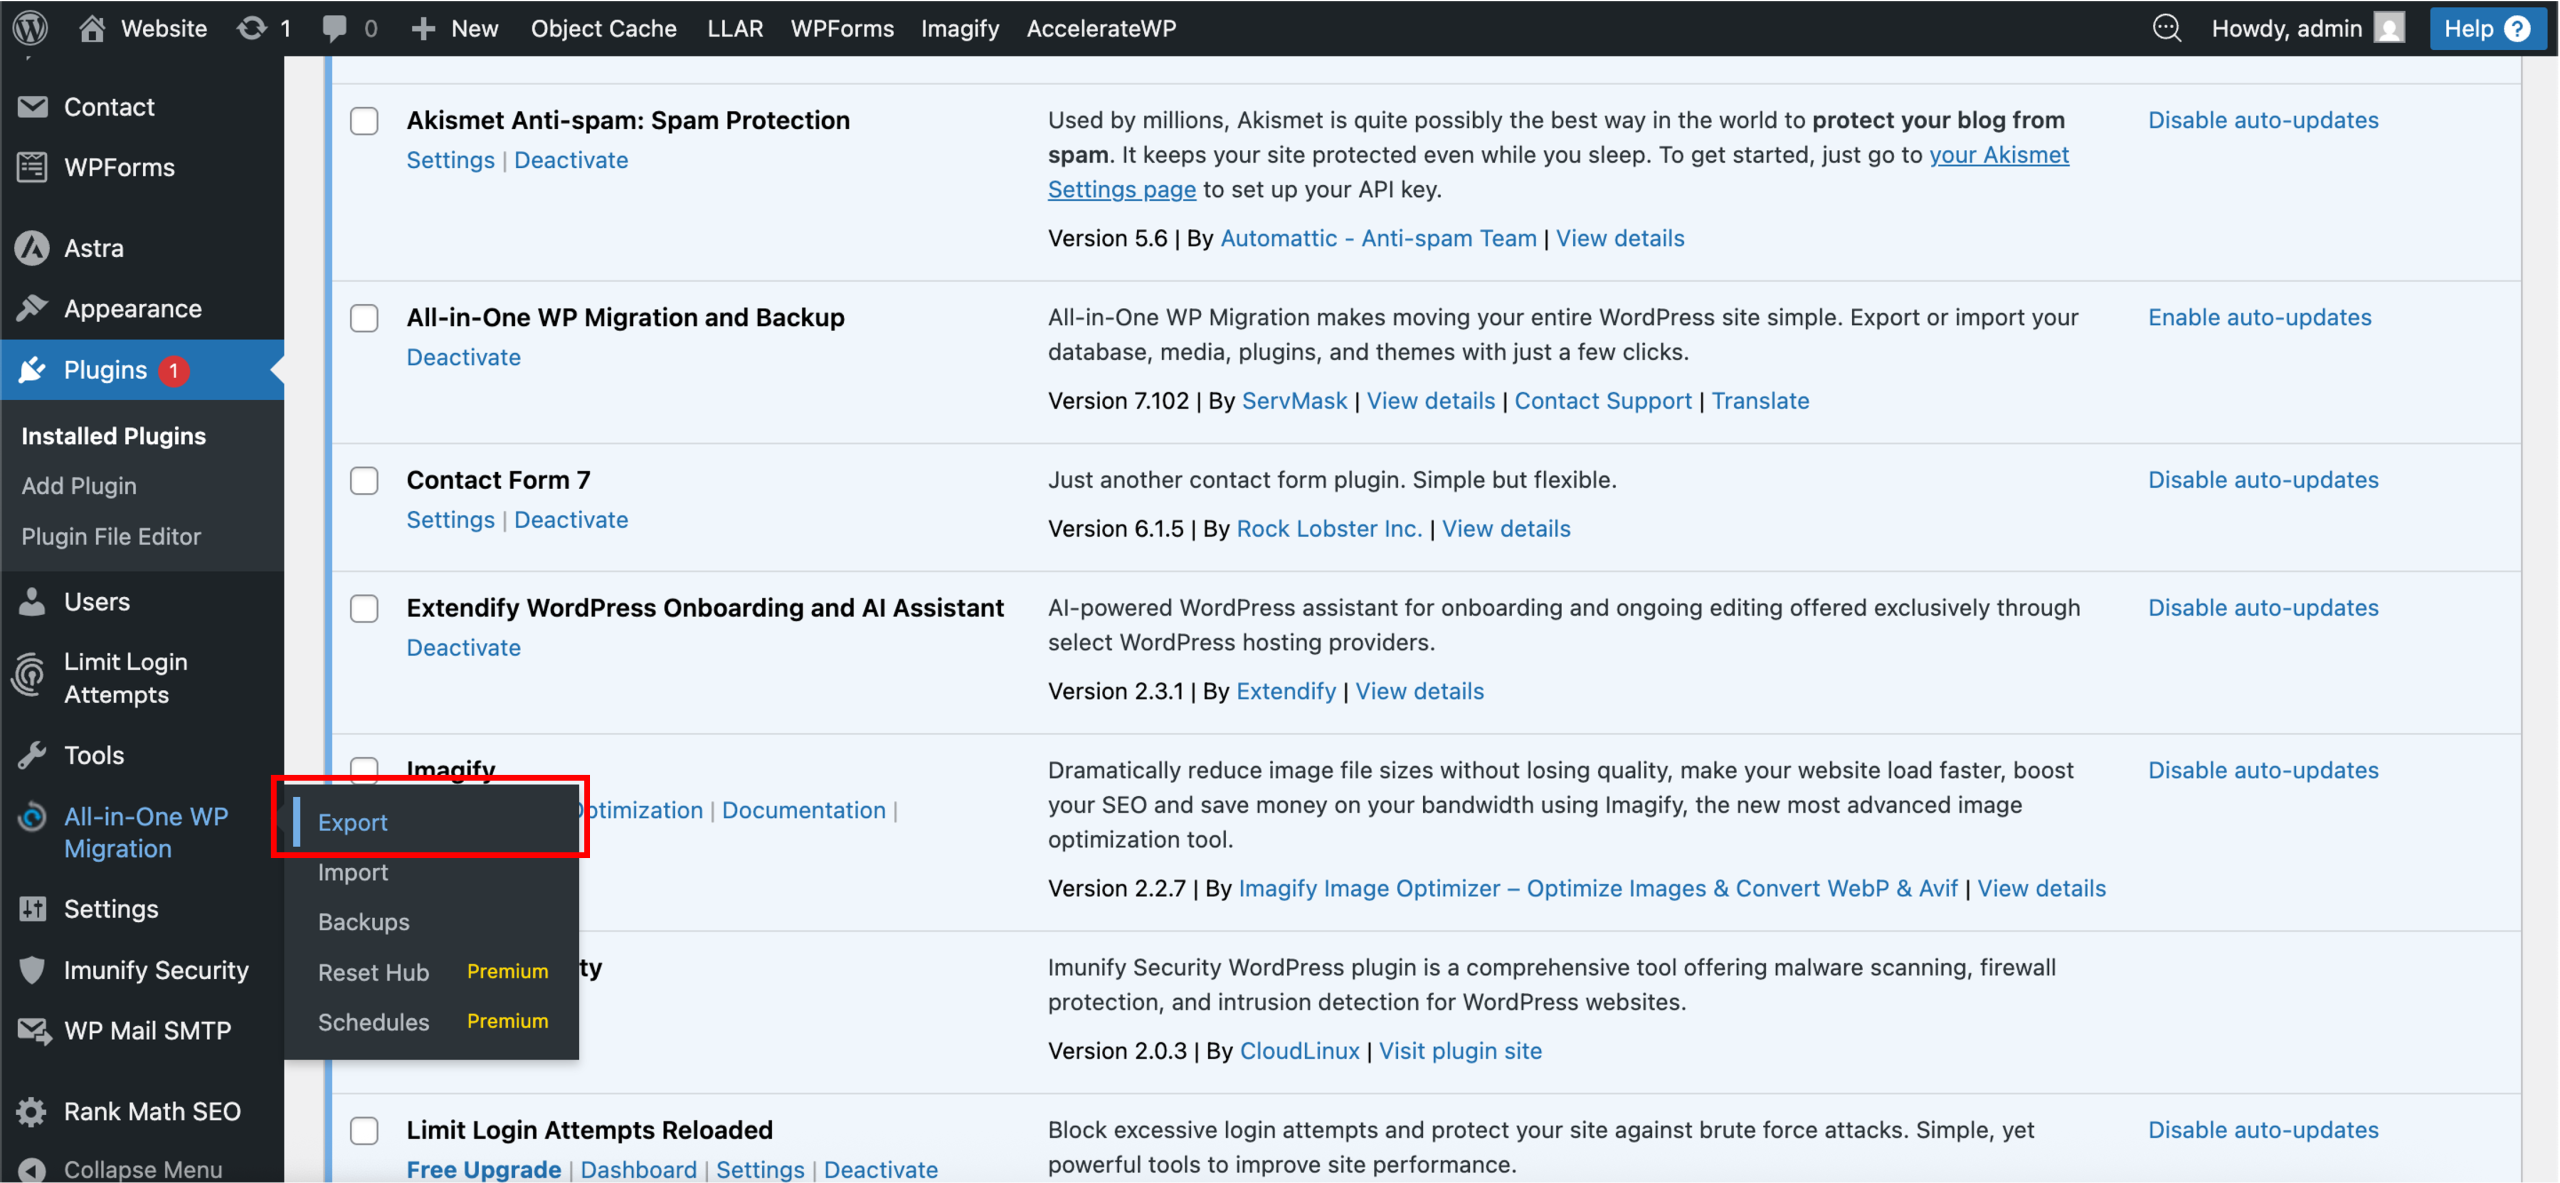
3. Once activated, the All-in-One WP Migration plugin should automatically appear in the left sidebar. Scroll down to locate and click All-in-One WP Migration > Export.
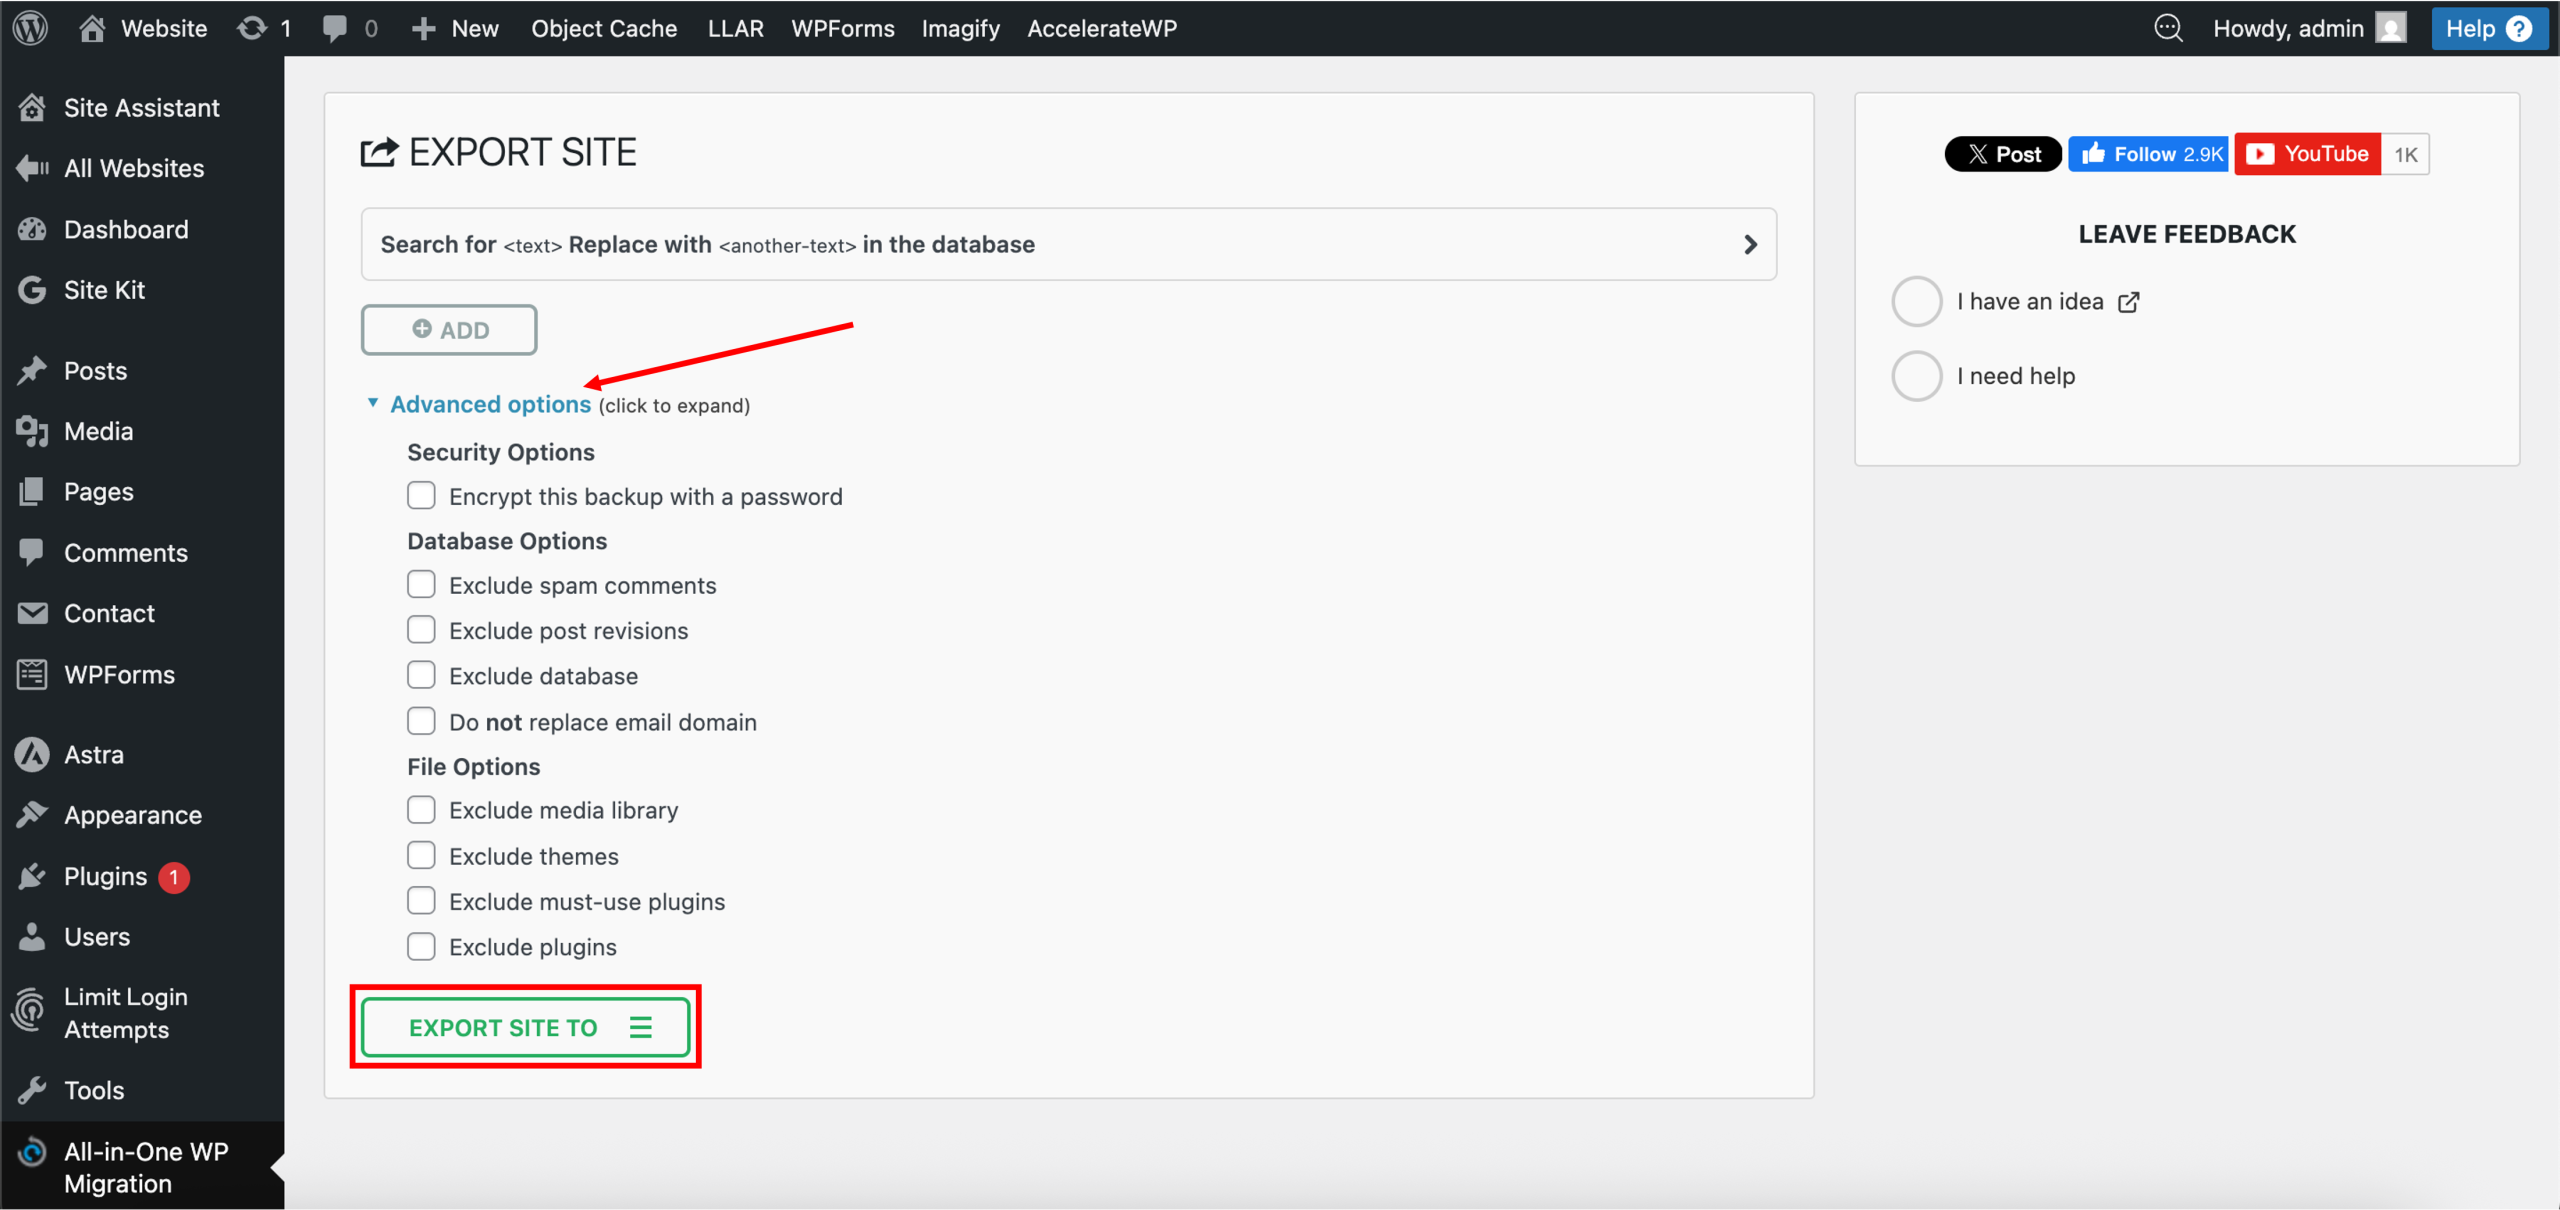
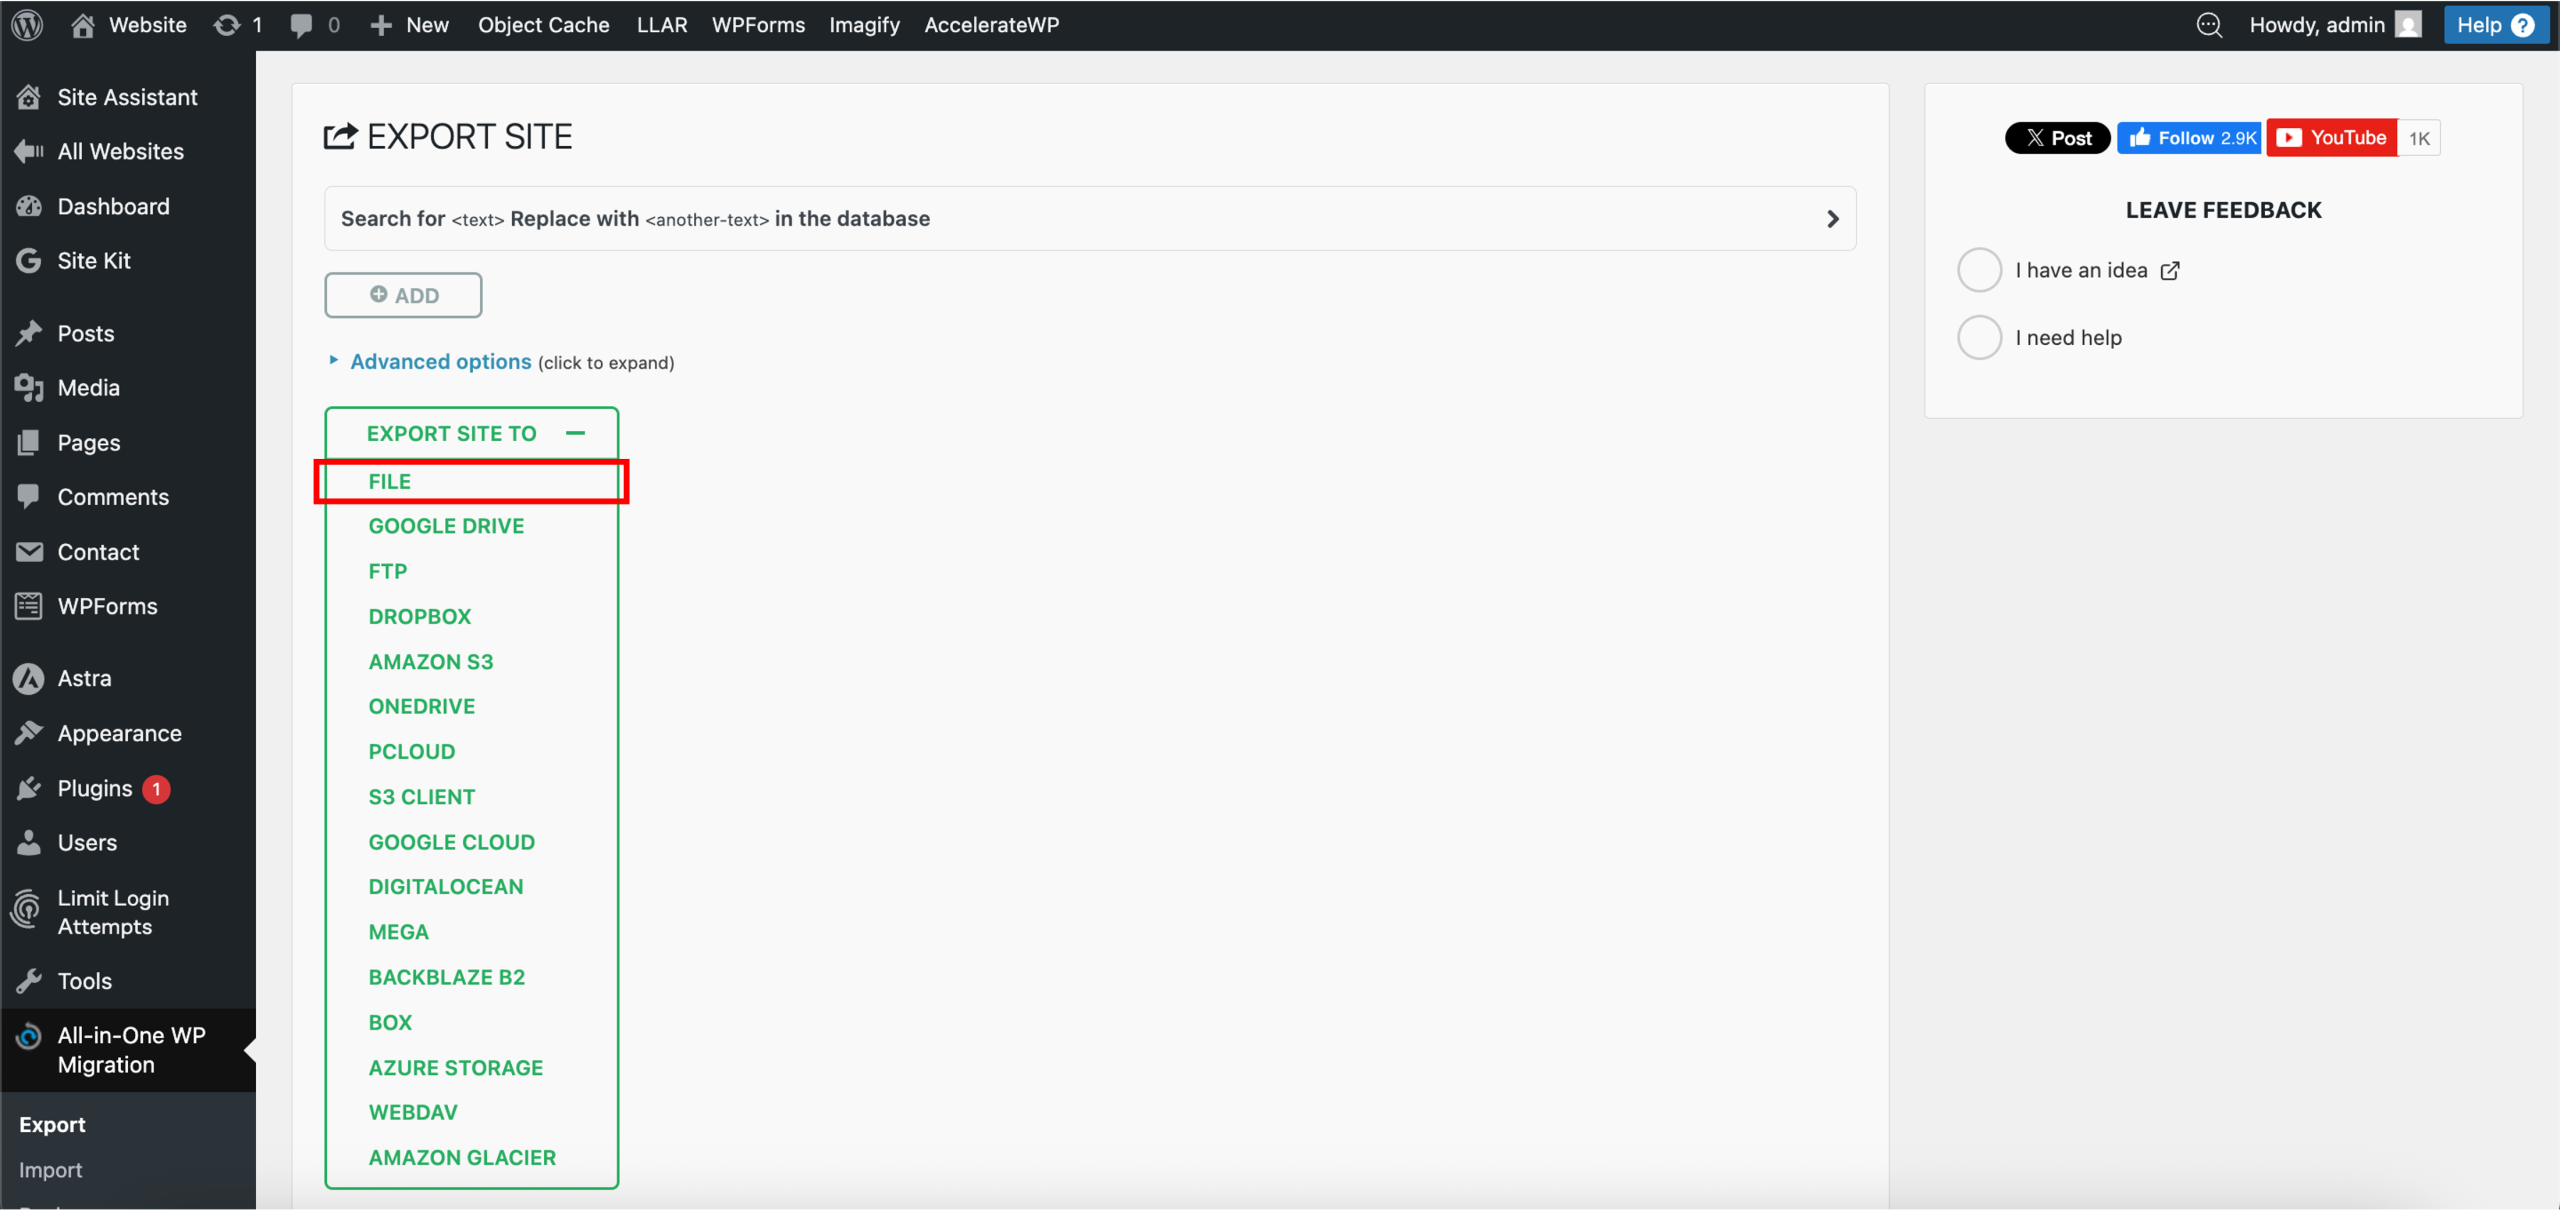
4. Click Advanced options to expand the list of checkboxes. Otherwise, click on the EXPORT SITE TO drop-down menu and select the file option to generate a single .wpress file of your entire WordPress website. For example, file.
*Optional: If you are changing domains, use the “Search for and Replace with” feature at the top of the export screen to replace your old domain with the new one within the database.
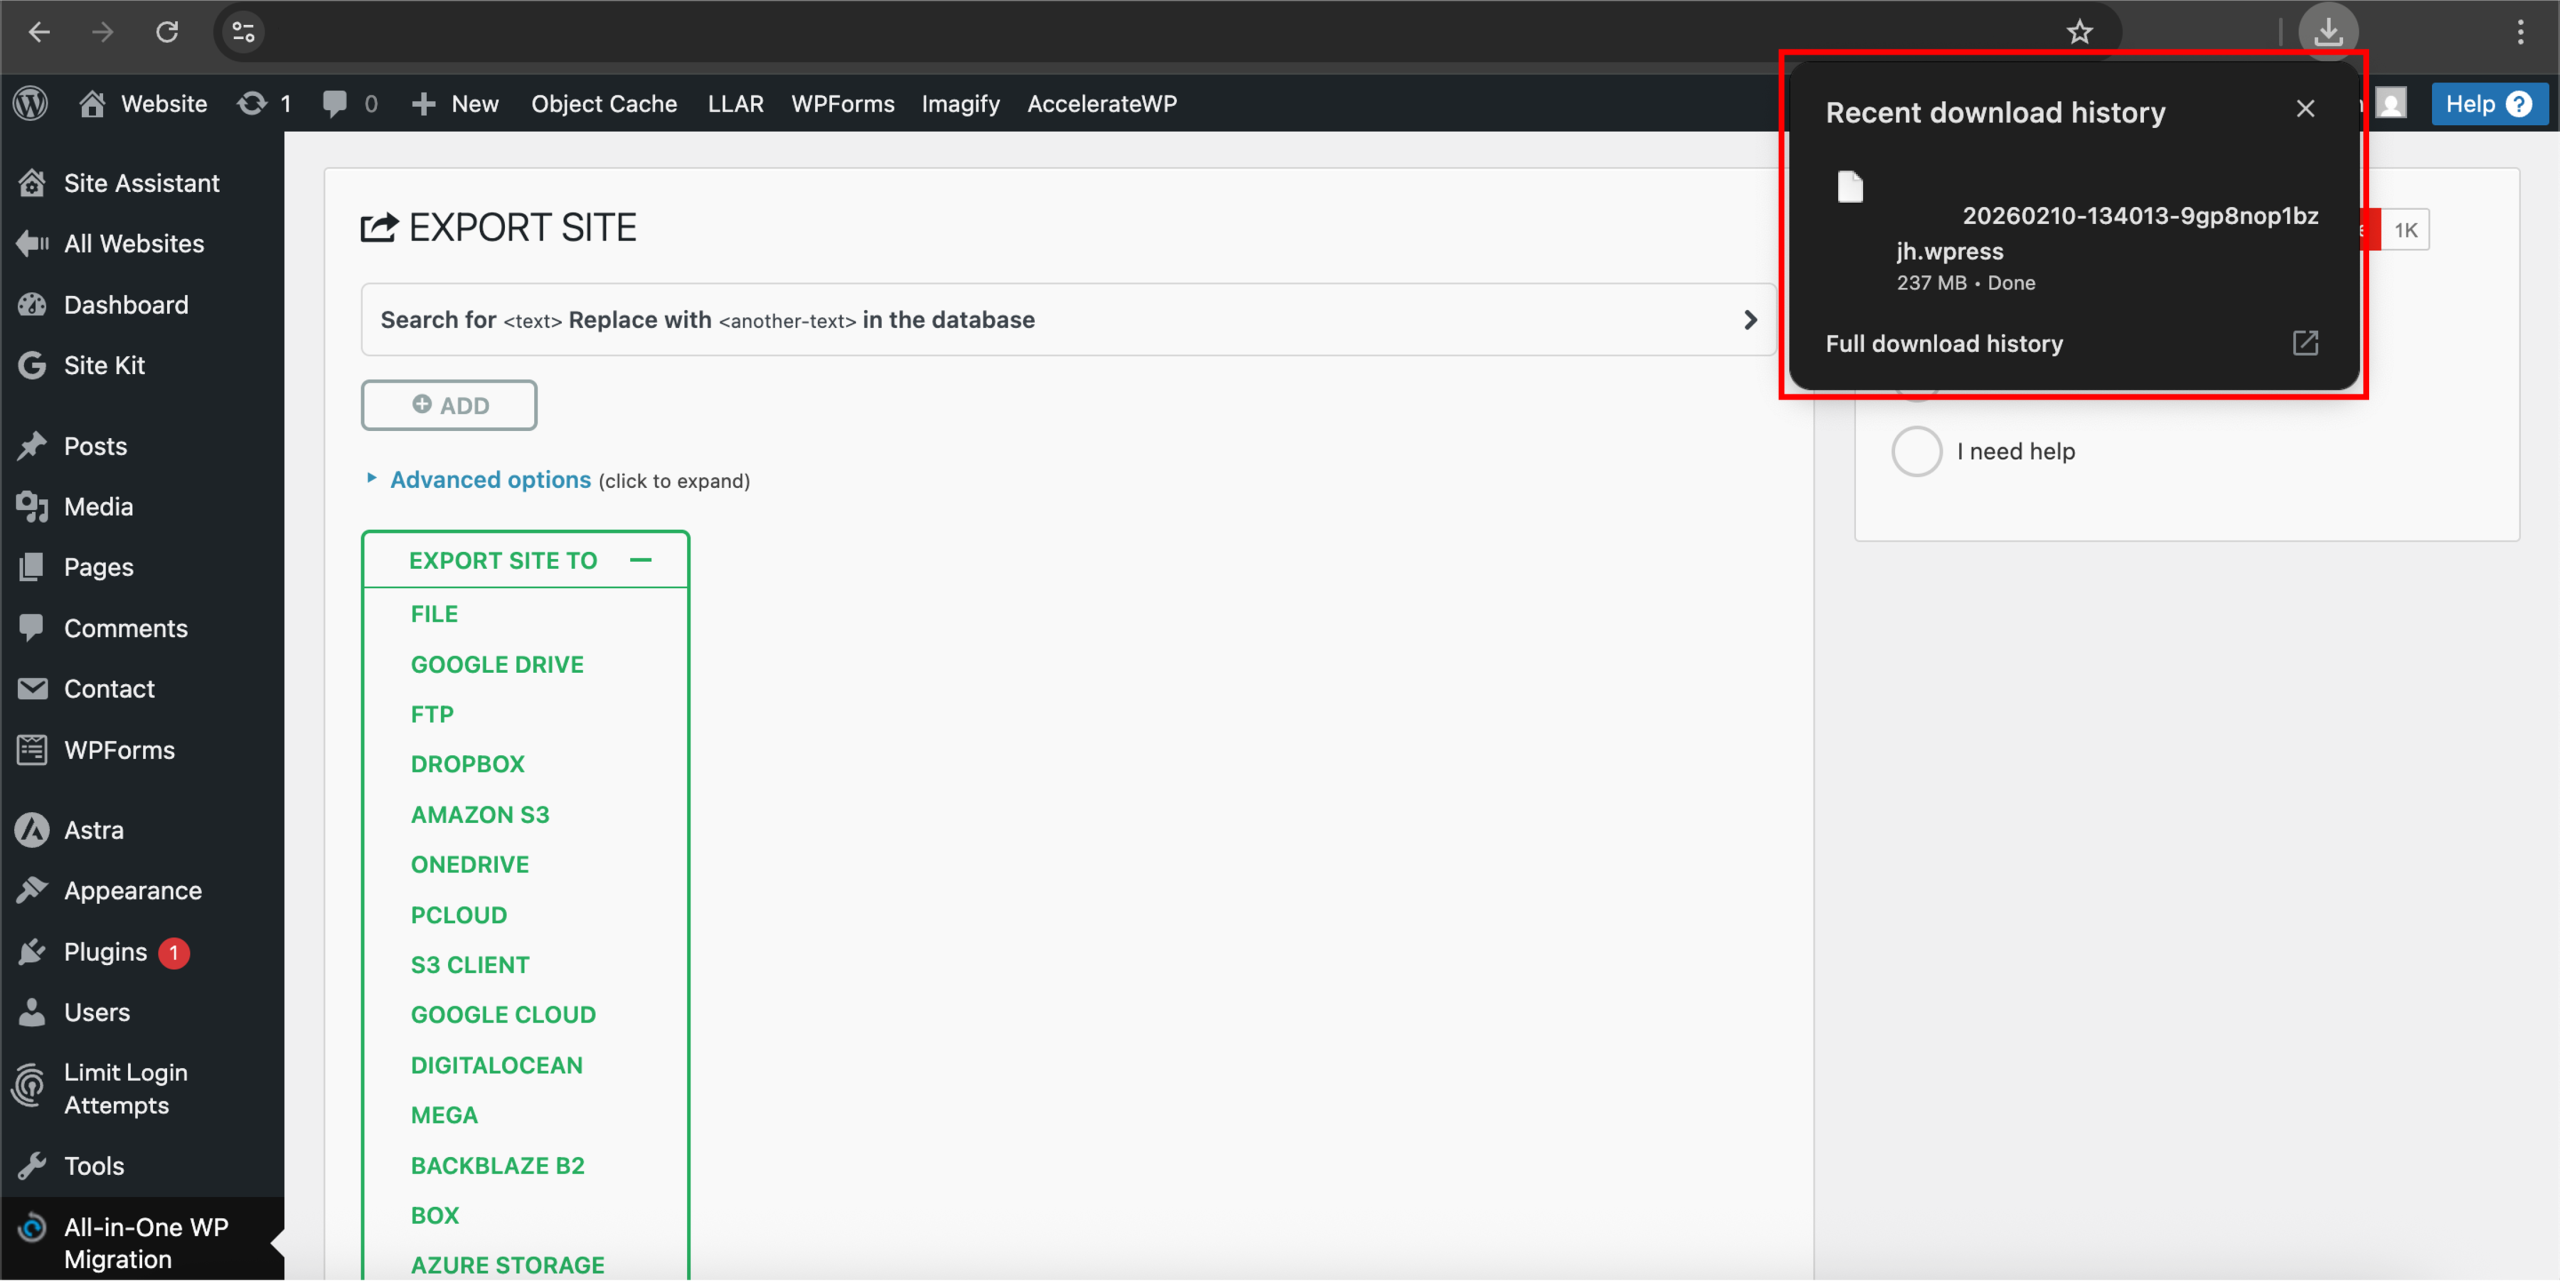
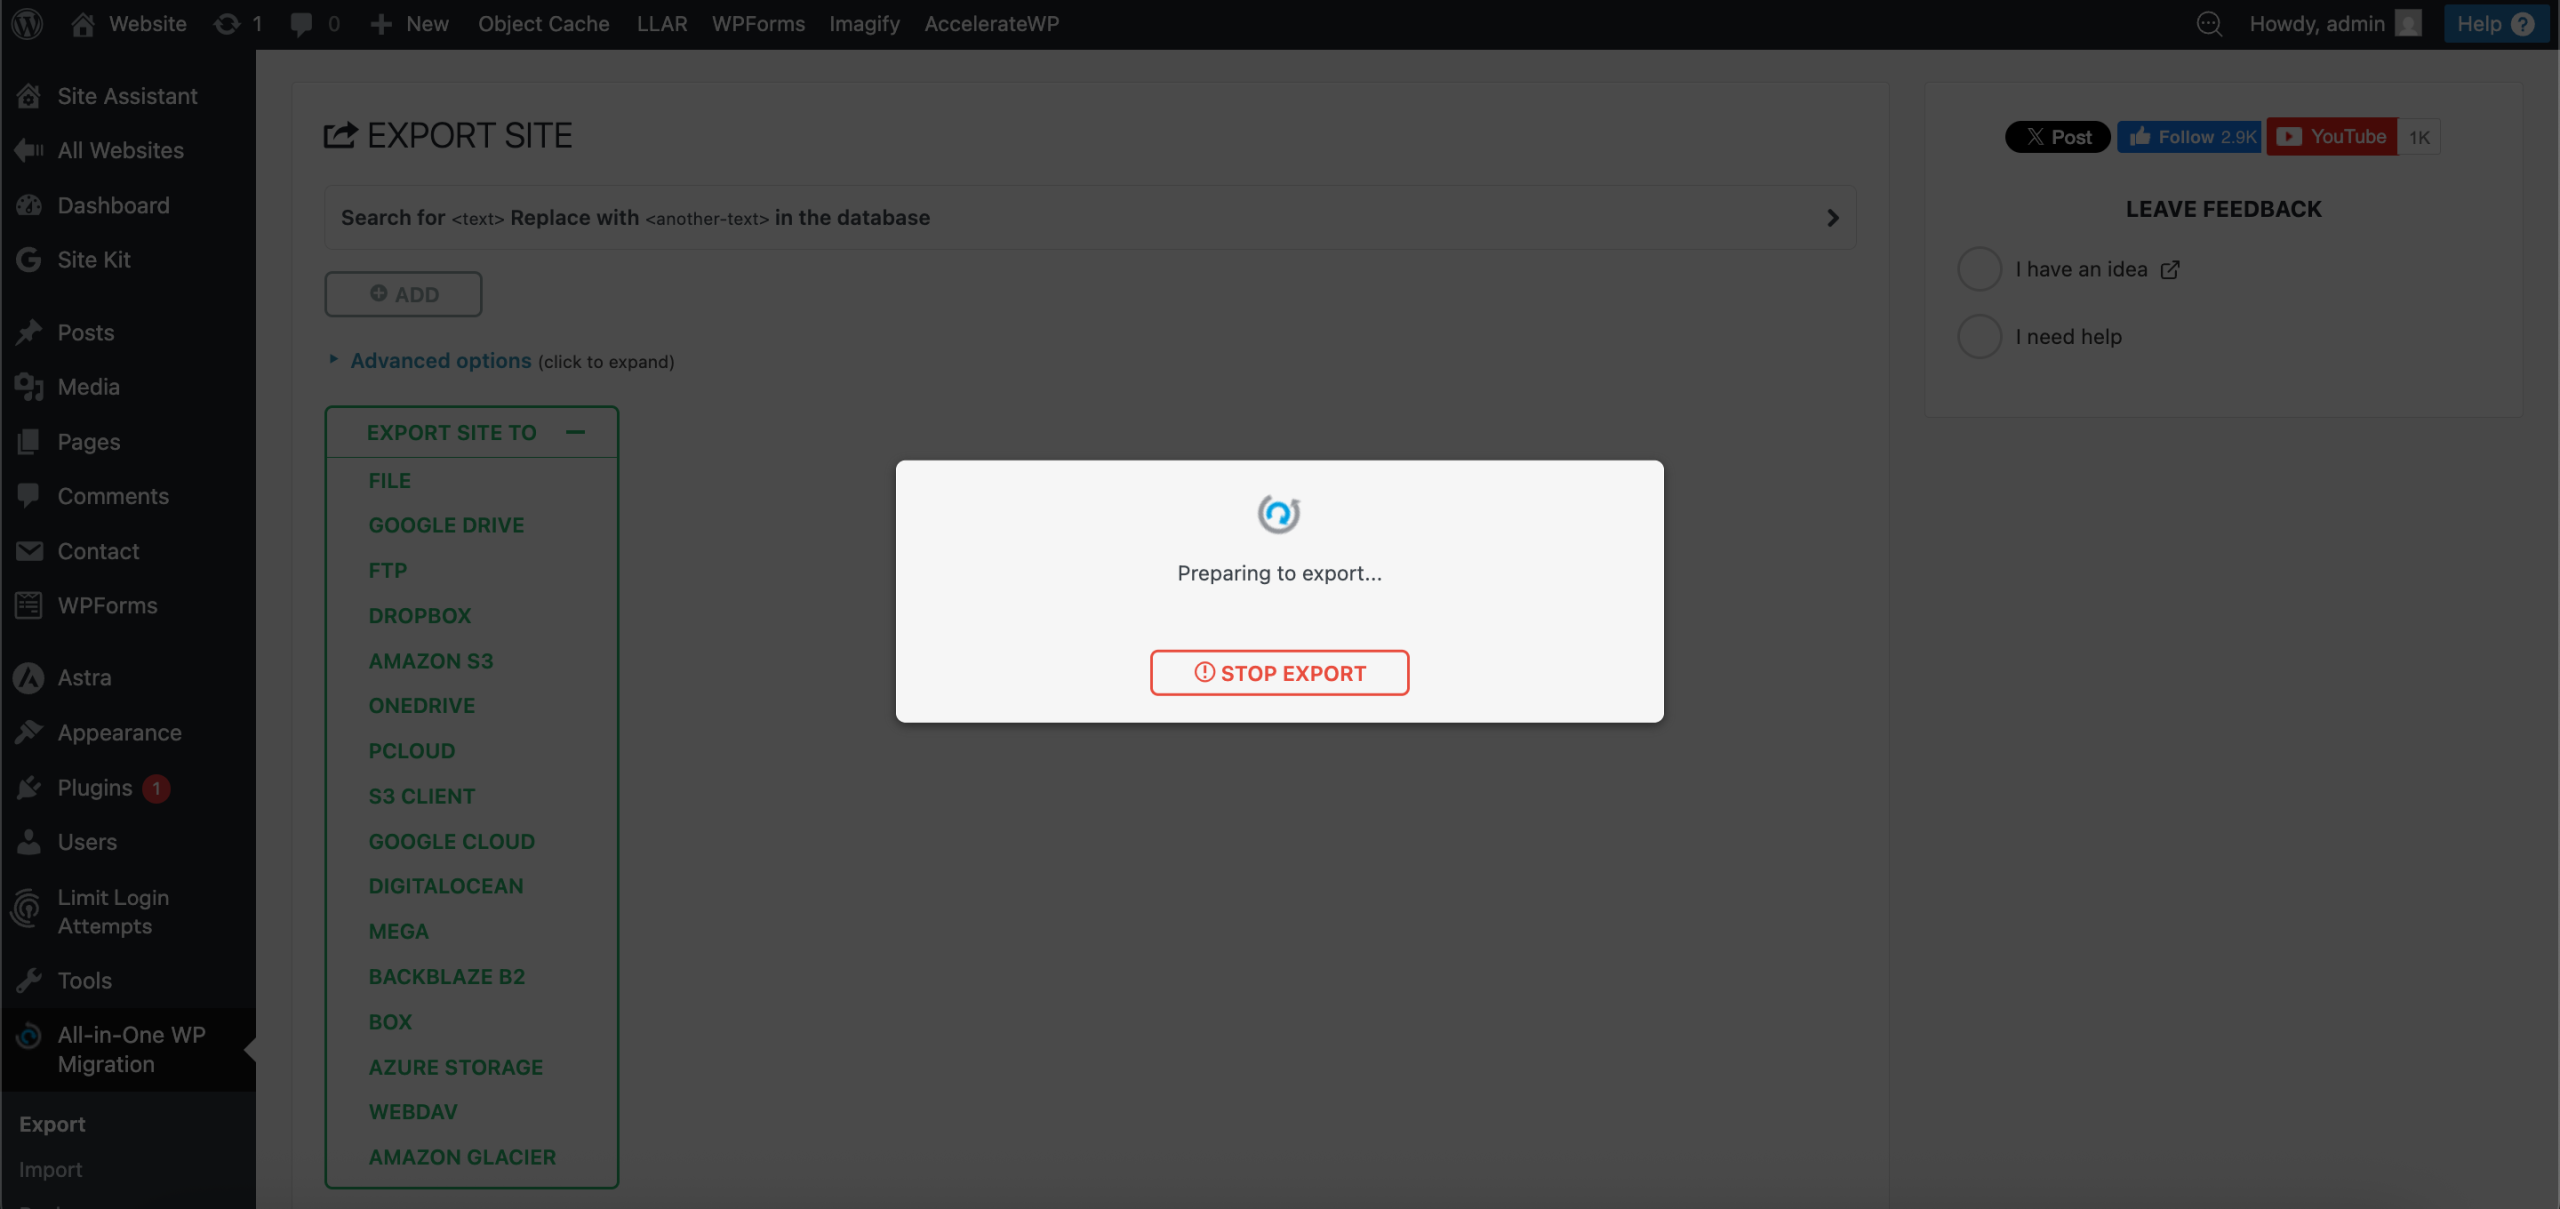
5. Once the export process is complete, a download prompt will appear. Click on it to download the .wpress file.
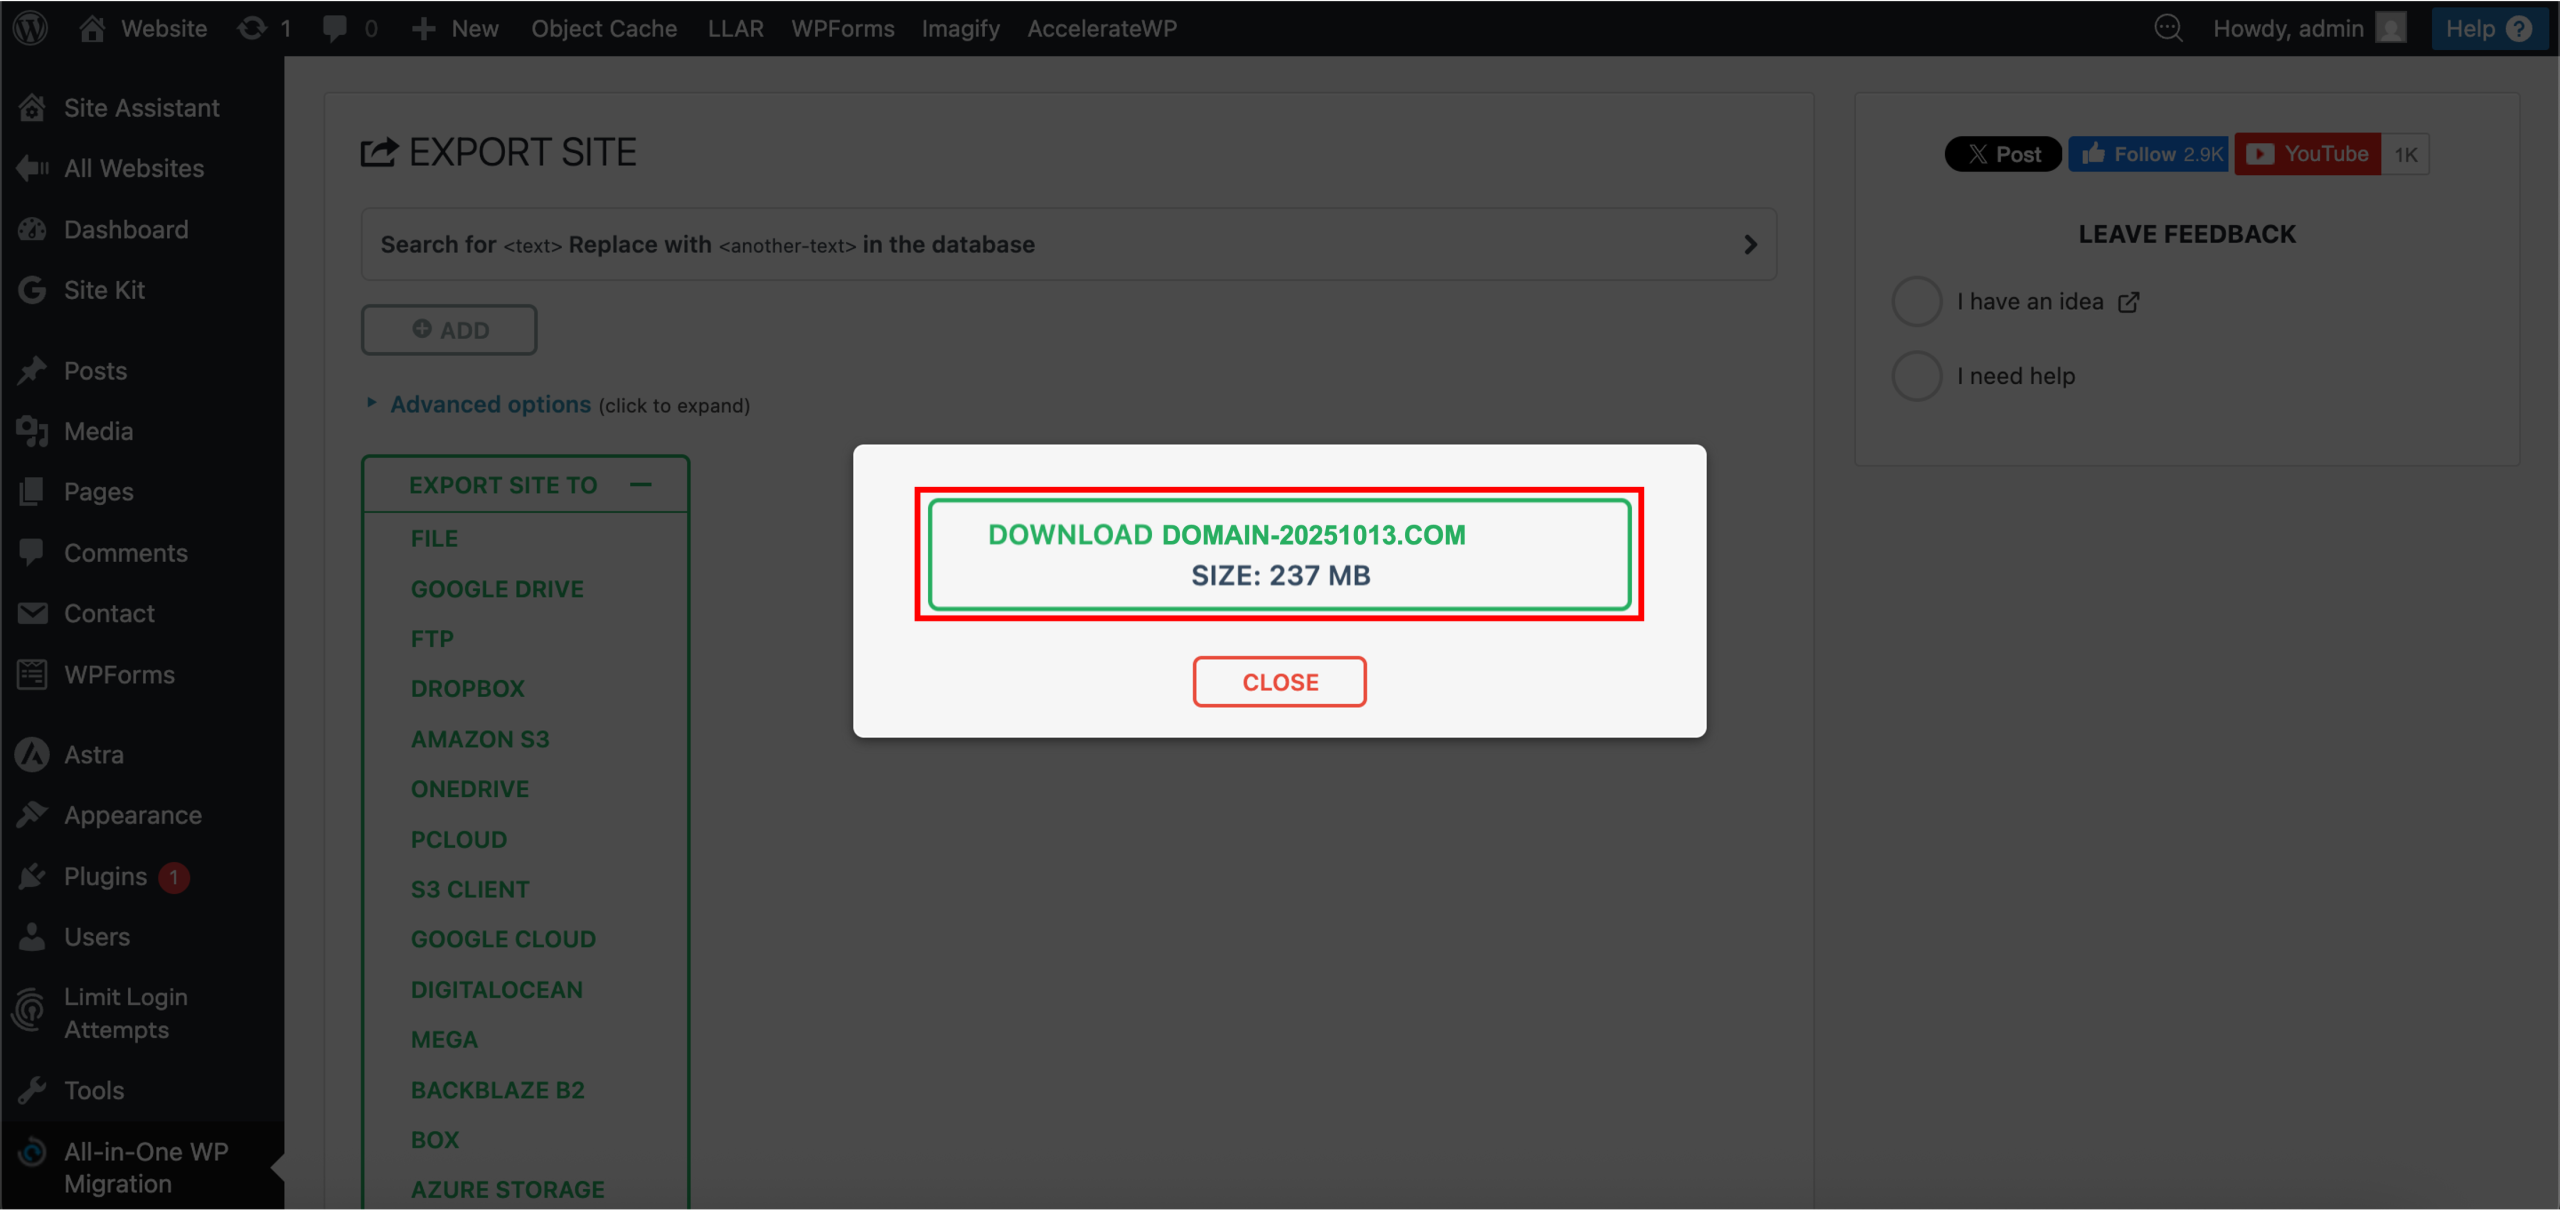
6. Done! A pop-up window will appear in the top-right corner, providing the download link. Click on it to save the .wpress file to your computer.